Category Archives: Pattern Fitting

Fitting the Tuxedo Shirt

For the second post in my series on the Tuxedo Shirt, I delve into fitting.  As I had mentioned previously, fitting took longer than I had expected, even with a headstart in the form of an existing garment.

First Fitting

For the first fitting, I traced a pattern from a RTW shirt provided by the client. I produced a bodice muslin, lacking sleeves, collar and other details.

Overall, the RTW shirt already fit well. The client said the collar was slightly too tight on the RTW shirt.

IMG_20160106_182811 Continue reading

A Sleeve Starts to Form (Holiday Shirt, Part 4)

In Part 3 of this series, I summarized all the fitting work I’ve done on fitting my muslin to date.  What I hadn’t done was actually try out Muslin F, the very latest fitting garment that is the culmination of all my alterations.  So before we go on, I wanted to share it with you.

How has it turned out? Pretty well, I think.

Muslin F, Front View

IMG_2492

Continue reading

Shirt Troubleshooting (Holiday Shirt, Part 3)

Last time, I got started on fitting myself for a shirt, and we took at the fitting issues I had with the original garment.

In this installment, I’ll discuss the fitting issues I’ve encountered and my attempts at solving them.

Armscye curve alignment with shoulder tip

Last time, we noted that the shoulders on the shirt were a bit too wide for my body.

Starting with Muslin B, I brought the armscye curve in closer to the neck by about a half an inch.  This causes the curve to line up right about at my shoulder tip.  It’s a little different on right and left due to body asymmetry.

In this screenshot, Muslin A is in golden yellow, B is in blue.  Front piece is on the left, back piece is on the right.  You can see how I took in the shoulder point to match my shoulder width.  (I also lowered the back/yoke seam by about 2 1/2 inches, more on that later).

snip_20160117162204 Continue reading

Shirt Fitting (Holiday Shirt, Part 2)

I have several things stirring in the pot right now, so my absence from the blog isn’t a sign I haven’t been busy!  In fact, I’ve been so busy I’ve put blogging at the bottom of my priority list, and now I have writer’s block because I don’t know where to start.

So I’ll start with what I promised you last time: the progress on fitting the shirt block for my late, but still planned Holiday Shirt.  I have another occasion coming up in early February that the shirt will be appropriate for, but I’m still unsure I can meet the deadline because of another sewing project that’s higher priority.  You’ll be hearing about that other project as soon as I can write about it.

Shirt Fitting

In my kickoff article for the Holiday Shirt project, I was foolish enough to utter these words:

Both shirts, especially the Regent shirt, already fit me pretty well. They only need minor adjustments to fit better.

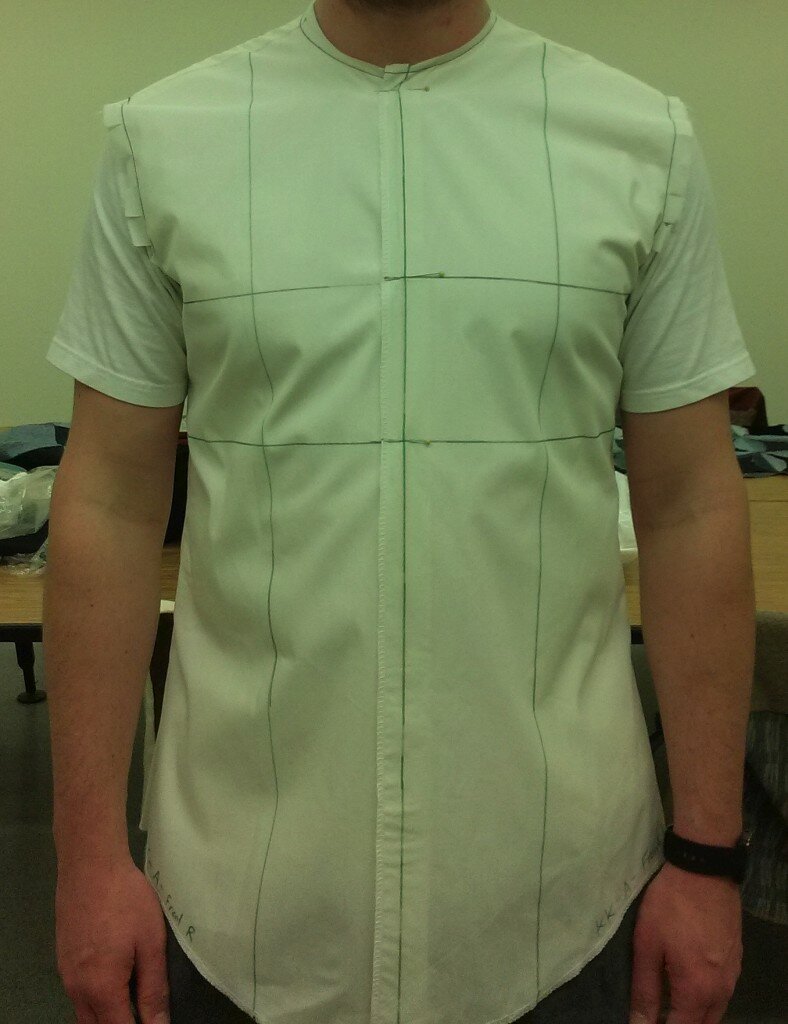
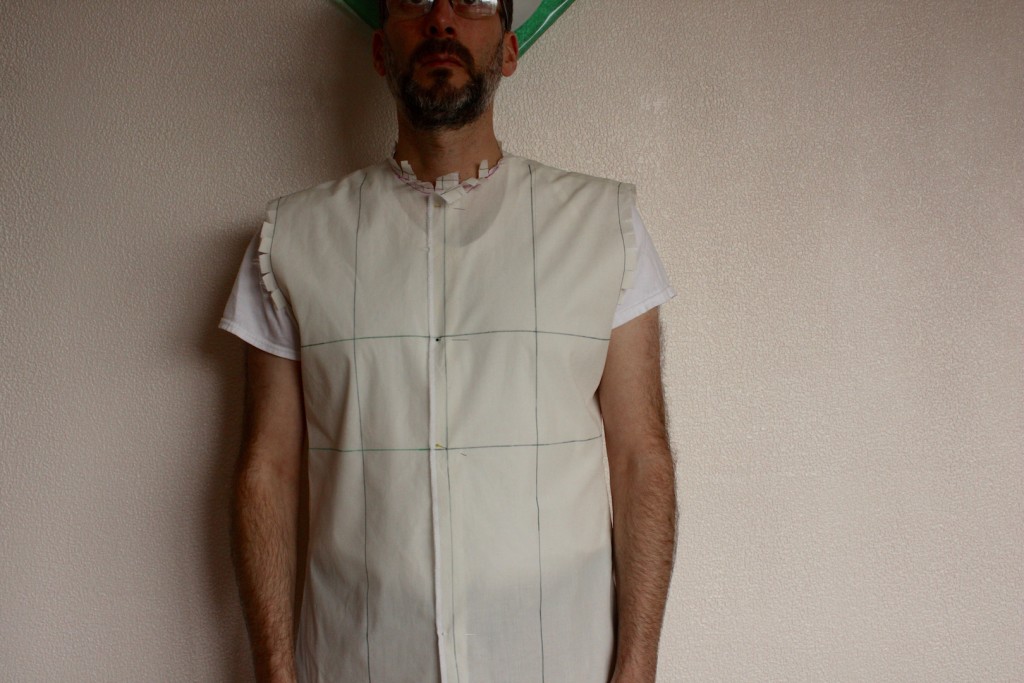
While I still stand by that statement, I’m currently working on the sixth muslin of the shirt and I still haven’t gotten around to fitting the sleeves yet. There’s a lot I’ve worked through, and a detailed article at this point would take a lot of words and pictures to get through.

Instead of giving you the play-by-play of what I’ve done every step of the way, I’ll show you the original muslin and where I’m at right now.  Continue reading

The Road to Pants, Part 2

In this article, I’m covering my experience using Wild Ginger’s PatternMaster software to digitize my pants pattern and to create detail pieces such as a new waistband.

I originally thought this series of articles on digital pattern drafting would run for two parts, but it will be at least three – especially since much of this article is a capsule review of Wild Ginger’s PatternMaster software.

About Wild Ginger

Wild Ginger Software has been in business for over 20 years developing their fashion design software.  Their main product is PatternMaster, and its professional cousin Cameo.  Cameo has a four-digit price tag, so I’m working with PatternMaster – their product for home sewers. Continue reading