In today’s work on the Men’s Tailored shirt, I cut the pattern, and trace it. But first, some more thoughts on the pattern.
Revisiting the Pattern
After ruminating more on the pattern instructions, as well as finishing the video segments of Pam Howard’s course, I think I’m going to go with View A of McCall’s 2447. View A produces a sportshirt-type collar, but more importantly the construction steps are very much like Pam Howard teaches in the class. Notably, it doesn’t include the collar facing and the pattern instructions read a lot like the class. So I think I will be going with View A.
There’s also some uncertainty over what size collar I should try – there’s three sizes S, M and L. Without even measuring, I’m going to go with M and see how it turns out. There’s a method to my madness here – I’ll be using this muslin to do fitting on the boyfriend as well, so I’ll just use one muslin and see where everyone deviates from the pattern for fitting.
Cutting
Here’s McCall’s 2447 spread out on my floor in all its glory:
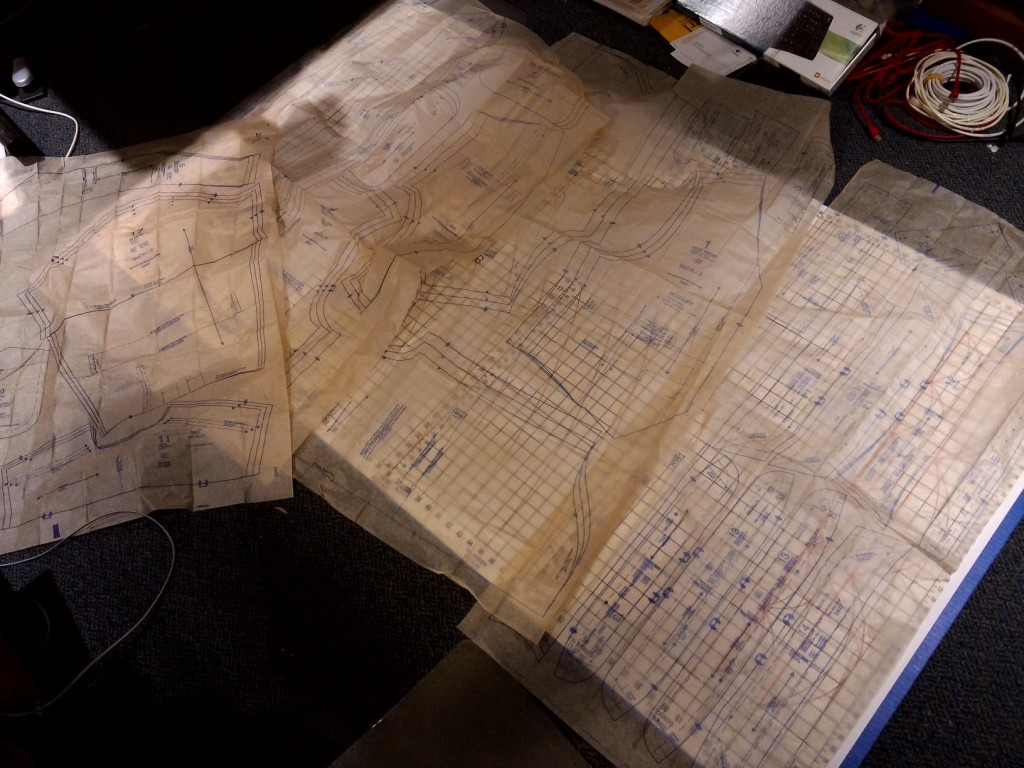
Quite a mess! But it’s worse than it looks, because the tissue contains patterns for a vest, tie and bow tie in addition to the shirt itself. Once I cut the tissue, things look a bit more comprehensible:

From left to right: Shirt, Vest, Bow Tie, Tie.
After this, I will iron the pattern pieces flat, trace the pattern in my size, and then move on to layout and cutting.
Fabric
My first shirt will be a muslin, or a test shirt just for fitting. Normally, when you make a muslin you don’t bother with all of the details and finishing work, but I’ll be doing that for learning purposes. I don’t expect a wearable garment on the first try, so I’m starting with the assumption this will be used for fitting and nothing else.
I have two fabric selections. Both are bedsheets, from the thrift store. I have to give a big thanks to Peter at Male Pattern Boldness for this idea – each bedsheet is anywhere from $2-$5 and gives enough fabric for at least one whole shirt. In fact, I did a complete pajama muslin (shirt and pant) from one of these bedsheets:

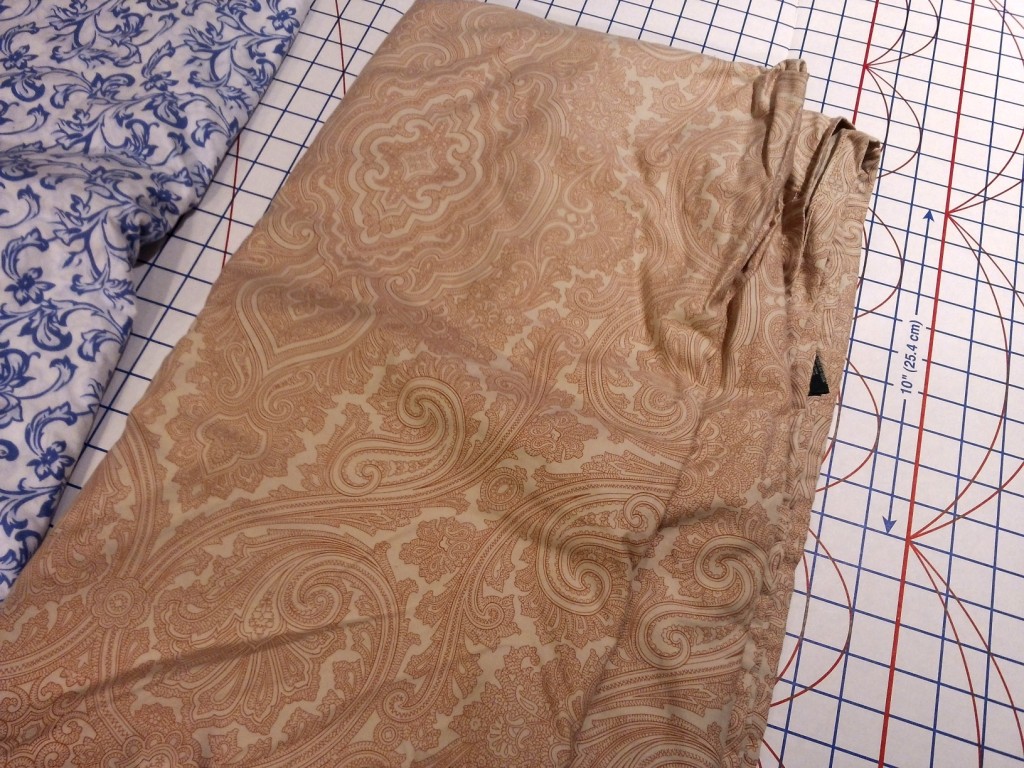
I’ll be going with the white/blue number for my first attempt, as the far-out paisley pattern might actually produce a wearable shirt if all turns out well!
Interfacing
I went to Joann’s a week or so ago to get interfacing for the project. It was Christmas, and I was holding something like five 50%-off coupons, so I thought I would stock up.
I found this interfacing that seemed right for the job based on the label:
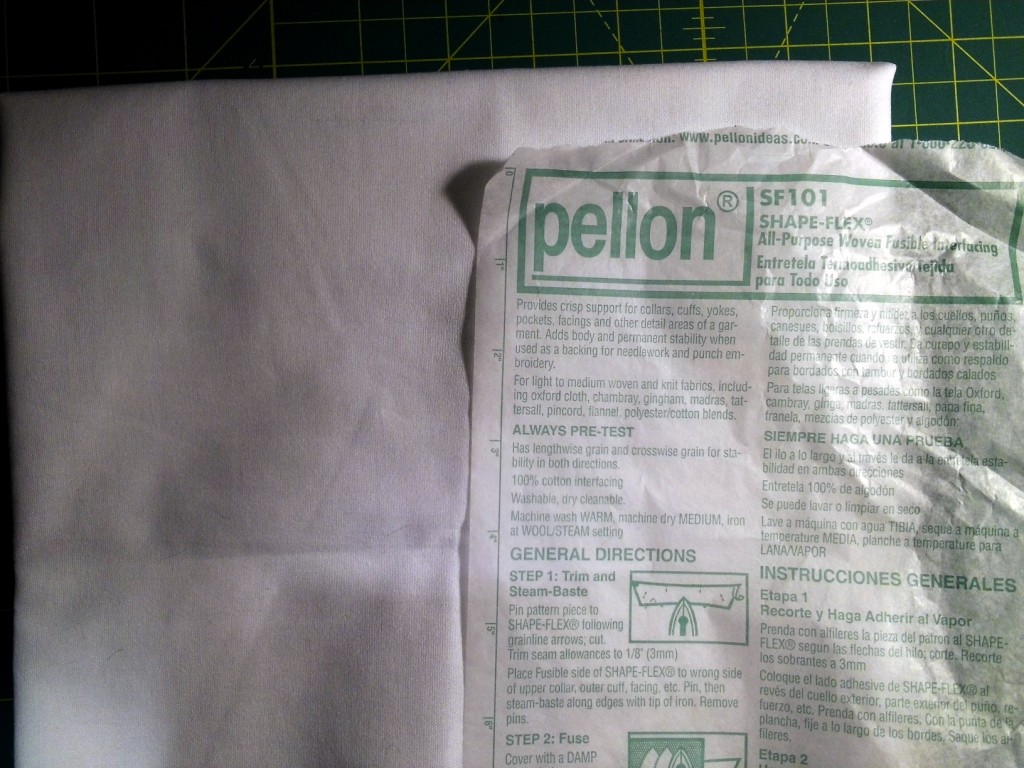
It’s a fusible, woven interfacing that’s described as “all-purpose”. The instruction sheet says, Provides crisp support for collars, cuffs, yokes, pockets, facings and other detail areas of a garment.
We’ll see how well it works – I’ve read horror stories about fusible interfacing bubbling, and the need for shrinkage, but I figure I’ll give it a try and see how it turns out. There’s a guide to properly applying interfacing and this set of tips I both found on Kathleen Fasanella’s Fashion Incubator blog that seem helpful.
In your exploratory journey, also look over the Reverse engineering shirt making tutorials on Fashion-Incubator. You can find the series on the tutorials page. All of the shirt related ones are in their own section (Reverse engineering shirt making) and are mostly called reverse engineering standard work pt.x. Will be most helpful with the sleeve vent and cuffs. Good luck and happy stitching.
Kathleen, thank you for the links to your articles on shirt making! I’ll definitely check them out.