Hello everyone! I have lots of small stories to share today, but one of them is a big new project.
The Wool Felt Cellphone Case
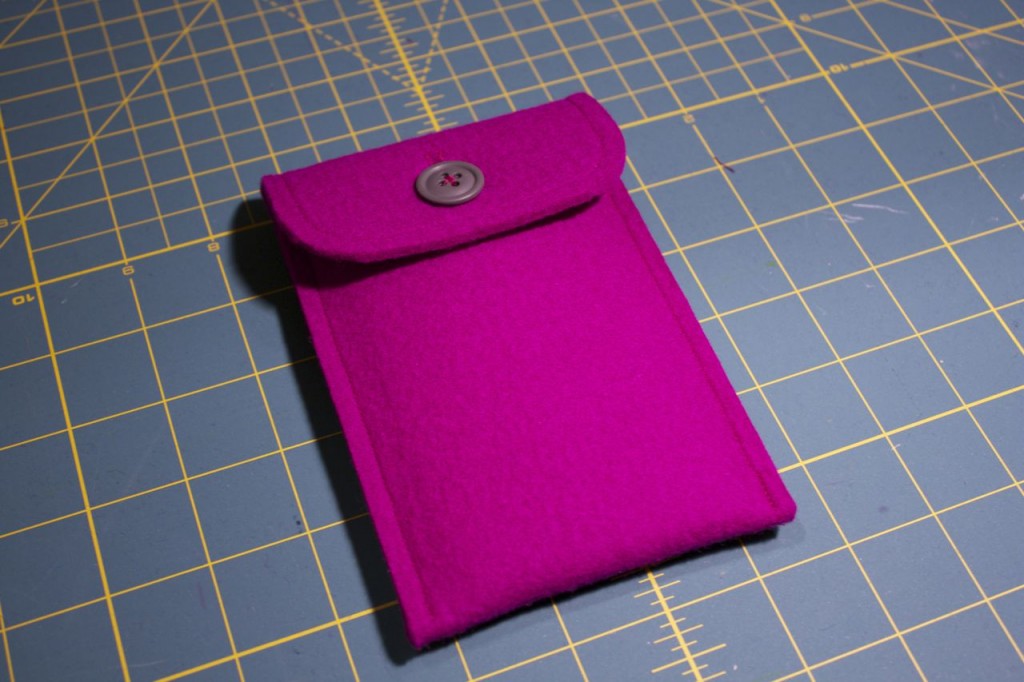
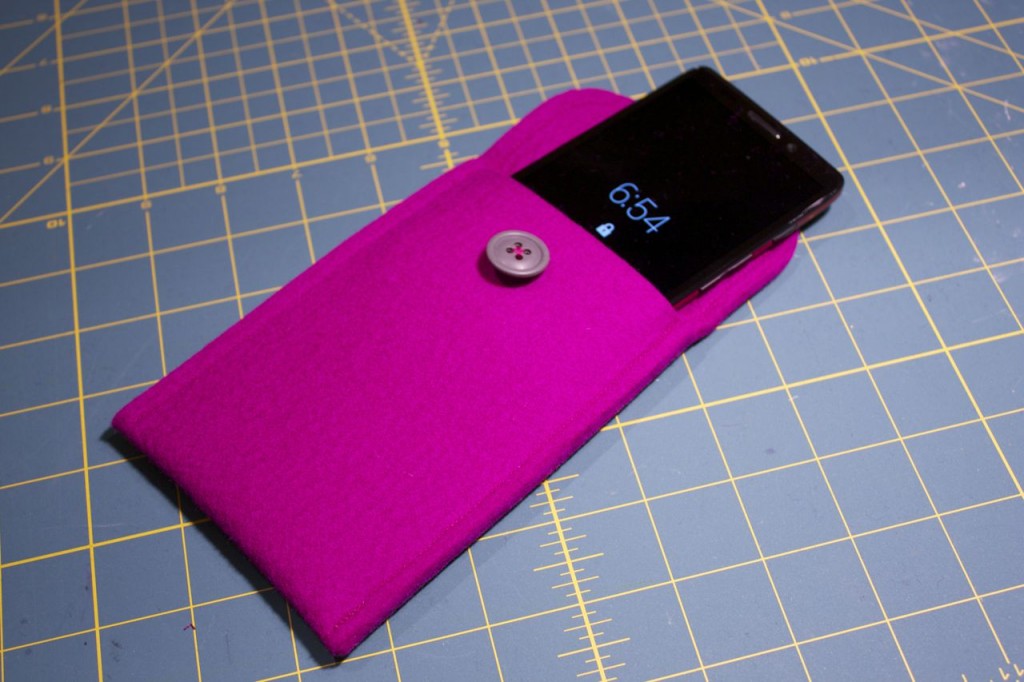
I thought my Wool Felt Techie Cover project was complete – I had really only purchased enough fabric to make cases for the laptop and tablet. But I noticed there was enough of the berry pink fabric left over to make a case for my cellphone. So here it is.
I have enough wool felt left to maybe make a case for an iPod Nano, but otherwise this project looks complete. So let’s start a new project.
The Breakfast Club Shirt
While unpacking my spring/summer wardrobe from storage, I had a sinking realization; I have way more fall/winter appropriate wear in my wardrobe. And the shirts I have for the summer months, apart from polos, are mostly short-sleeve things from Old Navy that I’m not particularly fond of.
I also wanted to try another shirt pattern in my collection. McCall’s 2447 fit well, but had really blousy sleeves. McCall’s 6044 also fit, but it’s a simplified design without a back yoke and I want a pattern that’s a bit more sophisticated. So I took a second look at McCall’s 6613, a pattern I previewed way back at the beginning of this blog:
Jim called it the “Breakfast Club” pattern. I’ll be making View A, the short-sleeved version.
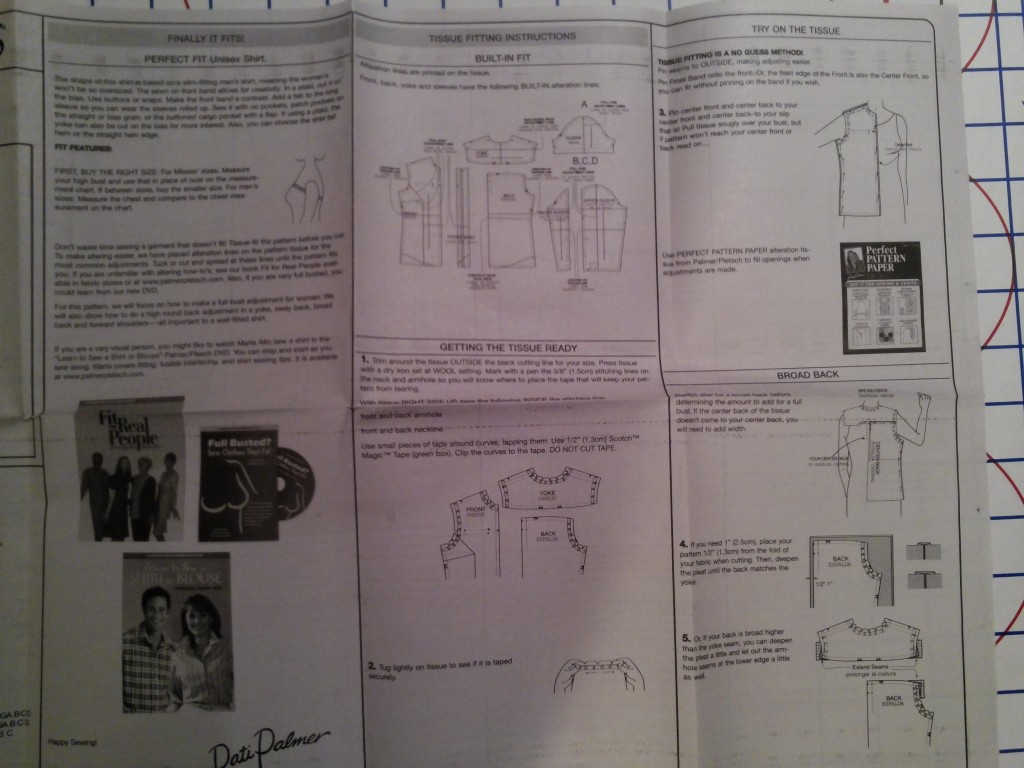
This pattern does have some interesting features. It’s a “Palmer-Pletsch” pattern, of the duo who created the book Fit for Real People, probably the most popular book on pattern fitting and alteration. While I’m not a big fan of the book, this pattern does contain an entire sheet of fitting instructions. It shows you how to alter the pattern for a wide range of fitting issues, such as rounded shoulders and swayback. (Click photo for an enlargement).
The MPB FIT Class
This morning, I re-read through all 15 posts (including comments) in the fantastic Menswear Sewing Class at Fashion Institute of Technology thread written by Peter Lappin at Male Pattern Boldness. I want to use this project as a way of experimenting with shirtmaking techniques. For instance, I’ve never been happy with the way my collar bands attach to the main shirt body and want to explore ways to improve my technique. Plus, some of the hints and techniques Peter learned in the class sound really interesting and I want to try them.
I went through all the posts and took notes, producing my own little index of sewing hints and instructions, with links back to the orginal blog posts.
Peter, if you’re reading this you have my sincere thanks for sharing all this wonderful knowledge with the rest of us.
The GoPro Camera
Starting with this project, I’ll be experimenting with documenting parts of my project via video. I have a GoPro Hero3+ camera that I’ve used on-and-off for action footage on my bicycle. GoPro recently released a new accessory called the 3-Way, which is an extendable boom that also works as a hand-grip and a mini tripod.
Here’s a test video containing some time-lapse footage of me tracing out McCall’s 6613, on my way to constructing a muslin.
Next Time
We’ll take a look at shirting fabrics, and the McCall’s 6613 muslin. See you soon!


Thanks for the recommendation on M6613, I just ordered my own copy. I had a reasonably good experience using the Islander Shirt pattern for a summer shirt, but I prefer a shirt with a collar stand and placket.
Yes, I also prefer a collar stand and placket. If I can get the shirt altered to fit, I’m also looking at producing some long-sleeved shirts as well. One interesting design feature of M6613 are sleeve tabs. The pattern also has grain markings if you want to layout certain features, such as the pockets and front band, on the bias.
FYI, the school is called either the “Fashion Institute of Technology” or “FIT”. No one calls it the Fashion Institute.
Fixed the article. I went with the header that Peter used on his blog for the series of articles, but clearly it makes more sense for him to abbreviate that way since he lives very close.
I wish tracing went that fast for me. :)
The GoPro is working at one shot every 10 seconds, so if my math is correct that’s 5 minutes of tracing per second of viewing. If only the camera actually made the work go that fast :)
I like this pattern. It is casual, yet has dress shirt features like the button placket. It is also more “fitted” for a thin guy like me. I did stray from the instructions because they were different than what I am used to. It will be interesting to see your shirt and comments.
I noticed also while tracing the front and back pieces that it has a fitted shape. I have a bit of a spare tire, but nevertheless some RTW fitted shirts do look good on me.
I too am curious to see how the muslin turns out!
Hi!
I have the same shirt pattern and have decided to do shirt B. I’ve gotten to step 49 Front Band and for the life of me I can’t figure out what the heck they are trying to get us to do. (I’m a bit dyslexic which doesn’t help.) Steps 49 to 53 just don’t come over to me.
I was getting to the point of sewing one piece on and then the other when I ran across your site. If it’s not too much of a pain in the posterior could you clue me into what I’m supposed to be doing?
Thanks.
John,
Yes, the front band assembly steps in this pattern are definitely new to me, and different than what I’ve seen online and in David Coffin’s book.
You should already have applied some interfacing to the “wrong” side of the shirt band. That shows up as the dotted regions in the diagrams. The “right” side of the fabric is gray.
Before starting, make sure you transfer ALL the markings from the pattern onto the piece, especially the fold lines and pattern notches. You can put 1/8-in snips at the top and bottom to mark where these will be. I have also used a marking pen to mark lines on the interfaced side, using a ruler, to get things precise.
I’ll start from step 49.
49. Put the band right side down on your ironing board. Get out a straightedge, preferably metal or oak-tag (something that doesn’t melt). Go to the long edge that DOES NOT have the pattern notch. Fold over that side 5/8 inch, as if you are making a hem. Interfacing should touch, you should see a 5/8 inch strip of right-side. Use the straightedge to make the fold crisp, and press. Now, get out your scissors and trim that fold down to 3/8 inch wide (Yes, I know it makes no sense, but 5/8 is a little easier to fold/press).
50. Now, turn the whole thing around so that the “right” side is facing up. Again, on the long edge that DOES NOT have the pattern notch, make another fold. This time it will be along one of the fold lines indicated by the pattern, and you will be folding “right” sides together. Press. When this is done, you’ll see the fold you did in step 49 facing up at you, along with a bit of interfacing. (The straightedge is good here to get a crisp fold).
NOW, go to the sewing machine. Find the bottom of the band (the short edge that is perfectly straight). At 5/8 from the bottom edge, use a straight stitch to stitch down the end, JUST ON THE AREA YOU FOLDED. Don’t continue the stitch all the way across the band.
51. At the point you stitched along the bottom, turn this inside out as if you were turning a collar. Now fold along the same fold line as in step 50, just the other way (so that interfacing sides meet each other). Press.
52. Now, pick up your shirt. Match the notch on the band to the notch on the shirt front, right sides together. Match the top of the band to the top of the shirt neckline, and the bottom of the band to the bottom of the shirt front. Stitch a 5/8″ seam from the shirt front to attach the band.
Now, trim the seam allowances on the seam you just sewed to 3/8″. Press the seam allowances flat, then press them a second time so they fold towards the inside of the shirt band. (You’ll run into a bit of difficulty at the bottom of the band where you stitched/turned the corner).
53. Finally, tuck the band so that the fold you made in step 49 touches the seam you just stitched. The seam allowances will meet, and will line up with each other if you cut/folded/pressed precisely. They will meet each other on the inside of the shirt. Pin/baste them together, then use either an edgestitch (machine) or a slipstitch (hand) to close the shirt band. (I used the machine and put the shirt through the machine with the inside of the shirt facing the feed dogs).
Admire your newly completed shirt front band.
Please let me know if this works for you!