Construction of the shirt begins. The following blog entries will read rather like lists of notes; that’s because they are. I’ll try to be as entertaining as I can.
Construction Order
I’m following my own construction ordering, but will mostly be hewing to the order of construction presented in the Pam Howard class. I am trying to group some tasks, such as doing all the interfacing at once. Also, following the advice in David Coffin’s book, I will be staystitching the shoulder and neck edges to stabilize the fabric.
Here’s my order of construction. I’ve highlighted the steps I’ll be completing in this article:
- Staystitching and Interfacing
- Prepare and Attach Front Pocket
- Shirt Front Bands
- Yoke and Shoulder Seams
- Prepare and Attach Collar and Neckband
- Prepare Sleeve Placket
- Attach Sleeve to Armscye, flat-fell armscye seams
- Sew Side and Sleeve Seams (with flat-felling)
- Prepare Cuffs
- Pleat Sleeves, Attach Cuffs, Topstitch Cuffs
- Rolled Hems along bottom of shirt
- Buttonholes (including front band, collar, cuffs, and sleeves)
- Attach all Buttons
- Final Shirt Press
More Pattern Modifications
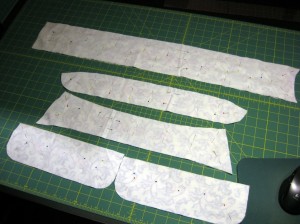
I trimmed the outer edges of one of the collar pieces by 1/8 inch, to make it an undercollar piece. This was suggested by Pam Howard for proper “turn of cloth” on the complete collar. Next project, consider adding an extra pattern piece for an undercollar based upon the upper collar piece.

Interfacing
- I made sure to choose two cuffs that are mirror images of each other (check location of buttonhole on right side) for interfacing.
- The outward-facing part of the neckband is interfaced, not the inside facing part of the neckband.
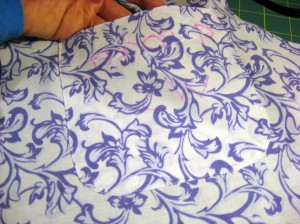
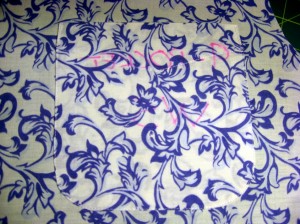
- I thought I was smart by placing tailor’s tacks on the collar. Unfortunately, they will get set by the fusible interfacing (as well as all other interfaced pieces such as cuffs, neckband). I had to remove the tailor’s tacks and replace with marks. (By the way, I use Crayola Washable Markers to mark up fabric, following a tip I got from the Pattern Review hints and tips book).

- I chose to keep the interfacing the same size as the cut pieces, rather than trimming it to make it smaller. I followed the label instructions: Pin in center, iron-baste, then press with press cloth.
- I ended up using the press cloth for iron-basting as well, to keep the fusible resin off the iron soleplate.
Staystitching
- The fabric turned out slightly warped after staystitching curves on the necklines. It is challenging work to guide a curved path through the feed dogs without the fabric getting pulled. We’ll see how this affects the finished seams.
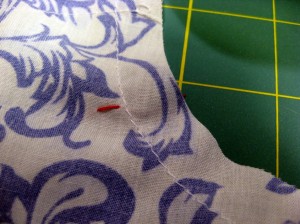
- I staystitched the shoulder seams and necklines for both yoke pieces.
- The first yoke was staystitched with a too-short stitch length. David Coffin recommends 8 to 10 stitches per inch for staystitching.
- Following Pam Howard’s instructions, I stitched down the first turn-down 1/4-inch hem.
- At this point, I deviated from Pam Howard’s class. Following the Male Pattern Boldness sew-along instructions, I made a cardboard template to fold the curved bottom hems and simply ironed the sides.
- Notes for the next attempt at this project:
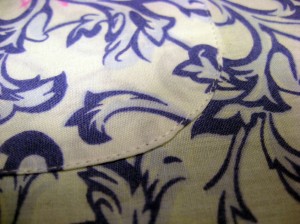
- Add clip marks to the Pocket pattern piece for the curves at the lower corners of the pocket. This time, the clipping turned out a bit mangled on the inside.
- Leave the thread tails on the turned pocket flap uncut until after the pocket is attached to the shirt front.
- Remember to cut the seam allowance to 1/4 inch on next attempt. (I attached it with a 5/8 seam allowance inside the pocket).
- Investigate the use of an edgestitch foot for attaching the pocket- though the edgestitching to attach the pocket turned out very well this attempt.
- Work more carefully on triangle reinforcement stitch at the tops of the pocket.
Nevertheless, the pocket did come out rather nice. (The pink marks are notes to myself I wrote on the fabric with the Crayola markers. We’ll see if the markers come out even when interfacing has been fused all over it.)