Up to this point, I have completed the following steps:
Staystitching and InterfacingPrepare and Attach Front Pocket- Shirt Front Bands
- Yoke and Shoulder Seams
- Prepare and Attach Collar and Neckband
- Prepare Sleeve Placket
- Attach Sleeve to Armscye, flat-fell armscye seams
- Sew Side and Sleeve Seams (with flat-felling)
- Prepare Cuffs
- Pleat Sleeves, Attach Cuffs, Topstitch Cuffs
- Rolled Hems along bottom of shirt
- Buttonholes (including front band, collar, cuffs, and sleeves)
- Attach all Buttons
- Final Shirt Press
Sunday, I got the front bands, yoke and shoulders taken care of. The play-by-play follows.
Sew-on Front Band (Left Side)
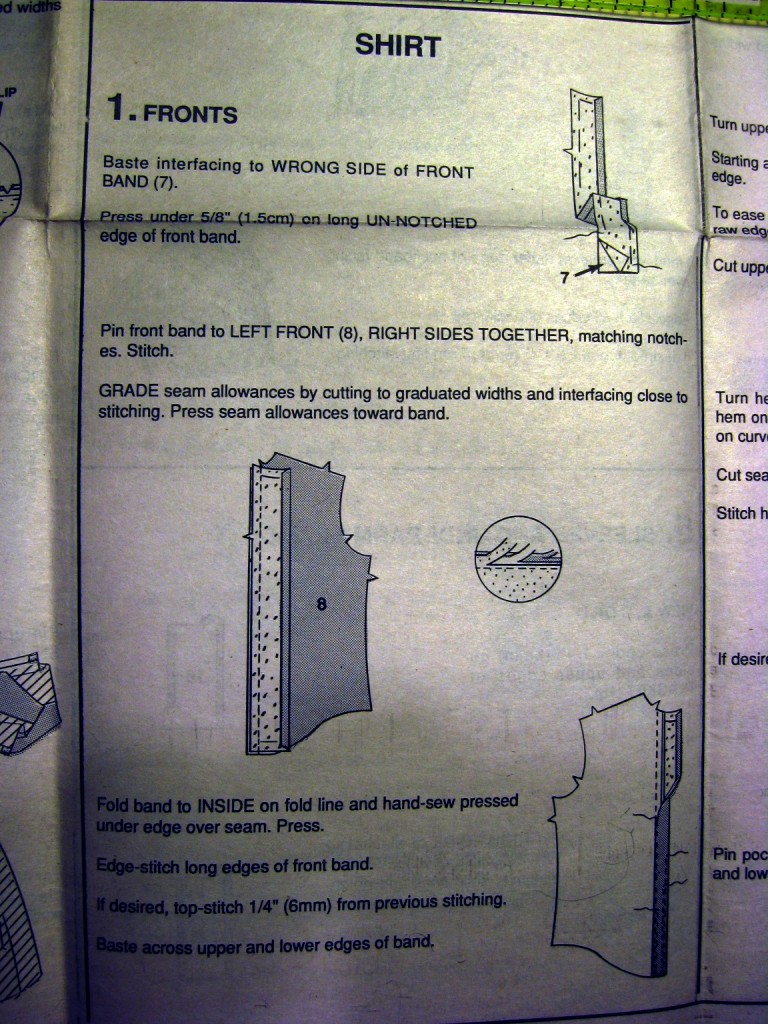
In an earlier post, I noted that McCall’s 2447 differed from the class pattern in that it has a separate, sew-on front band for the lefthand shirt front, where the buttonholes go on a men’s shirt.
After having constructed it, I’m convinced I’ve fallen into a “home sewing” trap – a pattern company offering a construction technique that’s intended just to get the project done, rather than produce a nice-looking final garment.
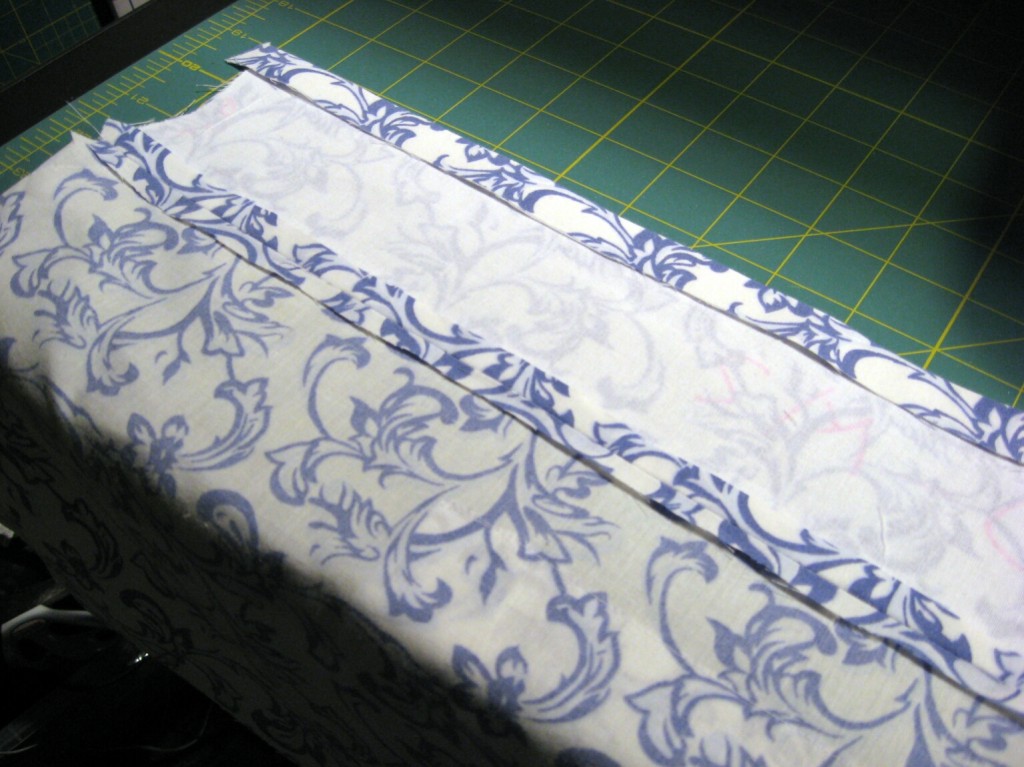
Left-side front band, initial stages of attachment.
The problems I had with this piece were many.
Huh??
First, I found the instructions confusing. For one thing, the neckline came out funny – did I reverse the sides from the pattern directions?

Oops! I think I put the band in left-right reversed.
Interfacing this piece unfortunately eliminated the notches. I had to go back to the pattern piece to identify notches and fold points, and I think I got the pattern piece backwards.
Second, the directions have you sew the seam joins the band to the shirt, which winds up as an edge on the front. But the seam winds up not being aligned with the inside band edge – it’s even illustrated this way in the pattern directions.
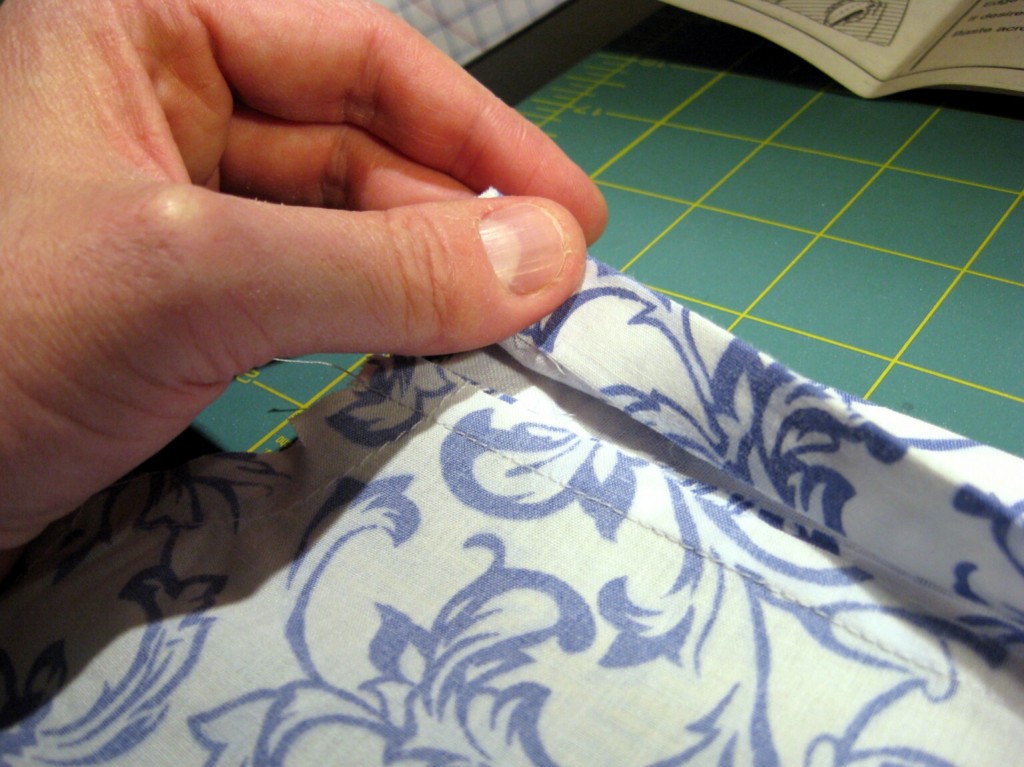
View from wrong side of shirt. The band (in my fingers) overlaps the front seam rather than matching up with it.
On the inside, I edge-stitched both along the outer and inner folds of the band.
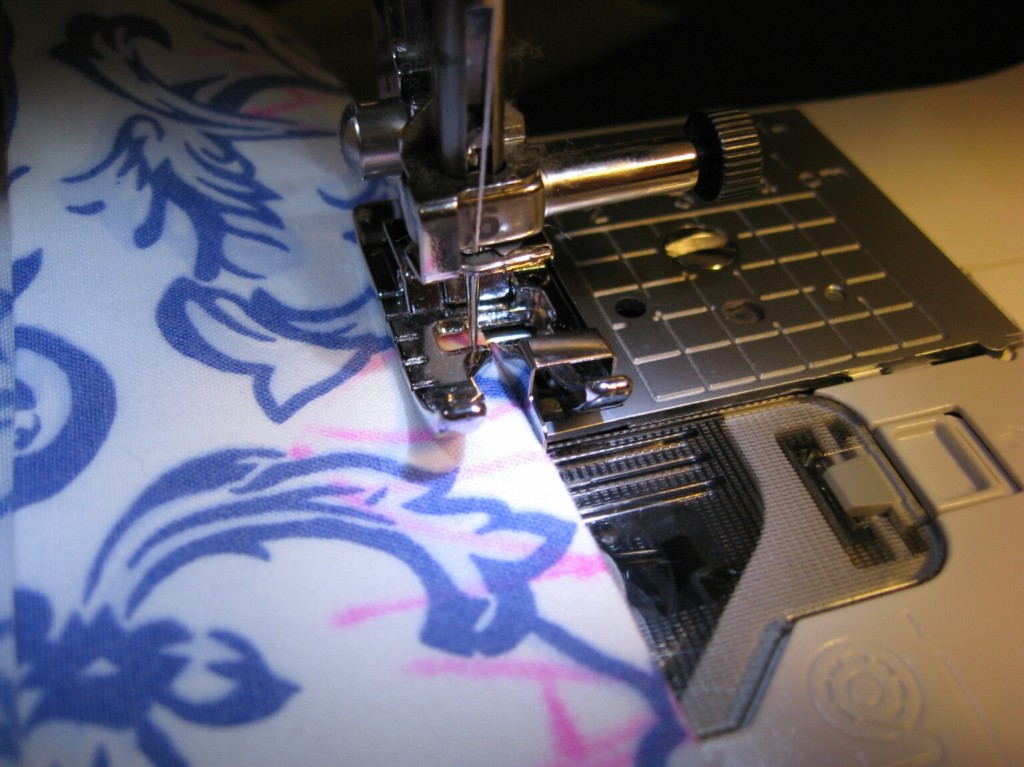
First time ever using my edgestitching foot! Woot!
Then I checked my work and saw the stitching did not match the edge of the band on the outside of the shirt!
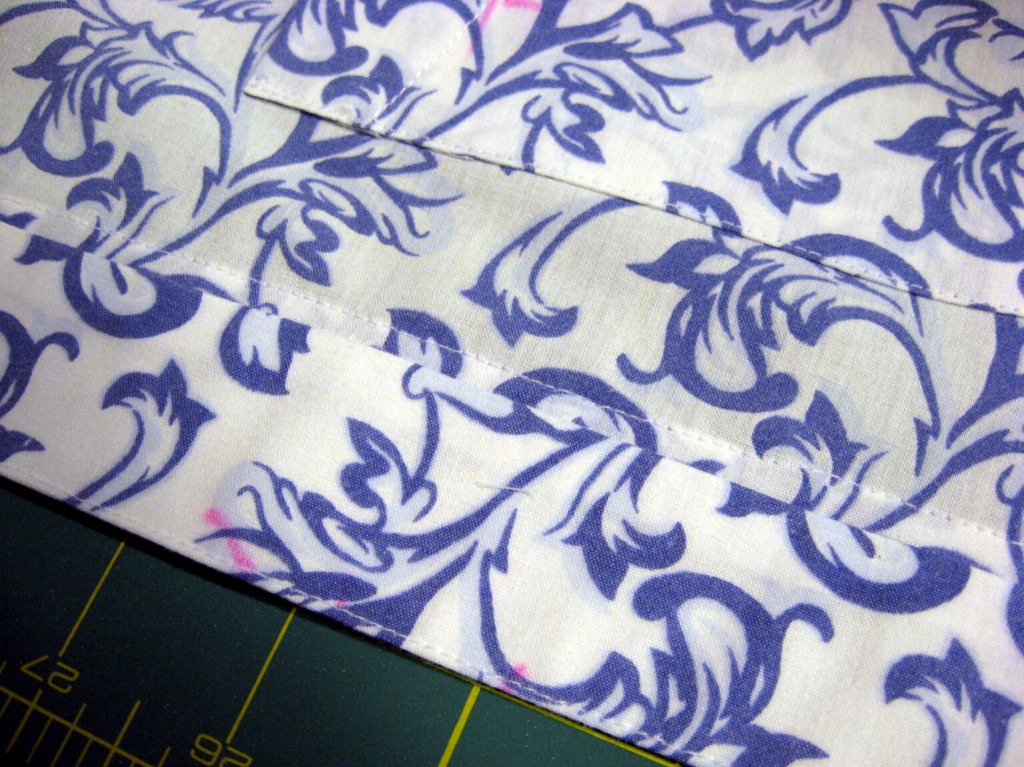
The edgestitching done on the wrong side appears about 1/4 inch away from the band seam on the right side.
After reminding myself this was a muslin, I pulled those stitches, and re-stitched on the outside of the band to “fix” this problem – or at least not make it look obviously broken.

“Fixed” by redoing edgestitching on right side.
Fourth, interfacing was totally not necessary. The fusible woven interfacing I put in made the band (which is for buttonholes) WAY too heavy and stiff. The machine even made thumping sounds trying to sew through it. Granted, I was using heavy-ish interfacing, which made the problem worse. But given the fabric folds twice, I think it self-interfaces and no additional interfacing is necessary.
Sorry, McCall’s, you lose – I won’t do it this way again. Even taking into account my getting the instructions wrong, it just seems like a really clunky way to do it. David Page Coffin has suggestions for a much better sew-on front band in his “Shirtmaking” book. There’s also a front band tutorial at the Fashion Incubator blog, though I think it’s for a single piece shirtfront-plus-band, rather than a separate band.
Yoke and Shoulders
Happily, the yoke and shoulders went together without too much trouble.
Again, the pattern instructions aren’t worth following for this procedure. They left out a lot detail steps Pam Howard covered in her class, such as topstitching and clipping the seams. It also has you hand-stitch the inside yoke to the shoulder seam. This is another case where the pattern instructions give you “a” way to get things done, but not necessarily the “best” way.
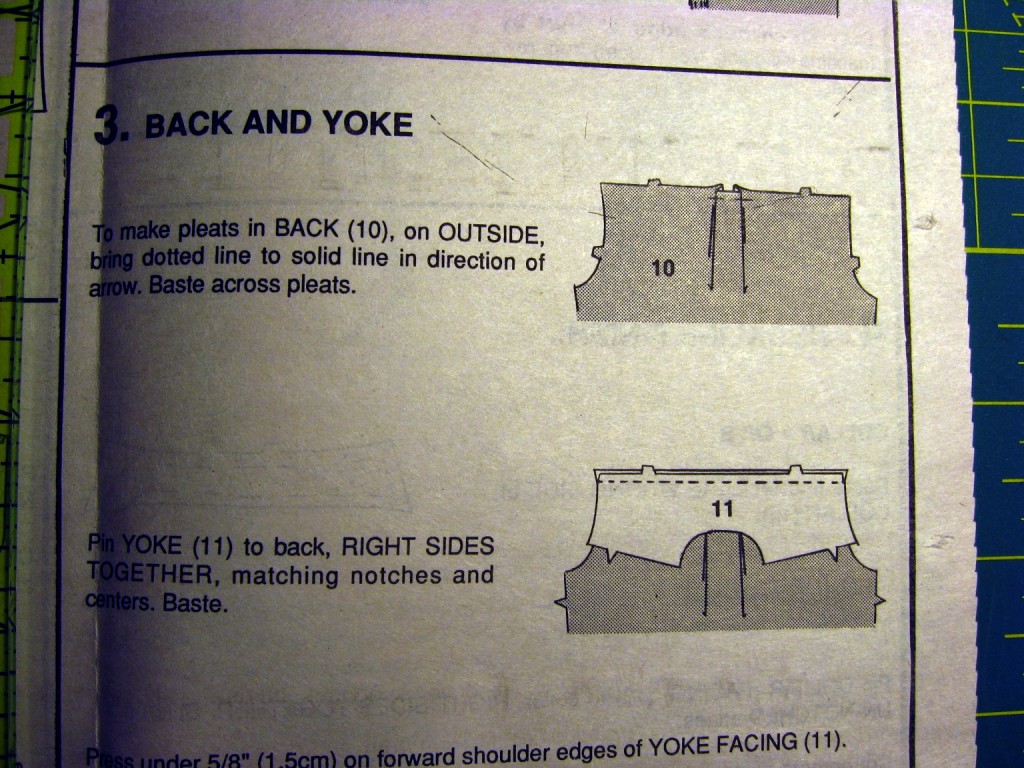
McCall’s 2447 has a box pleat on the back piece, Pam Howard’s shirt in the class does not. Fortunately, the MPB sewalong has some helpful instructions for sewing back pleats. Before joining the yokes to the back piece, I found it necessary to pin and baste the pleats, match width of the pleated back piece to the width of the yoke.
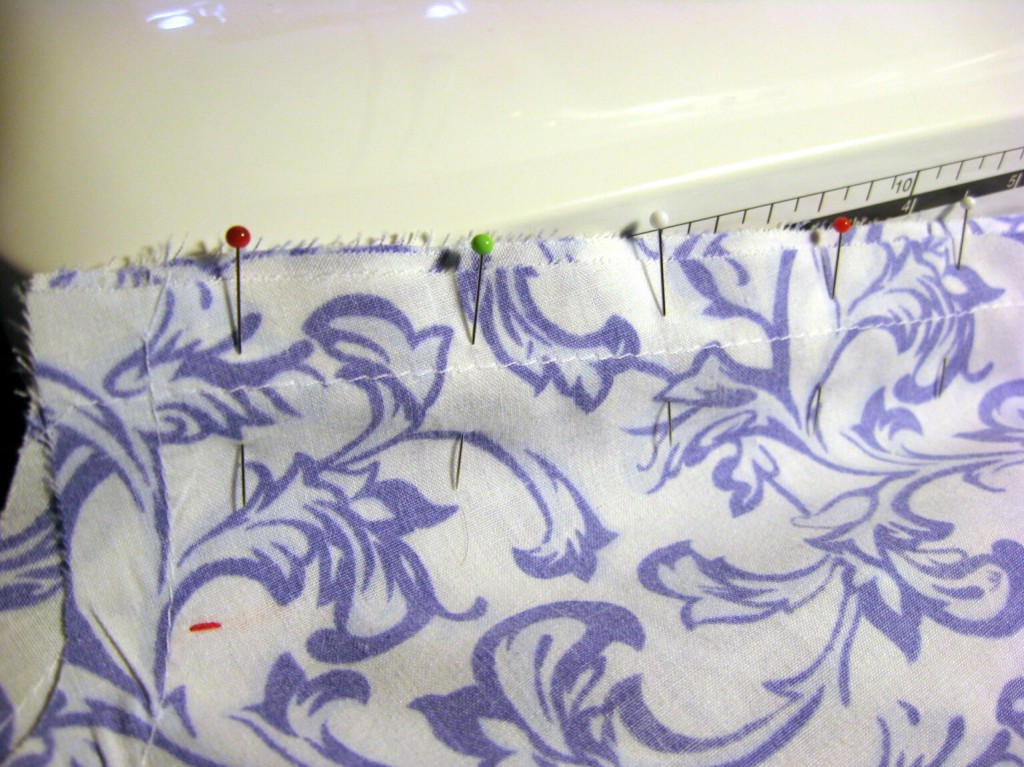
- Fold pleats and pin
- Check width of pleated back against width of yoke. I actually pinned them together, matching notches, to be sure the pieces matched.
- Sew down the pleats at the top with a basting stitch, inside the seam allowance.
- Now pin all three layers, matching notches. Inside yoke right side up, then back right side up, then outside yoke wrong side up.
- Sew the back/yoke seam.
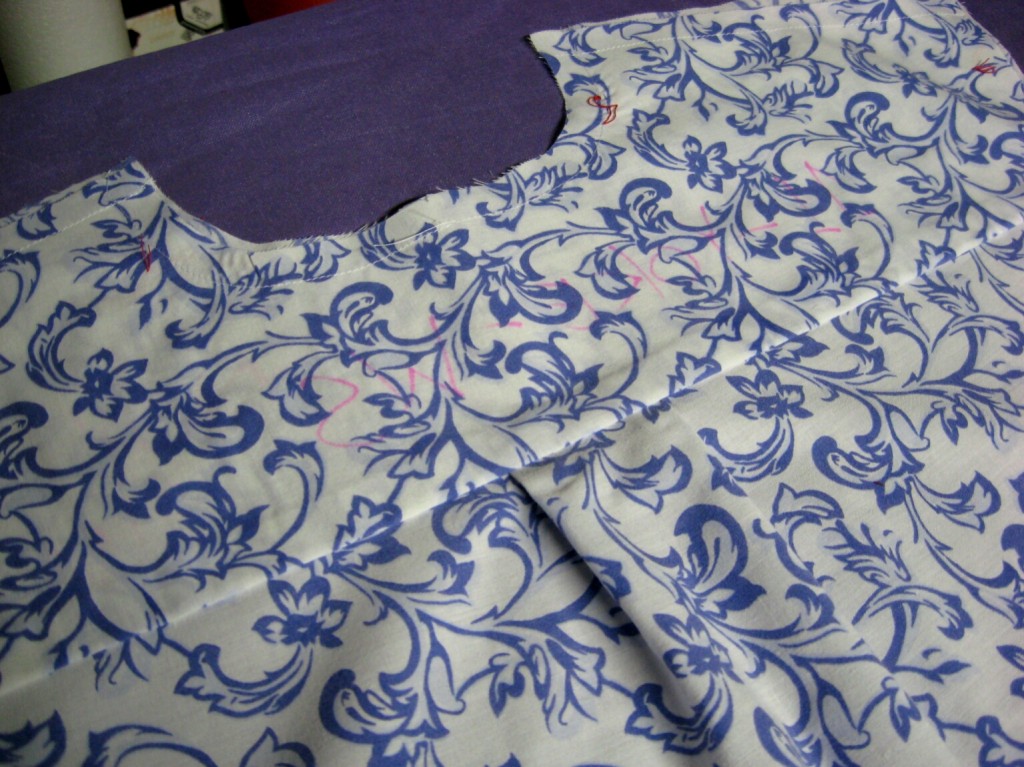
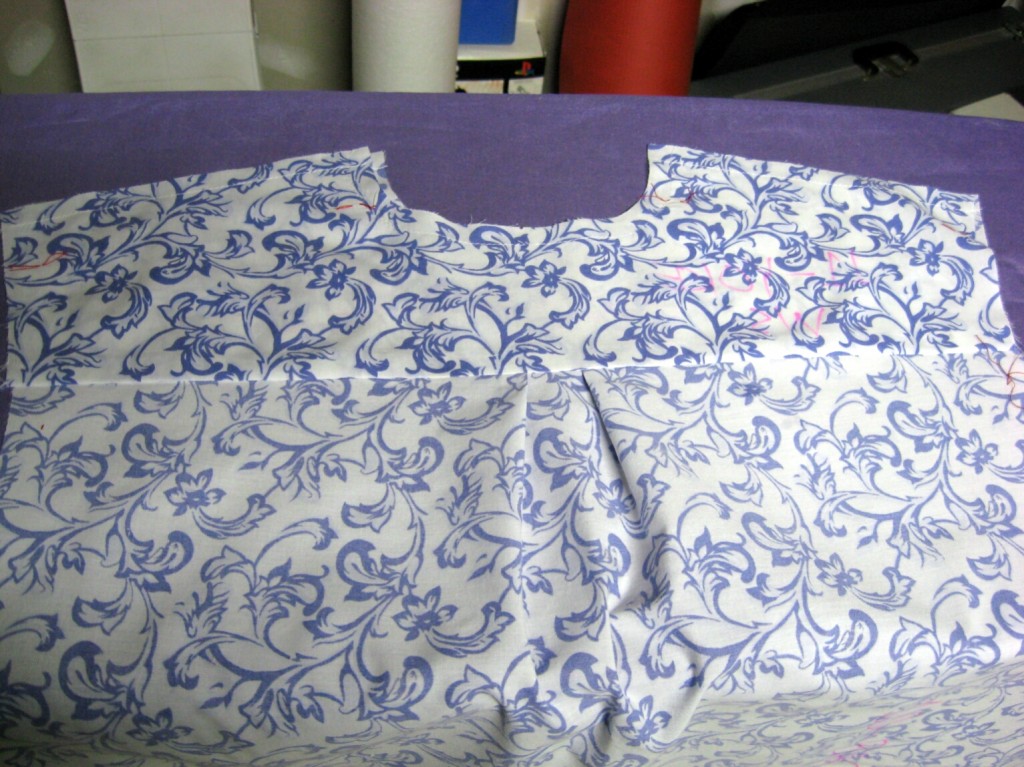
The box pleat turned out rather well.
The Yoke Trick
The yoke trick (otherwise known as “The Burrito Trick”) worked well – much better than hand-sewing the inner yoke to the shoulder seam using a hand stitch. The MPB sewalong describes this technique for turning the entire shirt inside the yoke, sewing the shoulder seam, then pulling the entire shirt out of the neck hole.
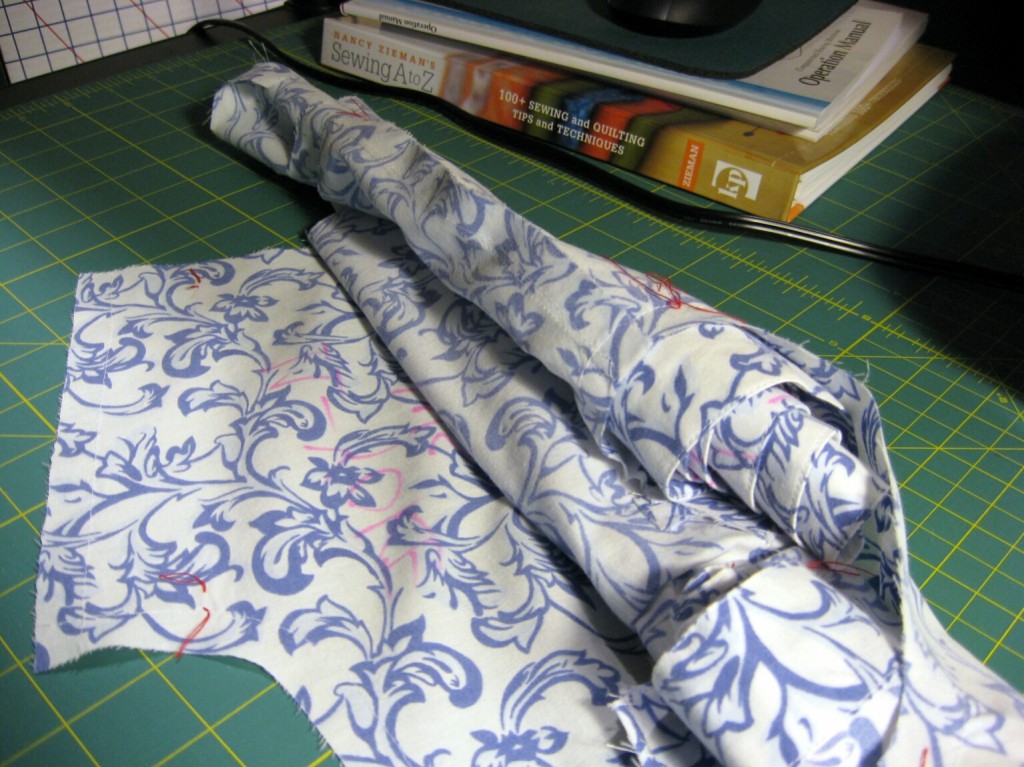
Shirt body and fronts are rolled up to fit inside the inner yoke. Inner yoke (on table) will fold up to match the shoulder seam line and get machine-stitched.
The inner yoke is stitched along the shoulder seam, but the seam allowance is 1/8 inch shorter (1/2 inch) so that it will not pull on the inside of the shirt.
Pam Howard has you drop the inner yoke 1/8 inch compared to the top of the seam line for the outer yoke. This has the effect of causing my staystitching on that piece (which was done around 1/2 inch) to actually fall below the seamline. (Note for next time).
Some notes on topstitching the back/yoke and yoke/shoulder seams: I used stitch 1 on my machine (a centered straight stitch). I used the left edge of the foot as a guide and lined up the shoulder seam with it.
While topstitching the final shoulder seam, I found it hard to keep the inner yoke (which was facing the feed dogs) pulled taut so that it didn’t produce a bubbled seam. (Note for next time).
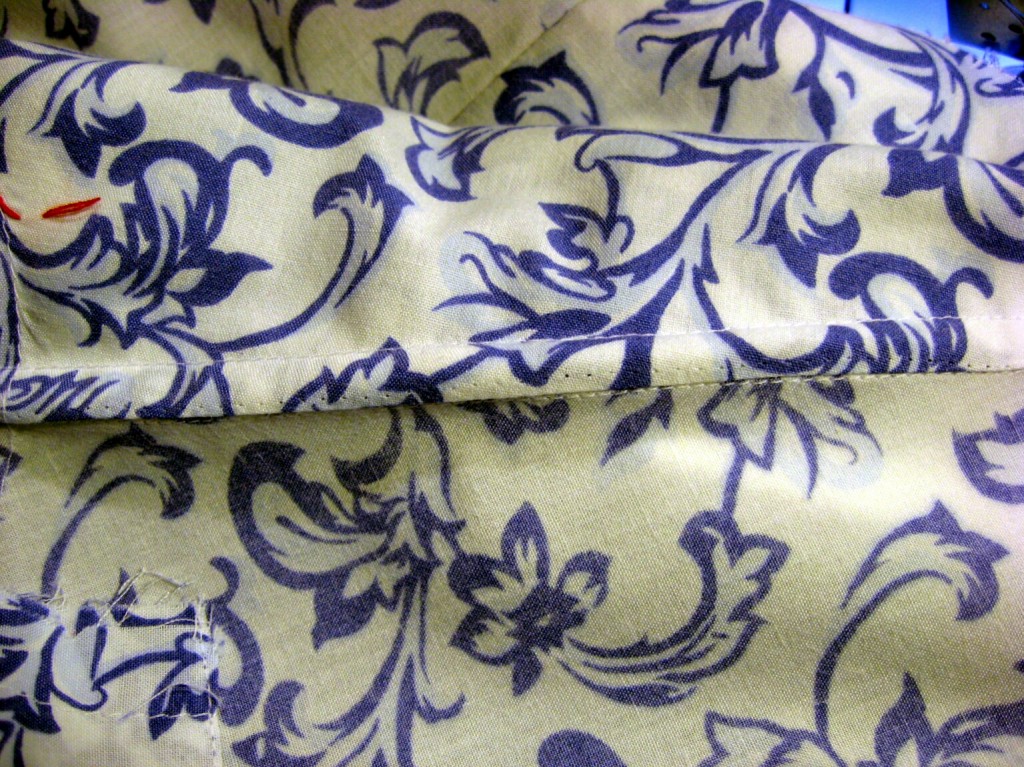
Shoulder seam, with inner and outer back yokes stitched in, then topstitched. The inner yoke shown here has a little bit of a bubble, because the fabric was not taut side-to-side while stitching. Holes are from removed staystiches.
Finally, regarding ironing: I need to check more carefully to ensure the seam lines don’t have “bumps” in them, arising from the fabric not being pressed away from the seamline. I also need to clean the soleplate of the iron and stop using the presscloth (which is partially responsible for the problem). (Note for next time)
Next on the list: the dreaded collar.
So glad I found this…..I have made a number of men’s shirts, just last month an old Butterick 4004 (late 80s), so was puzzling over the instructions in McCall’s 2447 for what turns out to essentially doubled interfacing on the front button hole band. I already cut the interfacing, but was trying some alternate lighter samples. Just thought of checking the internet this morning to see what else I could find out before I committed to fusing the interfacing in. Based on your info, I think will just cut the interfacing in half lengthwise. Thanks again.
I feel like I did the front bands wrong too….or the instructions are just stupid… This is also a muslim for my husband so Im going to keep going. I have the David Coffin book as well. I think I will take the crafesty course of shirt making.. But Im only in a few steps in, and I give this pattern instructions a 3 thumbs down…and I only have two hands lol