Greetings!
I am nearing the end of our shirt construction project!
Staystitching and InterfacingPrepare and Attach Front PocketShirt Front BandsYoke and Shoulder SeamsPrepare and Attach Collar and NeckbandPrepare Sleeve PlacketAttach Sleeve to Armscye, flat-fell armscye seamsSew Side and Sleeve Seams (with flat-felling)Prepare CuffsPleat Sleeves, Attach Cuffs, Topstitch CuffsRolled Hems along bottom of shirt- Buttonholes (including front band, collar, cuffs, and sleeves)
- Attach all Buttons
- Final Shirt Press
Buttons
A dress shirt typically has buttons in the following places:
- Front Band (left side on a men’s shirt, right side on women’s)
- Collar Band (right in the middle – again on left side of collar band for men)
- Cuffs
- Collar points (if making a button-down collar)
- Sleeve Placket
The sleeve placket on McCall’s 2447 does not have a sleeve button. I thought about making one, but the placket is a little short and so it doesn’t need it. I did decide to make the collar a button-down collar, just to get the practice making and placing the buttonhole and buttons.
Front Band and Collar Band
Since I made no alterations whatsoever to the pattern, I went back to the pattern to get the markings for the buttons.
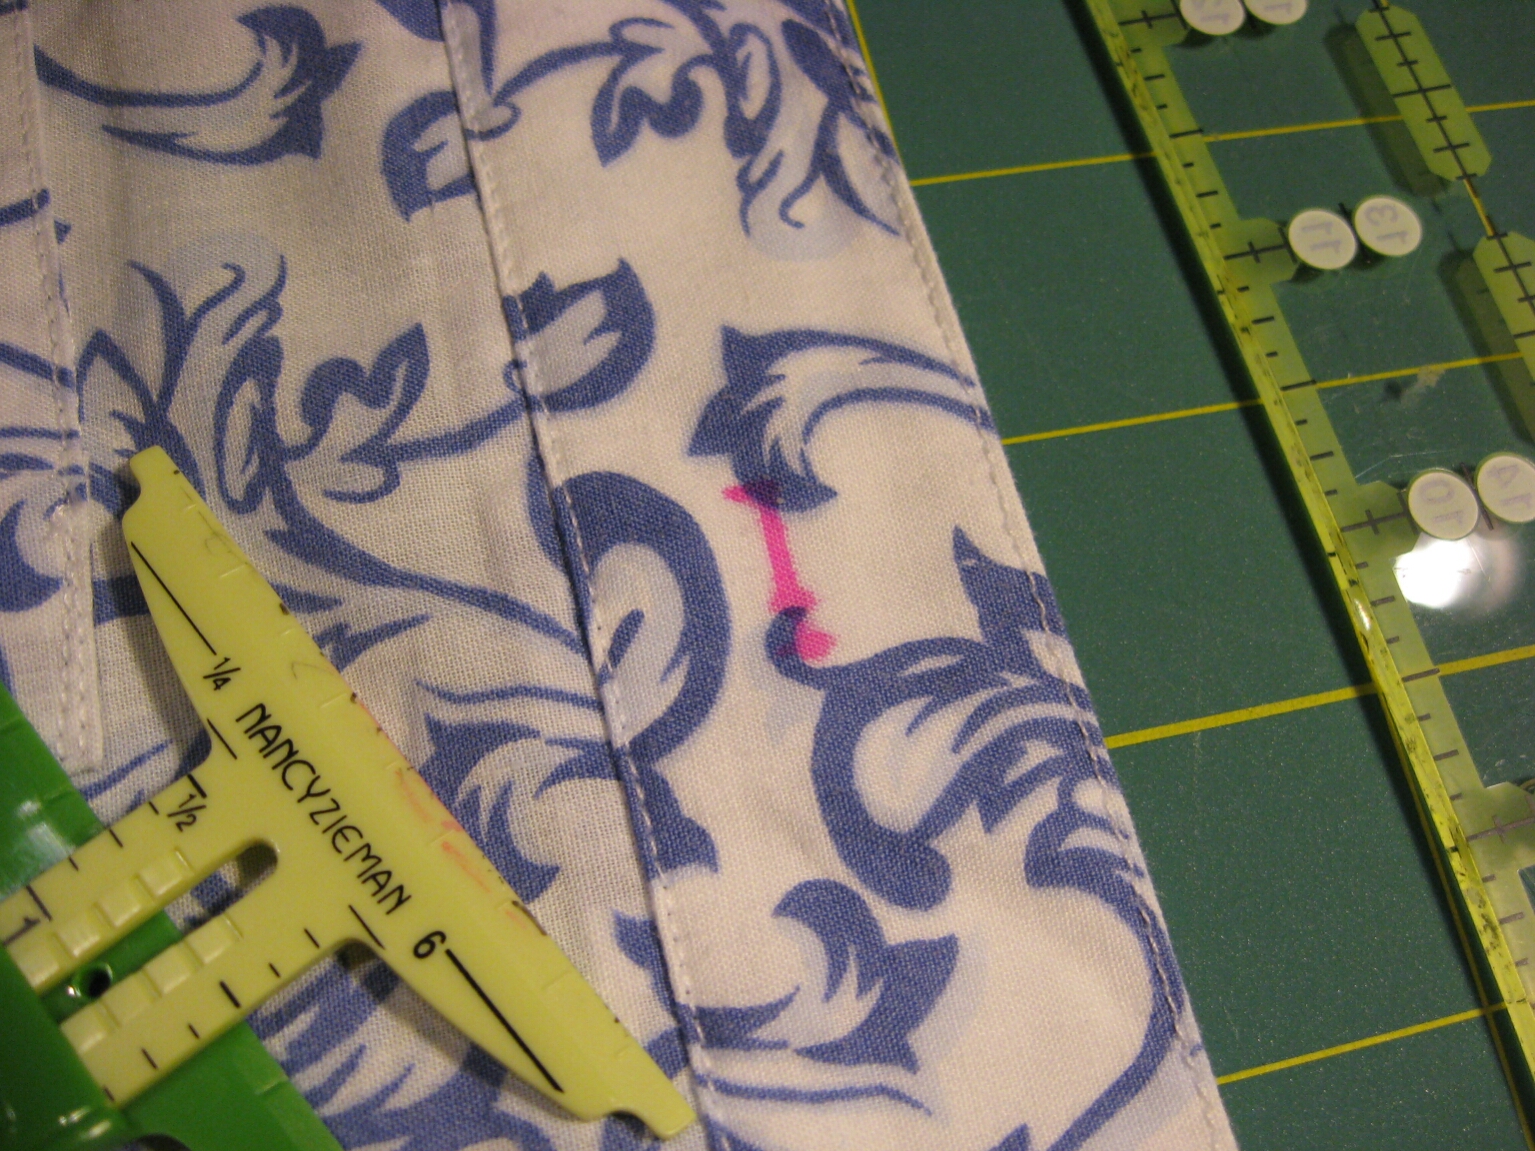
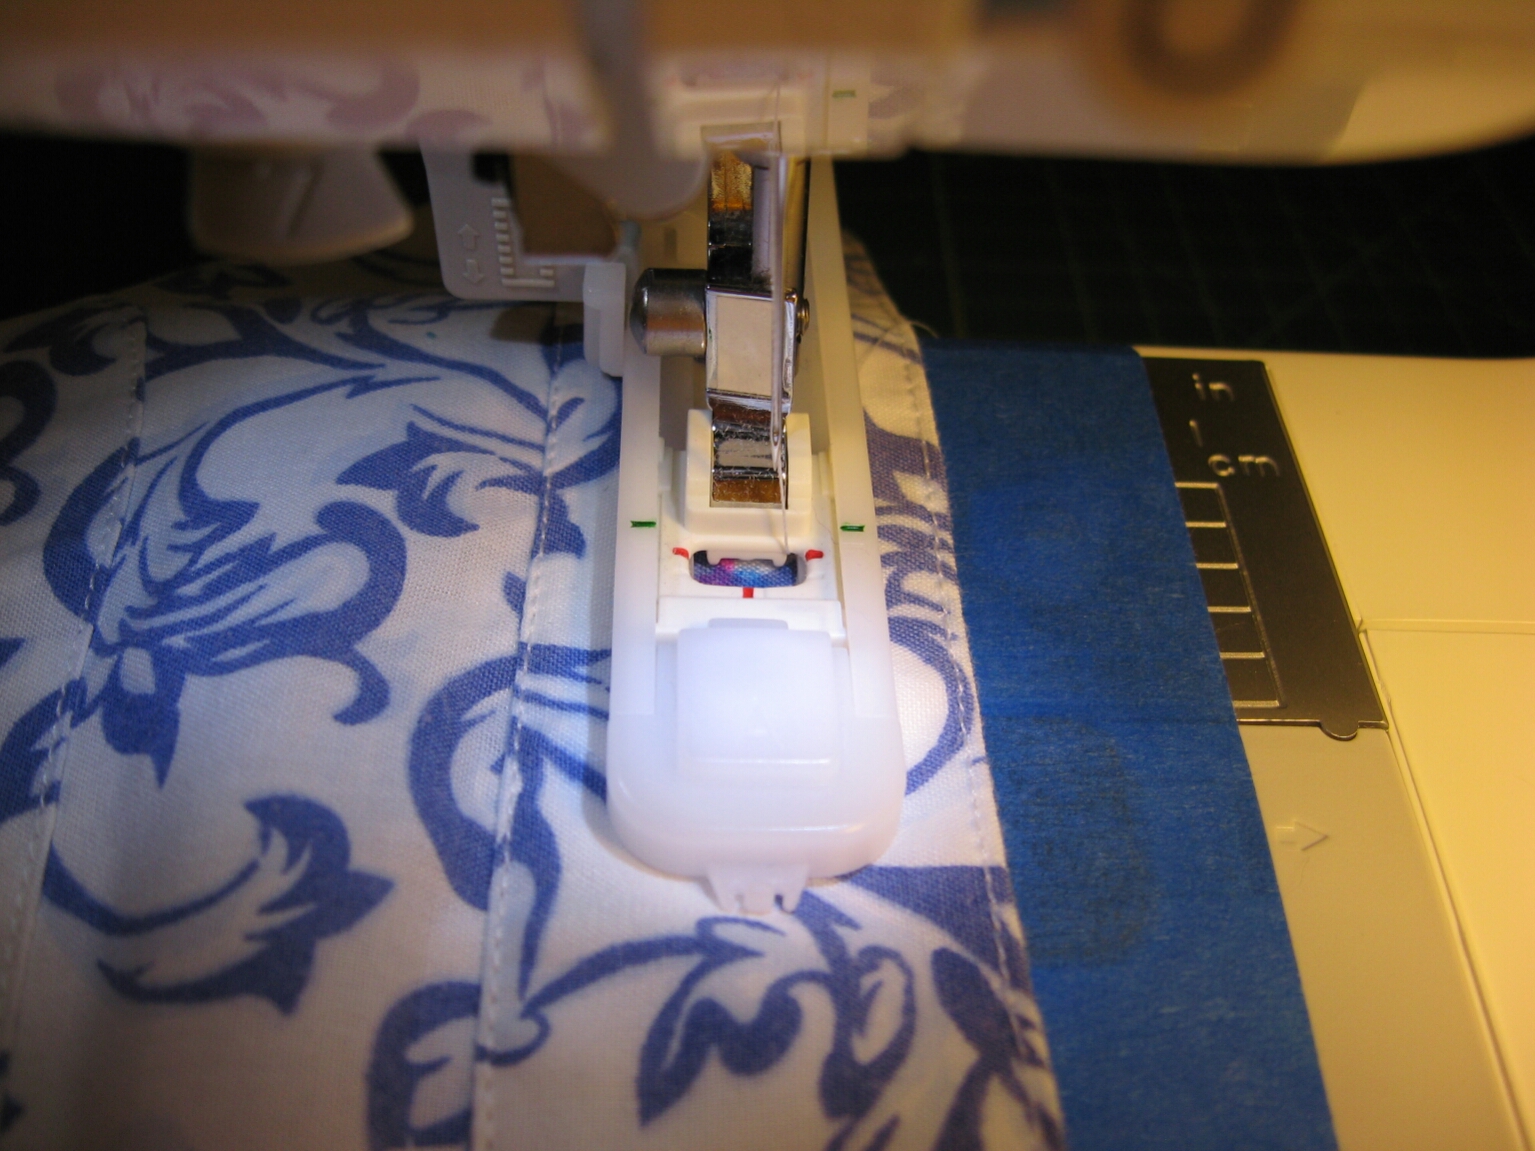
It took a little extra work to get the buttonholes marked along the center line of the front band – I was a little off-center with the pink markings, and the pink Crayola maker spreads the ink a bit much. I measured again and made blue dots, then stitched and cut the buttonholes.


After getting the buttonholes cut, I pinned the left and right front bands together, then poked Crayola marker through the center of each cut buttonhole to make dots on the right front band. Each dot marks the attachment point for a button.
For a little better precision, I marked a cross over each dot, using a chalk pencil, extending past the diameter of each button. That made it easy to position each button centered over the markings while I attached the buttons using the sewing machine.

Cuffs
After looking at several shirts in my closet, I discovered the cuffs use buttons the same size as those used on the shirt fronts. Only one shirt had smaller buttons on the cuff. So that’s what I went with.
The Button-down Collar
I learned from examining an Old Navy button-down shirt that the buttons for a button-down collar are positioned in such a way that the collar has a bit of room between it and the body of the shirt. I assume this is done to make space for a tie.
Any pattern markings I had made were long gone, so I decided to find the position by wearing the shirt with a tie, positioning the collar points at the right spot, then poking my handy-dandy Crayola Washable Markers through the buttonholes to mark the center points for the buttons.

The Final Reveal!
This shirt, my first attempt, was never meant to be a success. But it has turned out wearable! (Click or tap on the photos for larger versions).


I even chose some pretty far-out fabric, thinking it would be silly if not fashionable. But while thumbing through the digital “pages” of GQ Magazine, I stumbled across this photo:

Who knew that hip-n-trendy fashion can be made from a bedsheet.
Final Shirt Press
Yeah, I’ll get around to it.
Hi there!
Did you ever figure out how to adjust the sleeves? I’m currently sewing this and I think I made a mistake purchasing this pattern :-/
Btw; amazing blog