
It lives! My Springtime Seersucker Shirt has been completed, and it’s still technically springtime!
And I’m also pleased that I made the deadline for submitting my shirt to PatternReview.com’s Natural Fibers Contest.

Here’s some notes on the shirt construction.
Thread
Following advice in David Coffin’s book Shirtmaking, I used lightweight tailors thread (Gutermann Mara 150) from Bay Tailor Supply to stitch all the seams. It worked nicely, and does looks nicer than regular all-purpose thread. I used a #70 needle with this thread.

Flat-fell Hell
It might be the weave of this particular cut of fabric, but seersucker is difficult to press into accurate creases either with fingers or with an iron, which is necessary to do a good men’s shirt.
The way I do flat-fell finishes and rolled hems is to finger-fold the fabric, press it with an iron, then sew the closing stitch. The ironed finish usually keeps the folds intact during sewing, but this fabric just wouldn’t handle nicely and fold in a crisp way, even when attacked with the iron.

A flat-fell seam turned into a total mess at the sewing machine.
Even though the seam finishes on the inside are a little less than neat, it doesn’t show on the outside.
Rolled hem
On my first attempt at the rolled hem for the shirttail (and you see where this is going), I sped through finger-folding and ironing in one step. It came out messy, but again since it wasn’t visible on the outside I deemed it acceptable and moved on.
Then I realized I did the hem backwards – the finished side faced the inside of the shirt, and the ugly hem finish showed on the right side. It probably wouldn’t have made much difference, but I bit the bullet, pulled the stitches, and redid the hem, going slower the second time around. Time consuming, but the result turned out much better and I’m happy with it.

Do-over on the hemline.
Sew-in interfacing
I used sew-in interfacing for collars and front band, which was necessary due to nature of the fabric. Fusibles would have ruined the texture of the seersucker.
However, this turned out to be a time-sink in several ways:
- The interfacing was polyester, which made ironing difficult. I had to be careful not to press the bare iron onto the interfacing, lest the iron (set for Cotton) would melt it.
- I tried to use a press cloth to press open the seams. This worked poorly, since it was hard to see how the fabric was situated and the seams got smushed underneath the presscloth.
- I secured the interfacing to fashion fabric with a basting stitch in the seam allowance. During front band and collar construction, I had to stop, pull the basting stitches, and trim the interfacing to the seamline. This was absolutely necessary because the seams were already a bit bulky as-is, especially in the front band.

Attaching sew-in interfacing with a basting stitch.
Collar
I tried the sneaky trick for perfect collar points, first divulged by Pam at the Off the Cuff blog and demonstrated on video by Brian at BrianSews! The trick totally failed for me – the thread loops didn’t catch in the seam, and pulled right out. I ended up using a regular point-turner gadget to turn the collar points.

The thread loop that is supposed to turn a perfect collar point.
By the way, this trick assumes the collar pieces already have been cut with the correct (1/4 or 3/8 inch) seam allowance. If you sew the collar with a 5/8 inch seam allowance, then trim, it’s hard to trim without cutting the thread loop and you’ll have to undo some stitching. I should make a point of retracing the collar pieces on commercial patterns to eliminate this extra seam allowance.
The attachment of collar to shirt went well. The enclosing seam on the collar band facing lined up nicely with the same seam on the neckline, unlike my first shirt with McCall’s 2447.
Buttons
For this shirt, I had some beautiful pink buttons in my button stash that worked perfectly with the shirt fabric.
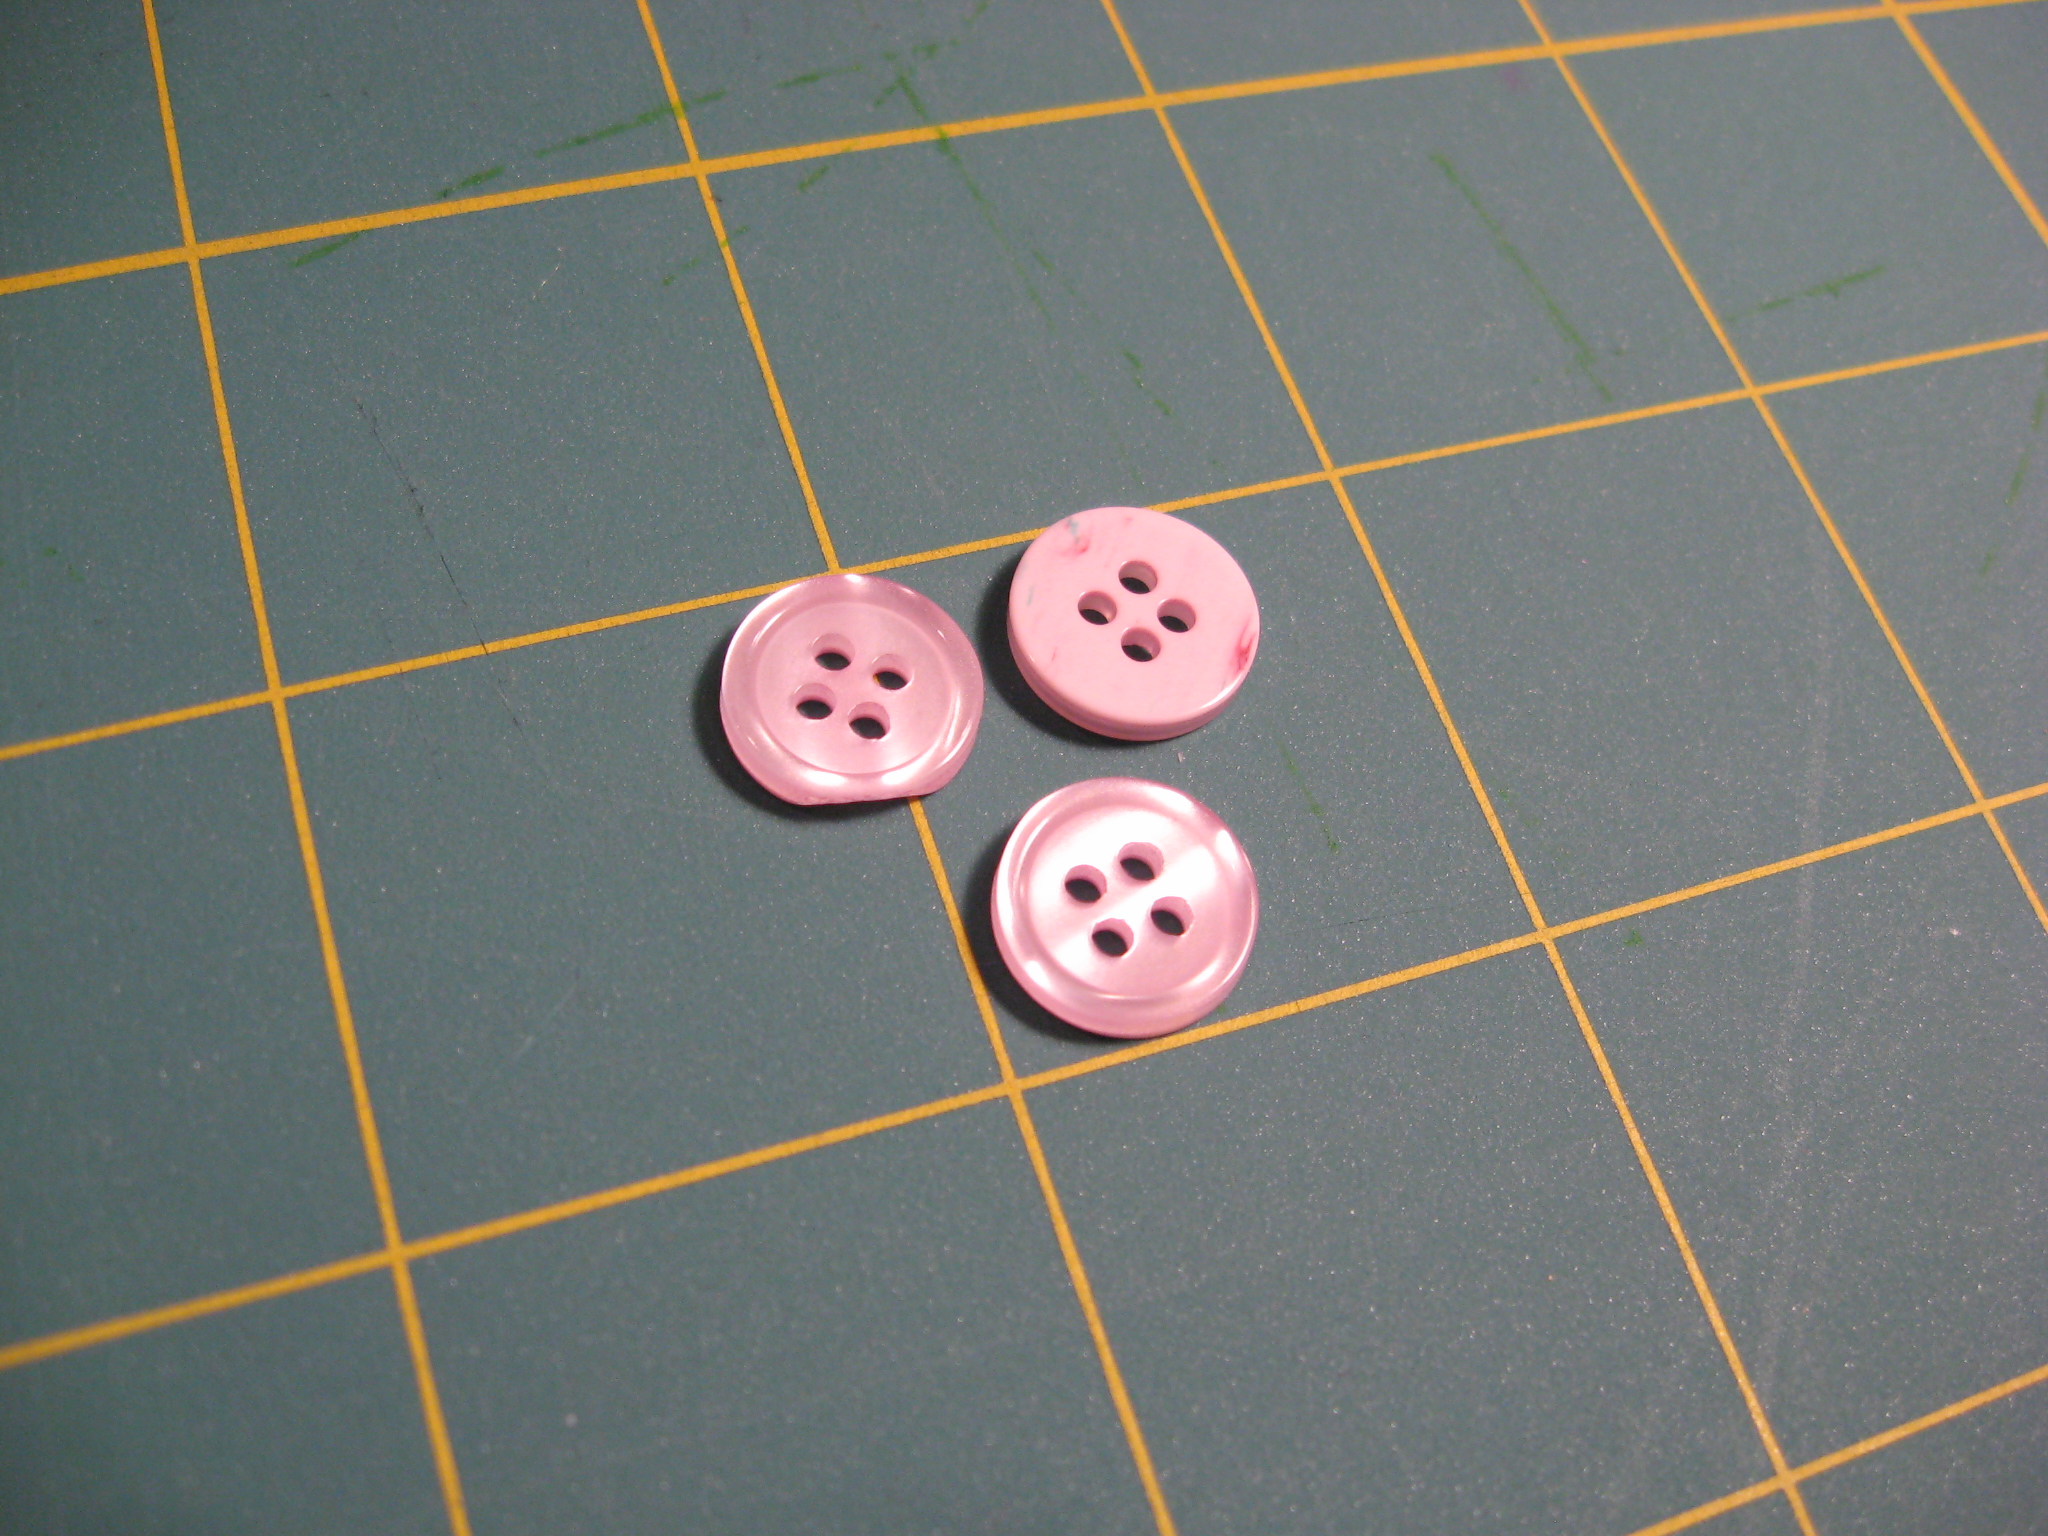
The slightly wonky one didn’t make it on the shirt.
I also used the lightweight tailor’s thread to stitch the buttonholes.
To sew buttonholes, I drew alignment marks on the fabric with my Crayola fabric marker, then used them as placement guides for the buttonhole foot.
My machine’s automatic buttonhole feature produced a nice result. The only glitch was an alignment problem with top buttonhole, when I wasn’t careful enough positioning the buttonhole foot. It ended up a bit too high, and I had to sew the button a bit high as well to match.
I switched from lightweight to Gutermann all-purpose thread to attach the buttons, for strength. And yes, I use the machine to attach the buttons – anything I can get the machine to do, I will!
Collar Button Placement
The pattern doesn’t specify it, but I decided to make the collar a button-down in keeping with the casual nature of the shirt. Unlike the pink buttons I had on hand for the front band, I only had generic shirt buttons in the size necessary for collars.
To place the button holes on the collar points, I looked at an existing shirt to see how close the buttonhole could get to the collar edge. On the Ben Sherman shirt I inspected, the buttonhole actually partially overlapped the collar topstitching. That was a bit of a surprise.
According to Coffin’s Shirtmaking, I probably should have made the buttonholes before attaching the collar to the shirt for best results in lining up the buttonholes on both sides. Too late for that now. Instead, I marked alignment lines with the fabric marker, wide enough to provide an easy guide for positioning the buttonhole foot. I traced the alignment lines onto tracing paper, then used the trace to duplicate the placement on the other side of the collar.

Alignment marks for buttonhole placement. The extra marks are for aligning either side of the buttonhole foot.
If you try this, be careful to make sure both marks appear on the same face of the collar. I should have flipped the tracing paper, but didn’t, so the alignment marks ended up on opposite faces (upper and under collar).
To position the collar buttons, I let the collar fall more or less naturally and made alignment marks with the washable marker pen. Following advice in Shirtmaking, I pinned a small square of interfacing to the inside of the shirt at the button attachment point. I trimmed the interfacing after attaching the button.
The left-hand collar button turned out to be a big pain. First, the machine broke a needle when it struck the button. That was because I didn’t properly position the button in the attachment foot.

If the button isn’t positioned just perfect, the needle will strike it and break.

Error code E6. Loosely translated from the sewing machine’s manual, “you dumbass.”
Second, after trying on the shirt, I realized it was a half-inch too far out, so I had to remove it and reattach closer to the front band.
Plaid Matching Results
The plaid matching turned out fairly well. I’ve been promising you a post on pattern matching. I’ll save the results for that post, which will now be a postscript to this project.
Nice work! I’ve reversed a rolled hem more than once. I’m wondering if a clapper pressing tool might have been helpful in getting the folds to lay flat for the flat felled seams.
I have a point presser/clapper tool! Never thought to use it to press flat-fell seams.
Currently working on a pair of jeans, which has a few miles of flat-fell on the inseam. I might give this a try.
Here’s how I do my shirt hems. First serge the entire hem. Sounds crazy since you’re going to hem anyway, but this step gives you a firmer edge to roll as you sew. With that serged edge you can now finger roll the edge any width you want, the narrower the better, but I like to finish at 1/4″. Try to stitch right at the edge of the hem, not in the middle. You might have problems at the bulky ends, just fold and sew carefully and slowly, keeping the ends neat and clean without anything sticking out. Sometimes switching to a heavier needle helps, a 14 or 16 depend on the weight of the fabric. At the inside curves stretch the hem a little, and at the outside curves, ease in a little, but always try to fold perpendicular to the cut line of the fabric.
Wonderful idea! Thank you for the help. Hems are one of the trouble spots I persistently have in shirtmaking and your methods do sound like they’ll make things easier.