In this conclusion to the Make My Hoodie series, we’ll look at fit, some samples I made, as well as pattern alterations to make this hoodie even more beginner-friendly than it already is.
Fit
The thing that made me most curious about MakeMyPattern was the fit. How well would a computer-generated pattern fit me out of the box?
The answer: pretty well for the first attempt, well enough that I’m inclined to stick with it. Here’s some self-timer fashion photos of my first sample.
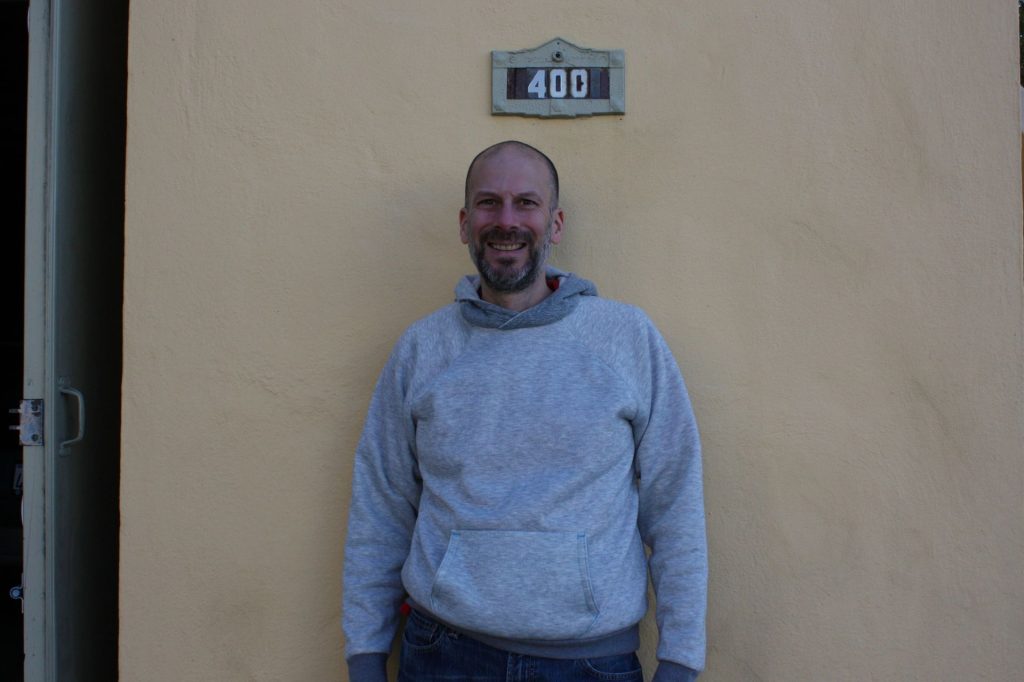
A hoodie is a loose-fitting garment, and made from a knit fabric so fit is less an issue. That means the bar to clear is much lower than for a tailored garment. But even so, this turned out pretty well.
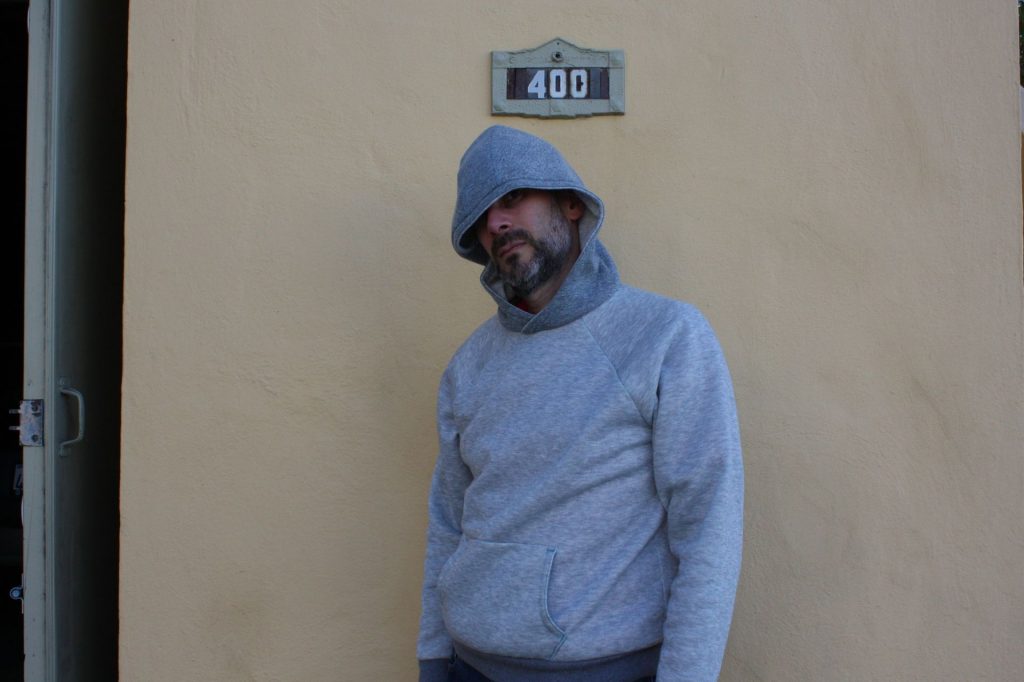
There was one issue – the head opening is a little bit small, so pulling it over the head is a bit tight. I tried to finesse that by lying to MakeMyPattern, telling it my neck diameter is 3 centimeters larger than it really is. I generated a new pattern and made a new sample.
This trick worked – sort of. The neck opening was more comfortable on the second attempt, but the pattern drafting bot also added some extra ease to the raglan sleeves, causing them to bag up a bit near the underarm area. It’s something that only a fitting nerd would notice, but I’m inclined to just stick with the first attempt.
Beginner Friendliness
The MakeMyPattern.com site bills this pattern as “very doable”, and says the most difficult part of construction is to attach the hood to the body of the shirt. You need to align the parts, stitch through several layers of fleece, and finish the neckline with a knit binding.
I would say there’s two additional additional steps that could give beginners trouble: attaching rib knit bands for the cuffs and waistband. The trouble happens because the rib knit band is smaller circumference than the waist or cuff on the garment, and must be stretched while sewing to make up the difference.
The traditional way to do this is to “quarter mark” the rib knit bands and the cuff (or waist), then match up the marks to evenly distribute the stretch around the garment. Nancy Zieman describes the technique here. (Favorite comment from that article: “This is what real sewing looks like, sometimes it’s not perfect.” I can relate).
Having done this as a beginner, I can say this is not the easiest thing to do. You need to stretch the knit band so it is the same length as the garment, but NOT so much that you stretch the garment. Then, you need to run it through the machine at the same time you stretch, at the speed the machine is sewing. And pinning between the quarter marks is cumbersome, so you also need to keep the edges lined up while doing everything else.
So I wanted to make the pattern even more beginner friendly, so people new to sewing could get through the project in two class sessions and quarter-marking could be taught in another class. But I also didn’t want to “dumb down” the project to the point where it is no longer compelling to make.
Neck
The first thing I did was to do away with the binding on the neck band. This makes the hood attachment easier to do, because there’s fewer layers to deal with and no binding strip to keep aligned with everything else. Constructed on a conventional machine, the hoodie is going to have zig-zag finished seams everywhere, so the neckline won’t be any different. And the neckline is buried well inside the hood, so it won’t look any different from the outside.
Waist and Cuffs
For waist and cuffs, I eliminated the knit band entirely in favor of a hem in both places. On the waistband, I added some interest by adding a drawstring. The drawstring openings are interfaced on the wrong side of the fleece, and machine-sewn buttonholes reinforce the openings. This also provides an opportunity for students to learn buttonhole sewing.
Since the project no longer uses rib knit, the body and sleeve pattern pieces must be lengthened by the height of the rib knit, plus hem allowance. That nicely works out to 4 inches on both waist and cuffs. This provides another opportunity to teach students how to lengthen or shorten a pattern – the most common kind of pattern alteration.
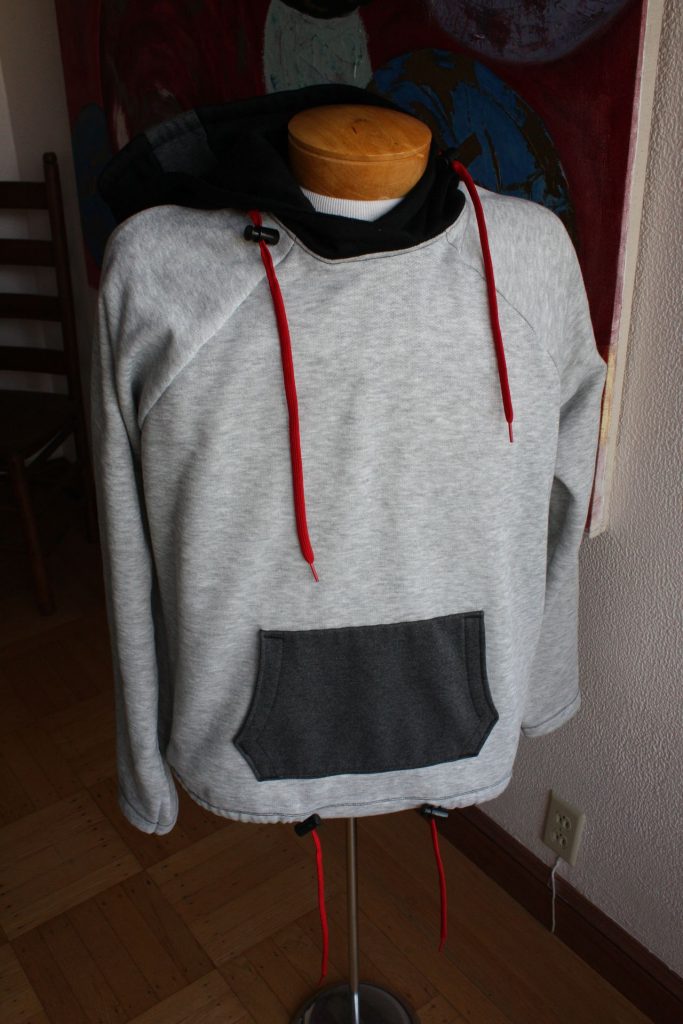
Here’s a sample color-blocked hoodie I made with the new beginner-friendly pattern. A black hood with black and charcoal gray racing stripe and a red drawstring to match the drawstring at waist. Finally, a charcoal pocket picks up the racing strip in the hood.
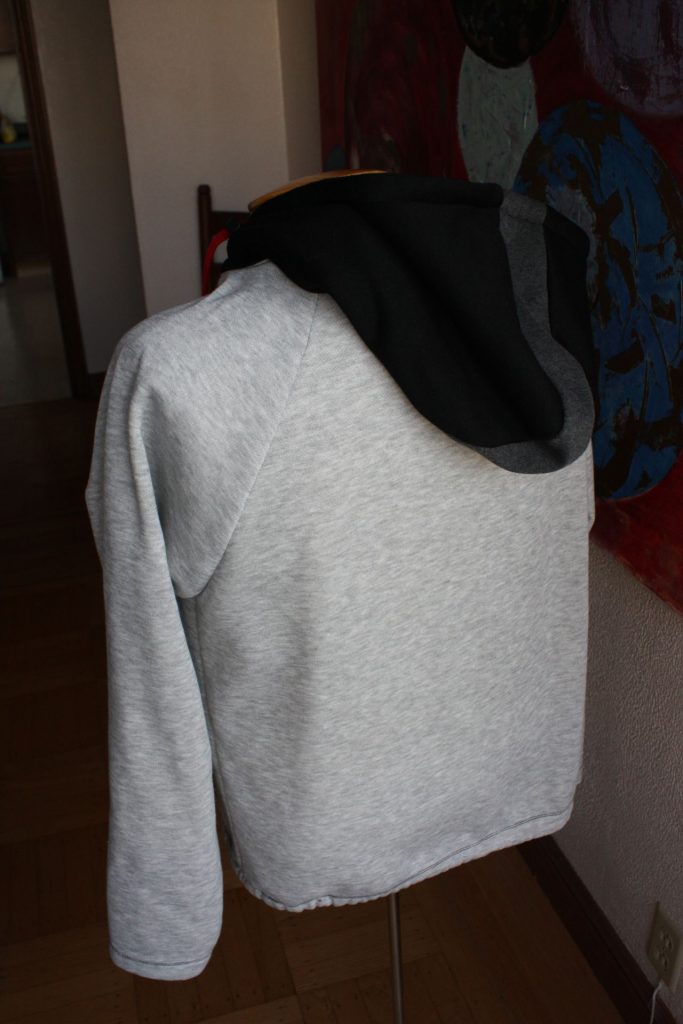
Inside hood racing stripe.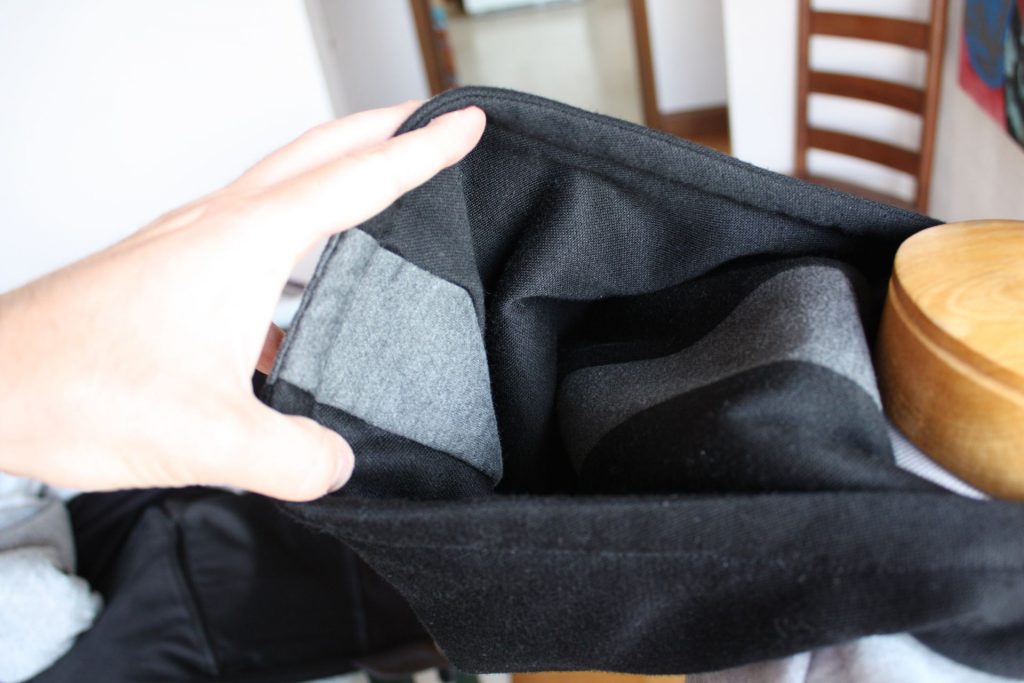
Even though I didn’t finish the neckline, you can’t tell from the outside.
An Experiment
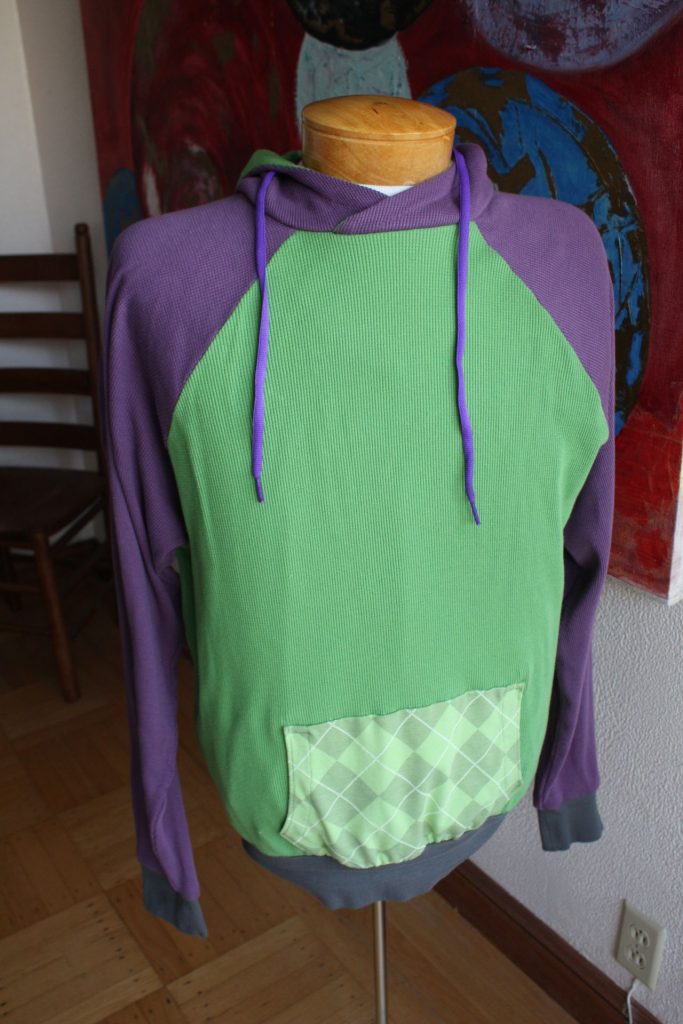
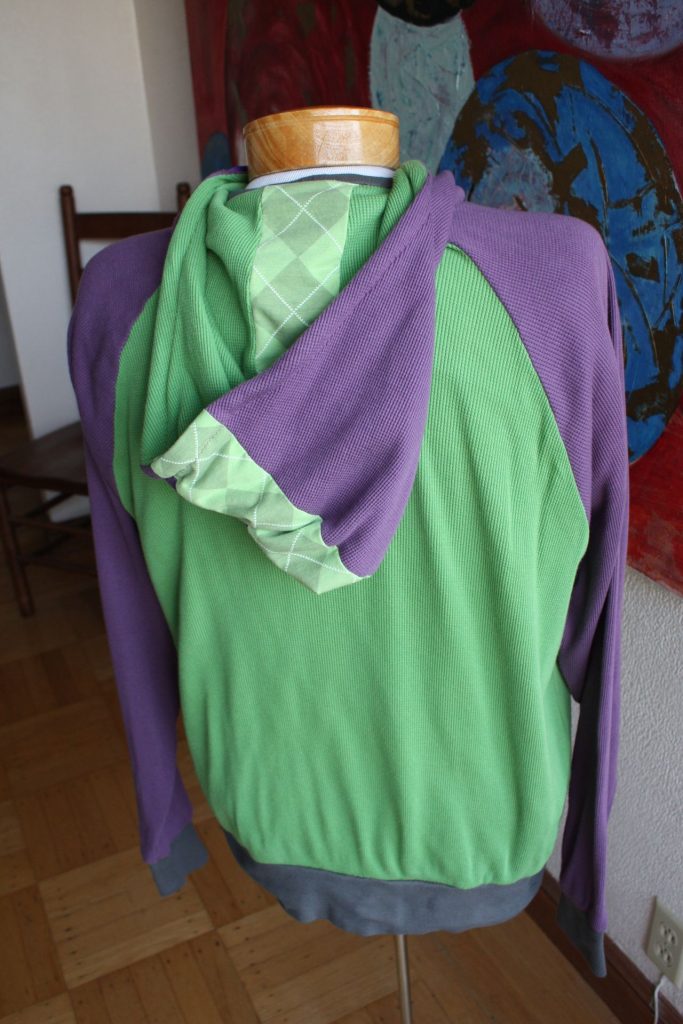
I wanted to have a sample on hand to give the students an idea of the creative possibilities for making hoodies.
This green and purple waffle knit has been in my stash since I began sewing. As a beginner, I intended to make a Simplicity raglan-style knit shirt. On my first try, with a gray knit, I screwed up the orientation of the pieces and created a wadder. I finished on the second try, but I used a super drapey fabric and the pattern was WAY too big, so it was still unwearable. And I had no idea how to alter the pattern to fit. I abandoned that project, and the fabric sat in my stash until now.
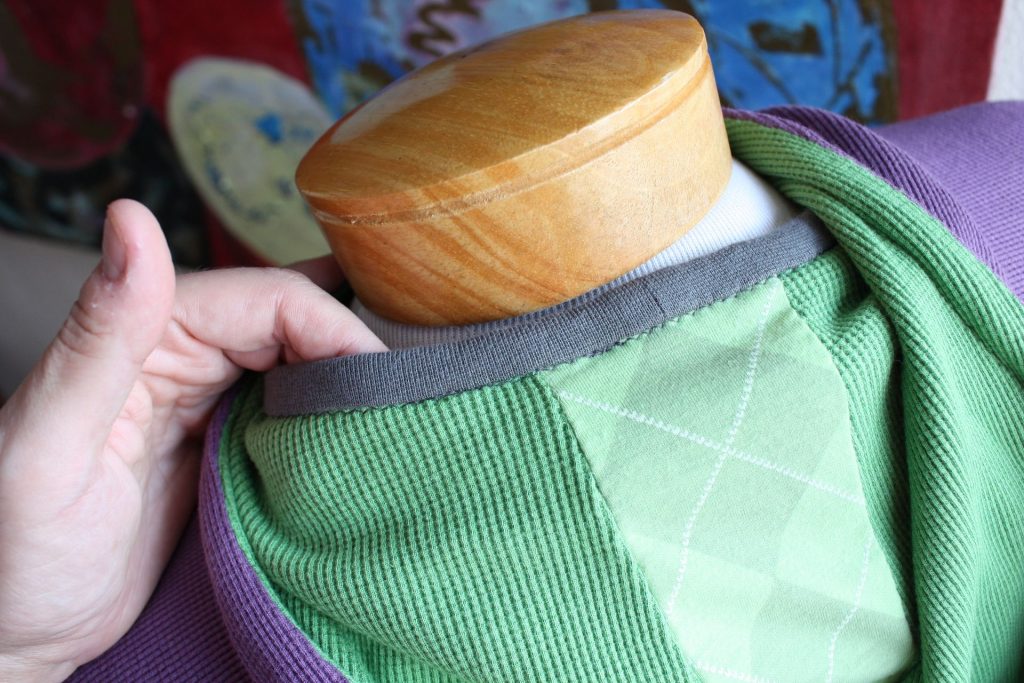
I tried incorporating some argyle print jersey into the pocket and hood stripe as a design element.
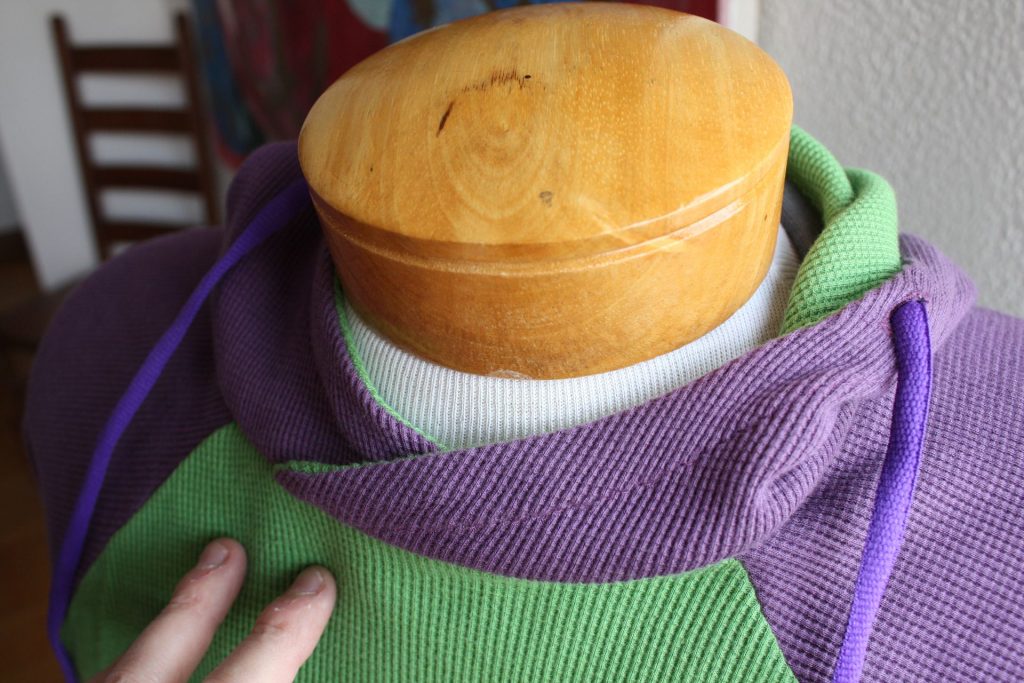
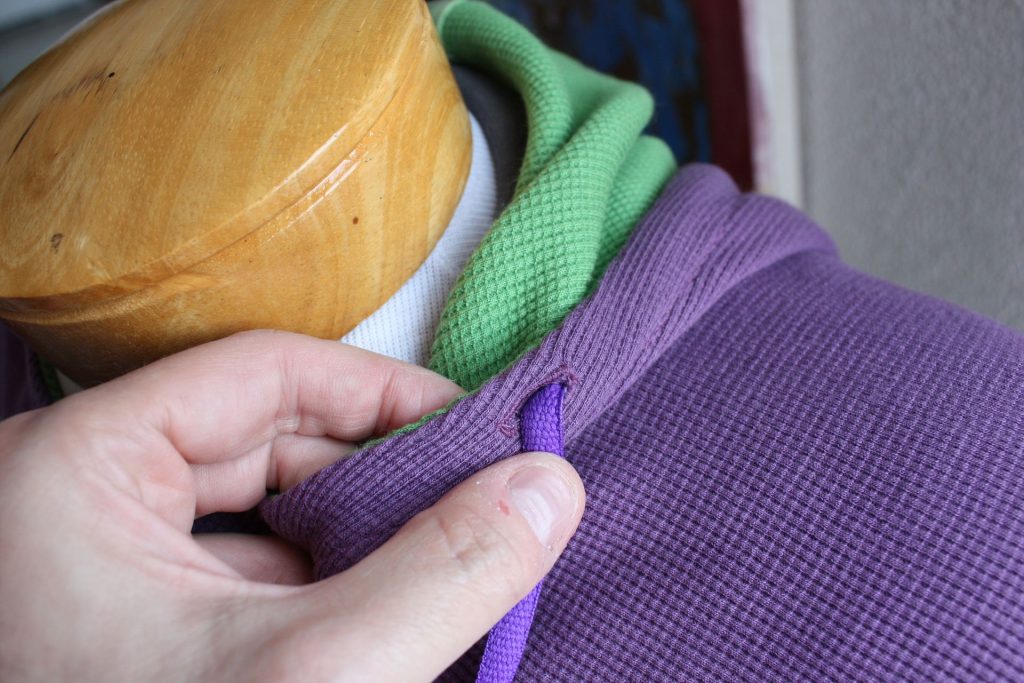
Here’s a closeup on the knit binding on the neckline, which I eliminated in the “beginner friendly” version of the project.
Here’s a closeup of a buttonhole used to reinforce the drawstring openings. So much easier to do than applying grommets, at least if you don’t have proper grommet tools.
Truth be told, I’m not in love with the way this design turned out. But I’m curious to hear what readers think. I think it will make a useful example for the class. The waffle knit is more challenging to work with than sweatshirt fleece, so I know now to steer newbies to sweatshirt fleece and save stretchier, less-stable knits for future projects.
Sweatshirt fleece is not necessarily a stretchy fabric. I actually tested this recently and tested all the sweatshirts I could find in both my closet and in stores. None of them had stretch. It was an eye opener. I think actual non-stretch sweatshirt fleece is very easy to sew and would be great for a beginner project. With a non-stretch sweatshirt details like piping or zippers are much easier to apply.
Linda,
I definitely agree. The green/purple hoodie is a waffle knit that is stretchy. Regular sweatshirt fleece is really easy to work with by comparison, so I’m glad I made samples of each to experience the difference firsthand. (I’ve never worked with the waffle knit before). I also think sweatshirt fleece is easy enough for a beginner project.
I’m obviously super biased, but I love this series, great work!
Use that sweatshirt as a teaching sample, pointing out what is right and what is wrong. Where the fitting issues are and why. You could discuss which fabrics are best and why one might need to lengthen the neckline facing if installing a neckline binding. I don’t see the need for the binding as the second line of topstitching and trimming looks great on the hood installation.
Excellent suggestion, thanks!
Are raglan sleeves more difficult than regular sleeves to size and sew together?
I never thought to make a hoodie. This might be a upcoming project for me.
Wil,
I think the raglan sleeves are much easier than regular sleeves, at least on this hoodie pattern. The sleeve attaches to the body with two nearly-straight seams, one seam in front and one in back. There’s only a small bit of curve in the underarm area. Here’s a link to a thumbnail of the entire pattern. Piece 1 is front, Piece 2 is back (both are on the fold), Piece 3 is sleeve. The sleeve-to-body seams are nearly straight for all of them. And all the pieces are still in-the-flat when you sew them. It’s one of the things that made me think this could be good for beginners. For you, it would be a piece of cake.
Hi
I second the person suggesting the use of the multicolored green hoodie as a teaching sample. I am considering my only hoodie tshirt as a pattern.
Maybe this post will inspire me to make a hoodie tshirt. Since i no longer spend time in Hawaii i need winter clothes. One question, if i may, Where did you get the fleece material?
Thanks for sharing
Josie
Josie,
All the samples use fabric I bought locally. The gray sweatshirt fleece came from Fabric Outlet, and the green/purple waffle knit are remnants from Britex Fabrics. Both places sell online, here are links: Cali Fabrics (Fabric Outlet) and Britex Fabrics.