Tag Archives: mccalls-2447

The Tailored Shirt #7: Collar Construction


Previously on The Tailored Shirt, we had completed the following items:

  • Staystitching and Interfacing
  • Prepare and Attach Front Pocket
  • Shirt Front Bands
  • Yoke and Shoulder Seams
  • Prepare and Attach Collar and Neckband
  • Prepare Sleeve Placket
  • Attach Sleeve to Armscye, flat-fell armscye seams
  • Sew Side and Sleeve Seams (with flat-felling)
  • Prepare Cuffs
  • Pleat Sleeves, Attach Cuffs, Topstitch Cuffs
  • Rolled Hems along bottom of shirt
  • Buttonholes (including front band, collar, cuffs, and sleeves)
  • Attach all Buttons
  • Final Shirt Press

This episode begins the collar.  I’ll divide it into two articles. The first covers the construction of the collar; the second concerns getting the collar on the shirt body.

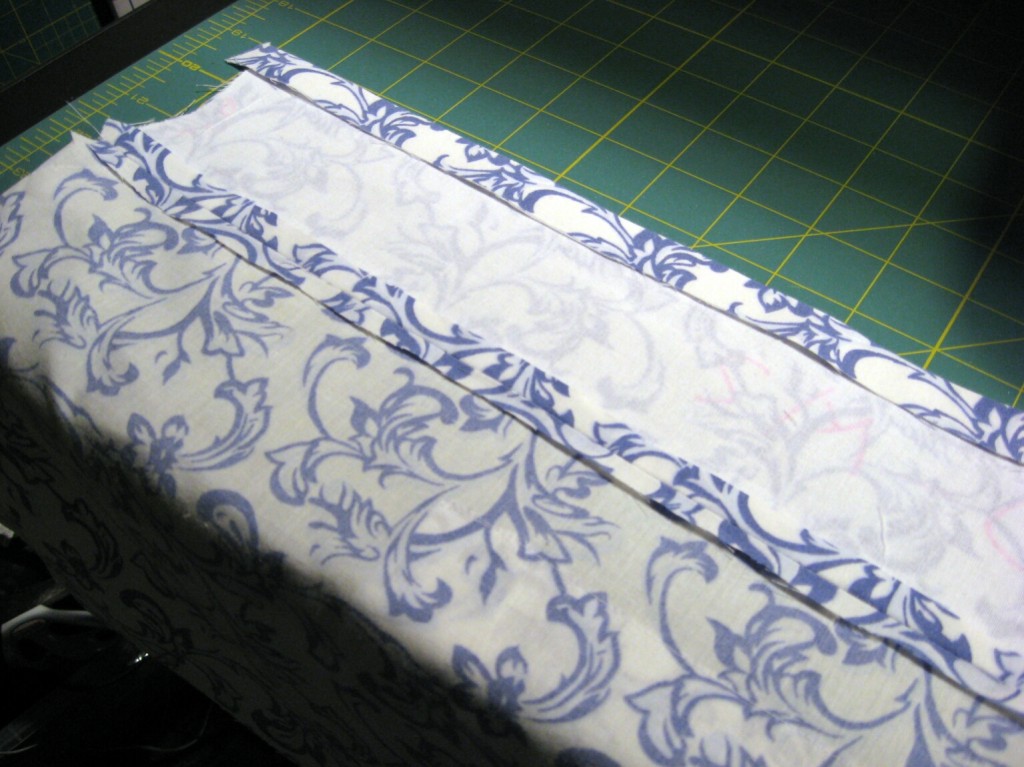
As we discussed earlier, the undercollar is 1/8 inch smaller on all sides except for the side that joins the shirt. I pinned them together with edges matching, which meant I had to do a little work scooching the smaller piece to match up with the edges of the larger:

IMG_0487
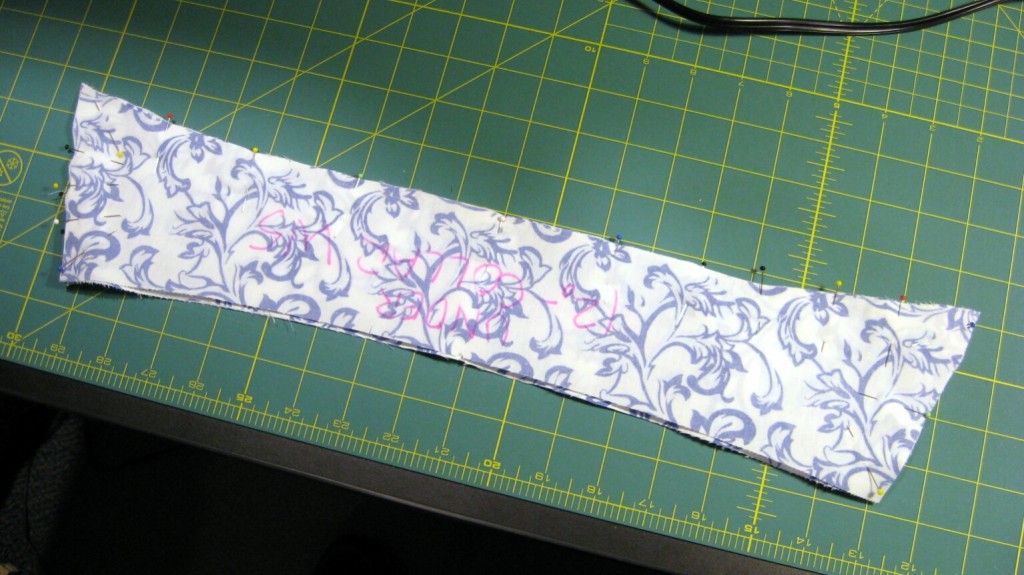
Then I stitched 5/8 inch seams around three sides of the collar, and clipped them to 1/4 inch, with some bevels at the collar points. Continue reading

The Tailored Shirt #6: Front Band, Back, Yokes

Up to this point, I have completed the following steps:

  • Staystitching and Interfacing
  • Prepare and Attach Front Pocket
  • Shirt Front Bands
  • Yoke and Shoulder Seams
  • Prepare and Attach Collar and Neckband
  • Prepare Sleeve Placket
  • Attach Sleeve to Armscye, flat-fell armscye seams
  • Sew Side and Sleeve Seams (with flat-felling)
  • Prepare Cuffs
  • Pleat Sleeves, Attach Cuffs, Topstitch Cuffs
  • Rolled Hems along bottom of shirt
  • Buttonholes (including front band, collar, cuffs, and sleeves)
  • Attach all Buttons
  • Final Shirt Press

Sunday, I got the front bands, yoke and shoulders taken care of. The play-by-play follows.

Sew-on Front Band (Left Side)

In an earlier post, I noted that McCall’s 2447 differed from the class pattern in that it has a separate, sew-on front band for the lefthand shirt front, where the buttonholes go on a men’s shirt.

After having constructed it, I’m convinced I’ve fallen into a “home sewing” trap – a pattern company offering a construction technique that’s intended just to get the project done, rather than produce a nice-looking final garment.

IMG_0425

Left-side front band, initial stages of attachment.

Continue reading

The Tailored Shirt #5: Staystiching, Interfacing, and Pocket

Construction of the shirt begins. The following blog entries will read rather like lists of notes; that’s because they are. I’ll try to be as entertaining as I can.

Construction Order

I’m following my own construction ordering, but will mostly be hewing to the order of construction presented in the Pam Howard class. I am trying to group some tasks, such as doing all the interfacing at once. Also, following the advice in David Coffin’s book, I will be staystitching the shoulder and neck edges to stabilize the fabric.

Here’s my order of construction. I’ve highlighted the steps I’ll be completing in this article:

  • Staystitching and Interfacing
  • Prepare and Attach Front Pocket
  • Shirt Front Bands
  • Yoke and Shoulder Seams
  • Prepare and Attach Collar and Neckband
  • Prepare Sleeve Placket
  • Attach Sleeve to Armscye, flat-fell armscye seams
  • Sew Side and Sleeve Seams (with flat-felling)
  • Prepare Cuffs
  • Pleat Sleeves, Attach Cuffs, Topstitch Cuffs
  • Rolled Hems along bottom of shirt
  • Buttonholes (including front band, collar, cuffs, and sleeves)
  • Attach all Buttons
  • Final Shirt Press

More Pattern Modifications

I trimmed the outer edges of one of the collar pieces by 1/8 inch, to make it an undercollar piece. This was suggested by Pam Howard for proper “turn of cloth” on the complete collar. Next project, consider adding an extra pattern piece for an undercollar based upon the upper collar piece.

image Continue reading

The Tailored Shirt #4: Cutting Complete

Last night, I finally completed layout and cutting of the muslin for my shirt project.

Because I’m using a bedsheet, it doesn’t match the standard dimensions (45 or 60-inch between selvages) that you would expect from fabric off the bolt.  In fact, instead of selvages, it has hems.  So I did my own layout, only using the pattern instructions to be sure I was getting proper counts, and right sides/wrong sides for each piece. I was able to do back, sleeves, left front along one strip of the fabric selvage to selvage.

(Click on photos for larger versions)

front_band Continue reading

The Tailored Shirt #3: More Pattern Confusion

Projects take a long time here at Line Of Selvage headquarters. Mostly it comes about through lots of puttering, but also because I’m sometimes too meticulous for my own good.

Pattern Tracing

Today I finished tracing and cutting out the pattern pieces from tracing paper.  The tracing paper is from a big roll of yellow artists sketch/tracing paper I bought at the art supply store.

trace_1

Some pattern pieces ready for tracing.

Continue reading