Category Archives: Wovens

The Chambray Comfy Shirt, Part 5: Muslins complete

Hello everyone.

I’m sorry for leaving you all hanging at the end of the last installment. Besides all the challenges I knew I was going to face, my company was purchased two weeks after I started my new job.  So now, I work for GoPro, makers of action cameras used by surfers, skiers, and other extreme-sports enthusiasts.

In the meantime, I haven’t forgotten about my Chambray Comfy shirt project.  It moves along, albeit slowly because it’s been harder to find time and energy to devote to it.

More Goodies

One perk of the job is that I am now the proud owner of a top-of-the-line GoPro Hero3+ video camera. Even before the buyout, I had been toying with the idea of doing some videos.  I’m not sure the GoPro is the best thing for doing the kinds of closeups you need for instructional videos – it’s really intended for capturing expansive, wide-angle views of action sequences. But it does have a great deal of control over the types of video it can shoot, and I might try to do some “Extreme Sewing” clips with it soon.

The Second Muslin

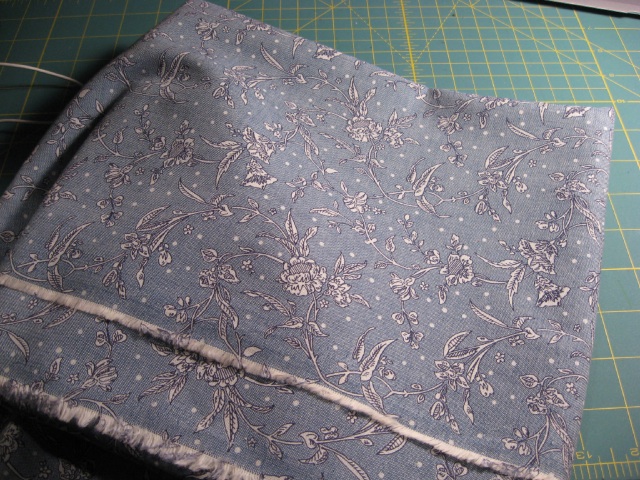
But this weekend, I finally got my second muslin finished. As you might recall, this muslin was done using the Medium version of the pattern (Kwik Sew 2000) so I could fit it against Jim and decide which version I should work from for the alterations.

And since I had a good idea the pattern would end up wearable for myself, as-is, I made one of my famous “wearable muslins” – a fully finished shirt that is as much for wearing, and practicing technique, as fitting.

Construction Notes

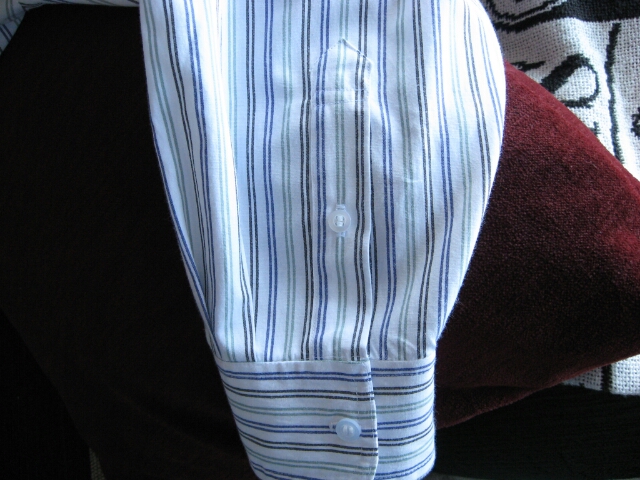
One goal with this muslin was to try out a new placket design.  I didn’t like the sleeve placket that came with the pattern, and so used the sleeve placket pattern and construction method from David Coffin’s book, Shirtmaking.

IMG_1605 Continue reading

The Chambray Comfy Shirt, Part 1

In the midst of all my work drama, this weekend opened up for me to work on some projects.

I’m entering the PatternReview Men’s Challenge, from now through August 15.  The plan is to make a men’s shirt for my partner, Jim.  A few weeks ago, at Fabric Outlet’s 40% off sale, I found this cut of soft Chambray print that is very “him”.   He has several shirts in his wardrobe that have a similar theme and vibe, and this was a a good excuse to make him a shirt.  Plus, it is a chance to try out fitting techniques on someone other myself.

IMG_1466 Continue reading

Jeans, Part 5: Fly and Zipper

This past weekend I installed the zipper and completed the fly portion of my jeans.

At the rate I’m going, I will be lucky to complete this “muslin” by the end of the month for the PatternReview jeans contest. I certainly won’t have the sangria pair done by then. Currently, my professional life has entered a state of upheaval, so it’s put a damper on the amount of time I can devote to this project. Nevertheless, the contest did get me started on this project, and I will finish it. I’m looking forward to the result.

The notes I provided below aren’t strictly in the order I followed them, so apologies for any confusion.  The MPB sewalong makes the ordering pretty clear.

Initial zipper attachment

With my Crayola washable marker, I drew a line up the center front. The pattern instructions have you run a basting stitch up that center line, from below the zipper (at the dot) up to the waist.

IMG_1305_20130624202646804 Continue reading

Jeans Part 4: Front Pockets

Time to sew the front pockets of my stretch denim jeans muslin.

Getting Started

I decided to use my serger to finish the seams that aren’t enclosed or flat-felled. This is primarily the outside seam of the jeans, as well as the pocket bags and fly shield pieces.

I knew the serger was due for cleaning and oiling, and I’m extremely glad I took the time to do it. As I was vaccuming out the lint from the serger, I found a sewing pin in the feed mechanism. It was a basting pin left over from my last T-shirt project. This could have seriously damaged the serger if I had not discovered it first. The accepted wisdom is that pins and a serger are a bad combination, and I definitely have learned my lesson.

I have the sewing machine and the serger arranged in a “Dual-barrel” setup.

IMG_1272_20130617182907743 Continue reading

Jeans Part 3: Test Stitching and Tension Adjustments

Before I started sewing my jeans together, the MPB Jeans Sew-Along suggested to test needles, thread and fabric first. Especially since I am using some heavy fabric, and heavy topstitching thread.

Before I began test stitching, I consulted my sewing library for advice. Both the Reader’s Digest Guide to Sewing and DK’s The Sewing Book were silent on the matter of thread tension. I did find some help on adjusting tension in Nancy Zieman’s Sewing A to Z, and in my sewing machine’s instruction manual. So if you need to learn more about thread tension, your machine’s instruction manual would be a great place to start.

Sometimes when checking tension for sewing machine and serger stitches, I find it useful to have a magnifying glass on hand to get a closer look at the stitching. You can see how the top and bobbin threads wrap around each other, as well as how much the bobbin thread shows on the top side, and vice-versa. Continue reading