Category Archives: Pattern Alteration

Make My Hoodie, Part 2

In this conclusion to the Make My Hoodie series, we’ll look at fit, some samples I made, as well as pattern alterations to make this hoodie even more beginner-friendly than it already is.

Fit

The thing that made me most curious about MakeMyPattern was the fit.  How well would a computer-generated pattern fit me out of the box?

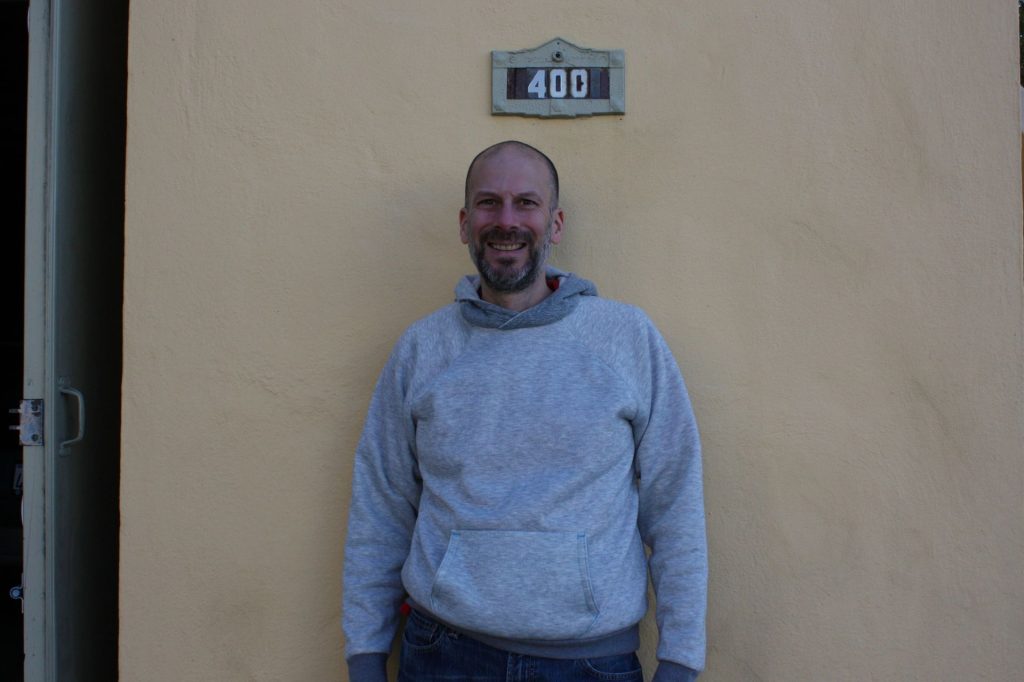
The answer: pretty well for the first attempt, well enough that I’m inclined to stick with it.  Here’s some self-timer fashion photos of my first sample.

img_2758_result Continue reading

The Chevron Latte Shirt, Part 1

The journey to the Pink Shirt (I haven’t forgotten about it) has so far spawned not one, but two side projects that have surprised me with the results.

The first was the Peppermint Stick Shirt, and the second is what I’m calling the Chevron Latte Shirt.

I’m presenting the Chevron Latte Shirt in three blog posts. Today’s is the first, covering the pattern work to address the fitting issues. The second will cover construction details, and the third will show the finished shirt. (Impatient readers can see work-in-progress photos on my Instagram feed).

Fitting, Again

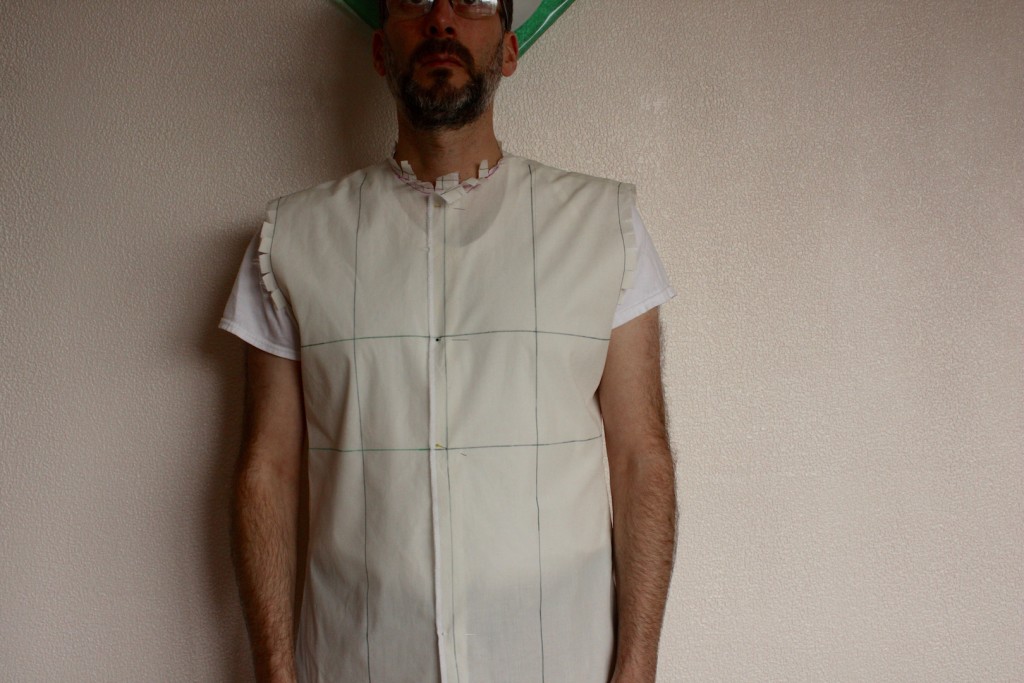
When I finished the Peppermint Stick Shirt, I noticed the pattern still had some minor fitting issues.

  1. When fully buttoned, the front of the collar felt a little tight, as if it were cutting into me. (The back of the collar felt fine).
  2. The front band, right below the collar, buckled a bit between the collar and the first button when the collar was fully buttoned.
  3. With the collar unbuttoned, two drag lines ran from the shoulder tips to the second button of the shirt.
  4. The shirt felt a bit tight across the upper chest at shoulder level in front.

IMG_20160818_170340_result Continue reading

A Sleeve Starts to Form (Holiday Shirt, Part 4)

In Part 3 of this series, I summarized all the fitting work I’ve done on fitting my muslin to date.  What I hadn’t done was actually try out Muslin F, the very latest fitting garment that is the culmination of all my alterations.  So before we go on, I wanted to share it with you.

How has it turned out? Pretty well, I think.

Muslin F, Front View

IMG_2492

Continue reading

The Road to Pants, Part 5

This will be the final post in the series on using Wild Ginger’s PatternMaster software to edit my pants pattern.  I’m currently making a wearable muslin based on the pattern, but I’ll save that for my next article.  (You can see sneak peeks of my progress on my Instagram feed).

Altering the Side Seams

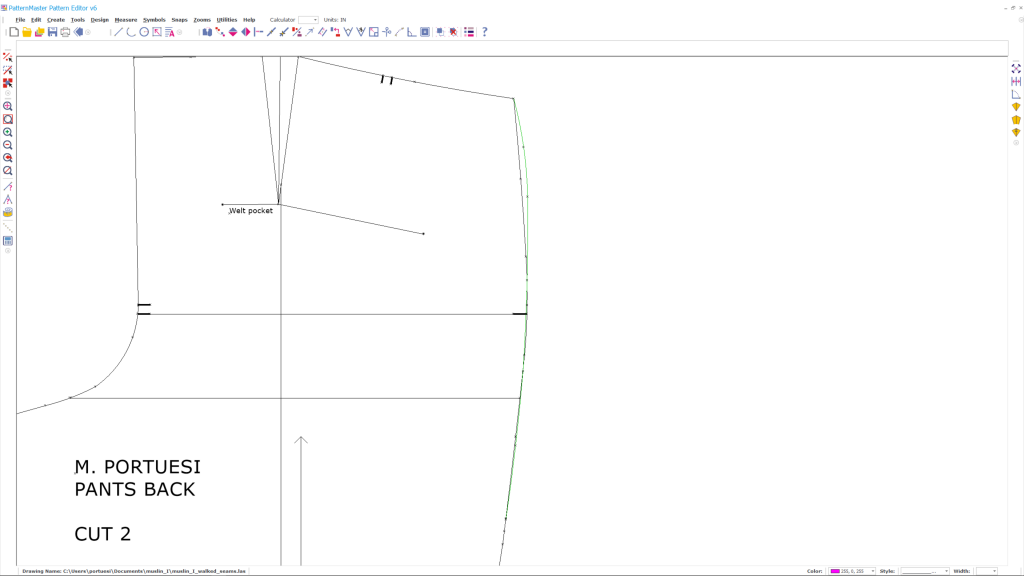
As I noted last time, the pants are still too snug at the widest part of the hip.  It is easy to draw a new curve to widen the side seams in Pattern Editor. This was a bit of guesswork, not having the hip curve from a physical ruler to trace against.  I just tried to draft a nice curve that would add to the seam.  I also took the opportunity to smooth out a kink in the old side seam, right where you see the notch in the screen shots below.

The green curves show the new side seam line.

snip_20150926222139

Continue reading

The Road to Pants, Part 4

A lot has happened with my pants project since my last update – more than I can cover in a single blog article.

Today, I want to cover some of the more advanced things I’ve been doing on the computer with Wild Ginger’s PatternMaster.  But I also want to get back to working with fabric.

Walking seams

Walking and truing seams is an important part of patternmaking; you want to make sure that matching seams are the same length unless you’re intentionally doing so, in order to shape the garment in some way.

Wild Ginger’s Pattern Editor makes it easy to compare two seams; if you select the lines and curves that make up a seam, it will tell you how long the seam is, and it even has a tool that will compare two seam lines and tell you the difference between the two.

You can also use Pattern Editor to simulate the way you would walk seams on paper. (You can click/tap to see closeup versions of all the screenshots).

I started by flipping the back pants piece (in red outline) left-to-right using the Mirror command, then used the Align command to align it with the front piece at the bottom inseam.
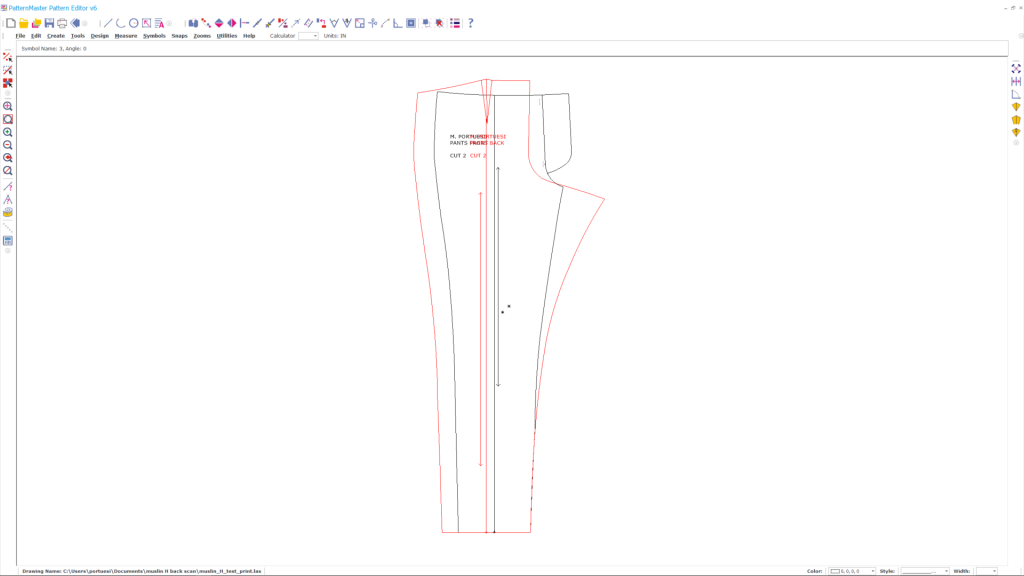
walk_1 Continue reading