I had originally intended this article to be about the batch of face masks I stitched up to get acquainted with my new sewing machine. But, I couldn’t resist getting nerdy over the feed dog adjustments on an industrial sewing machine.
Industrial Feed Dogs
An industrial sewing machine is meant to do one specific task, and to do it over and over again. If you are working in a factory and sewing a batch of 5000 dresses, it’s worthwhile to configure the machine to work well for just that job, down the point of swapping out parts as necessary.
As I mentioned in my last article, industrial machines have replaceable feed dogs. There are several varieties, each aimed at a different type of material. Generally, feed dogs intended for light-weight fabrics have many teeth of finer weight; those for heavy fabrics have larger, coarser teeth.
Given the kind of sewing I plan to do most often, I decided to swap in lightweight feed dogs for the ones that came with the machine. At some point when I get into jeans-making, I’ll have to repeat the process to install heavy-weight feed dogs. But it does mean I have to plan out the projects I want to make if I want to avoid continuously futzing with the machine.
Replacing the Feed Dogs
When replacing the feed dogs, they must be positioned so they sit centered and don’t rub against the grooves in the needle plate. On my first installation attempt, I was a bit naive and I didn’t really check for this.
Here’s a good video that illustrates how to swap out the feed dogs, ensuring the feed dogs are properly centered in the needle plate.
Step-by-step, the process looks like this:
- Using a screwdriver, remove the old needle plate, and then remove the old feed dogs.
- Attach the new feed dogs, but don’t tighten them all the way.
- Attach the new needle plate, position it and tighten it down.
- Align the feed dogs left/right such that they do not rub against the needle plate.
- Position the feed dogs forwards/backwards so that at the extreme ends of their forward/back travel they are spaced nicely front/back in the grooves of the needle plate. (I didn’t have any problem with this on my machine but some plates/dogs are trickier.)
- Once everything is positioned nicely, tighten the feed dogs in place.
Adjusting the Feed Dogs
The crucial thing I learned is that not only do you have to swap out the feed dogs, but you have to adjust their position. As I noted last time, I swapped lightweight feed dogs in place of medium/heavyweight and without further adjustments, I got compressed stiches and horribly puckered seams.
There’s two adjustments that affect the way fabric feeds: height, and angle.
- Height: Heavy-duty feed dogs need to come up higher at their highest point, light-duty are set lower. The machine has an adjustment screw underneath that frees up the feed dogs for adjustment. The trick I learned was to set the feed dogs such that the valleys of the teeth are just even with the plate at their highest point of travel. That seemed to be a good starting point because it immediately evened out the stitch and smoothed out the seams.
However, once I started sewing up facemasks I still wasn’t pleased with the stitch quality; the seams were bunched-up and wavy. So using some muslin, I further tuned the feed dog height to improve the quality of the stitch. In my case, I needed to lower the feed dogs just a little bit, just a fraction of a millimeter.

I did this in steps, each time stitching out a sample to evaluate the effects of the change. My starting point was the sample at top of the photo; the sample at the bottom is where I ended up. At a certain point the minute tweaks I was making were giving me diminishing returns.
- Angle: My machine has separate adjustments for angling the feed dogs forward/backward. If the feed dogs are slanted too high in front than in back, you can run into puckered seams. If they are too high in back than in front the fabric can slip underneath the feed, resulting in uneven feeding.

My machine came with the feed dogs set as in the middle diagram, “rises in the forward direction”. I did try to adjust it, but the adjustment setscrew (shown in the diagram above) seems frozen and I didn’t want to strip the screw, so for now I left it as-is.
References
This video on feed dog adjustments is good, but long. It also shows both light and heavyweight feed dogs getting installed and adjusted:
Neither video I’ve linked in this article shows the effects of the feed dog angle adjustment. But it is not unique to my machine, as Juki has published this really useful page on feed dog adjustments that summarizes all the details including angle adjustment.
Face Masks
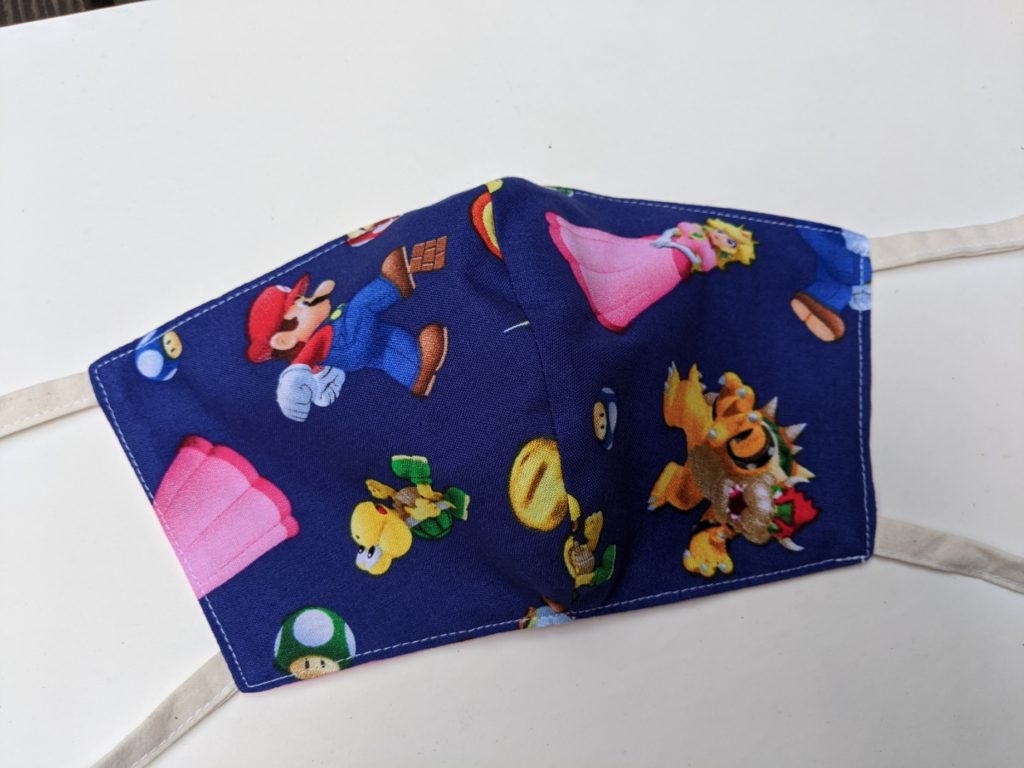
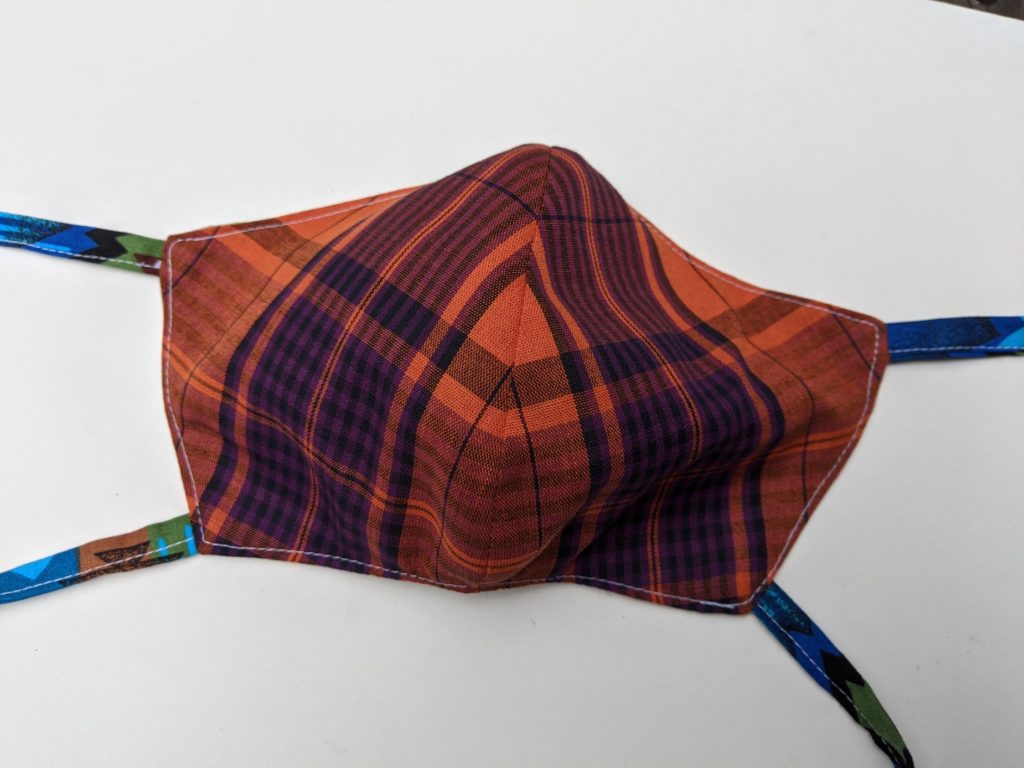
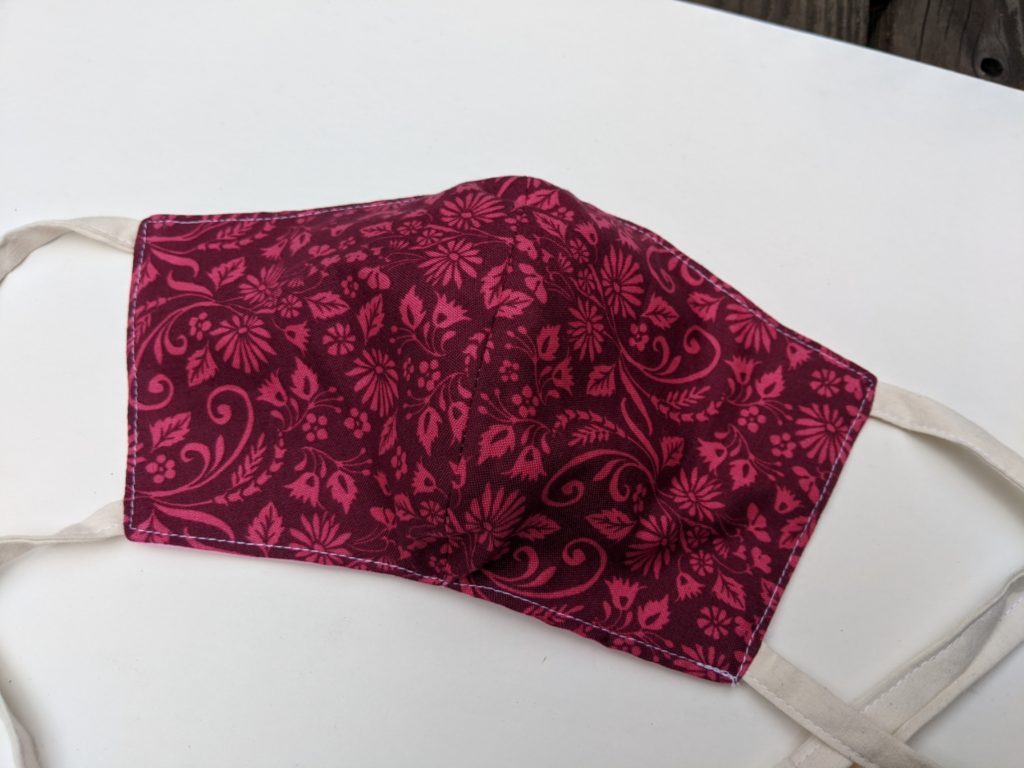
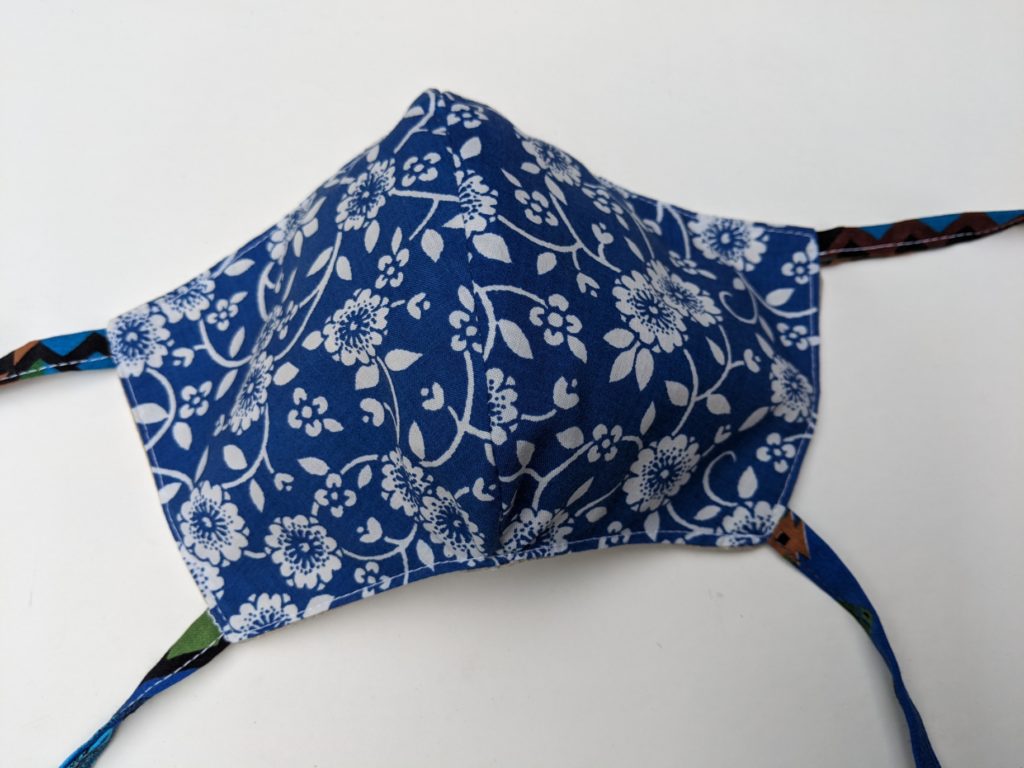
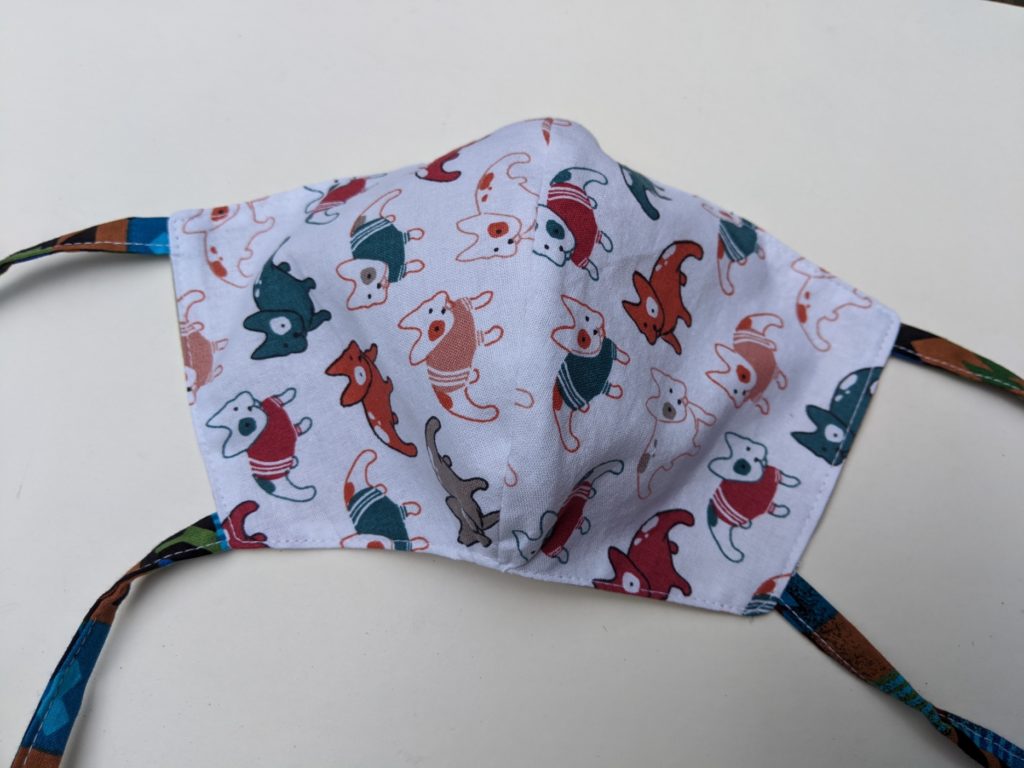
Here’s some of the highlights from the batch of face masks I stitched up. The Mario and Star Trek masks are going out to friends and family; the others I plan to donate to local organizations.
I’m using the “Florence” facemask pattern from freesewing.org. I really like this pattern; the center seam is shaped nicely with special curves to accommodate the nose and chin.
The biggest downer to this pattern is that it has you make your own tie straps from self-fabric; I’ve been using quilting fabrics I didn’t really like much for the first batch, and with the second batch I’ve been using plain muslin fabric. I use quilting rulers and rotary cutters to cut the fabric in strips, and a bias tape maker to press the strips into folds before stitching them closed. The industrial sewing machine makes this process go a lot faster, but still it is time consuming.
I’ve made a few masks with elastic bands to loop behind the ears, but I have a very limited supply of elastic (what I had on hand before the pandemic started) and I haven’t been able to locate more.




Donate
If you’re sewing masks too, the website getppe.org can connect you to organizations in your area that are looking for donations.

You tweak, and we seek.
You sew, and we glow.
Get your nerdy on, and don’t change a thing about how you choose fabric (each one will make someone feel special, and safe).
I have a shopping bag that matches he white and black mask. Do you send your mask creations overseas?
Why yes, I do! I’ll get in touch with you privately.
For making ties (and a different mask) try this Youtube video ny Kathleen Fasanella of Sewing Incubator.
https://www.youtube.com/watch?v=K74iBgAy__o&feature=youtu.be
Thank you, very helpful! I also liked her video on sewing pleats quickly, not so much for masks (I prefer the center-seam over the pleated types of mask) but for a project I have planned for the future.