Monthly Archives: January 2013

The Tailored Shirt #10: Sleeves and Side Seams

Yes, I know what you’re thinking: I’m covering the construction of this shirt in excruciating, back-breaking detail.  Few other sewing blogs I’ve seen have gone this far into the weeds in covering the making of a garment.

But, as I said before, this blog is partly my public notebook.  I’m writing this for my own reference, and I’m putting it out here in the hope that someone might find this useful – or to tell me where I’m going wrong. Or to tell me they’re bored to tears, in which case they should go back to Facebook.

I’ve received some feedback off-blog that the fabric I’m using is pretty poor.  That is true.  It’s not awful to work with, but it could be friendlier. And it doesn’t look pretty. But I never intended this shirt to be wearable; I expected some disaster along the way would make the shirt unwearable. The idea was to learn and make mistakes along the way.

As it turns out, this shirt is evolving into something that might be wearable. If not for the pattern on the fabric and that I’ve made no attempts at fitting. If it turns out that way, great – it means I’m getting a good start towards making shirts with the $30/yard Italian shirting fabric (okay, I paid $20/yard on sale at Britex) sitting in my fabric stash.

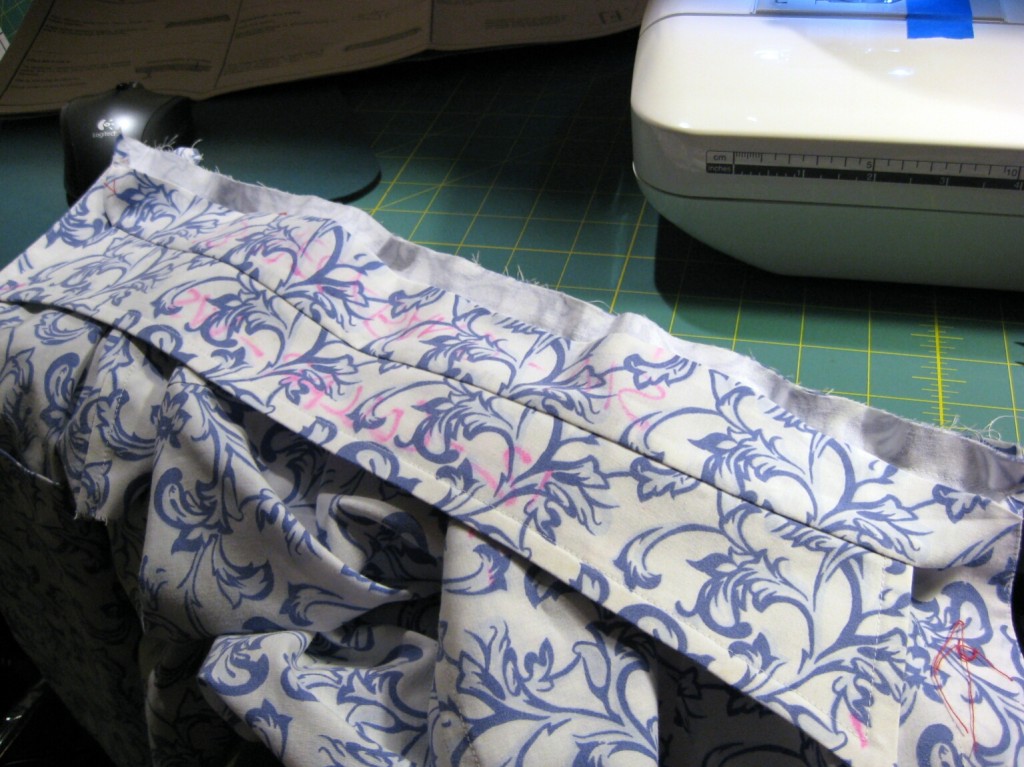
So, anyway, onward.  Today we’re focusing on attaching the sleeves and side seams.

  • Staystitching and Interfacing
  • Prepare and Attach Front Pocket
  • Shirt Front Bands
  • Yoke and Shoulder Seams
  • Prepare and Attach Collar and Neckband
  • Prepare Sleeve Placket
  • Attach Sleeve to Armscye, flat-fell armscye seams
  • Sew Side and Sleeve Seams (with flat-felling)
  • Prepare Cuffs
  • Pleat Sleeves, Attach Cuffs, Topstitch Cuffs
  • Rolled Hems along bottom of shirt
  • Buttonholes (including front band, collar, cuffs, and sleeves)
  • Attach all Buttons
  • Final Shirt Press

Shoulder Seams

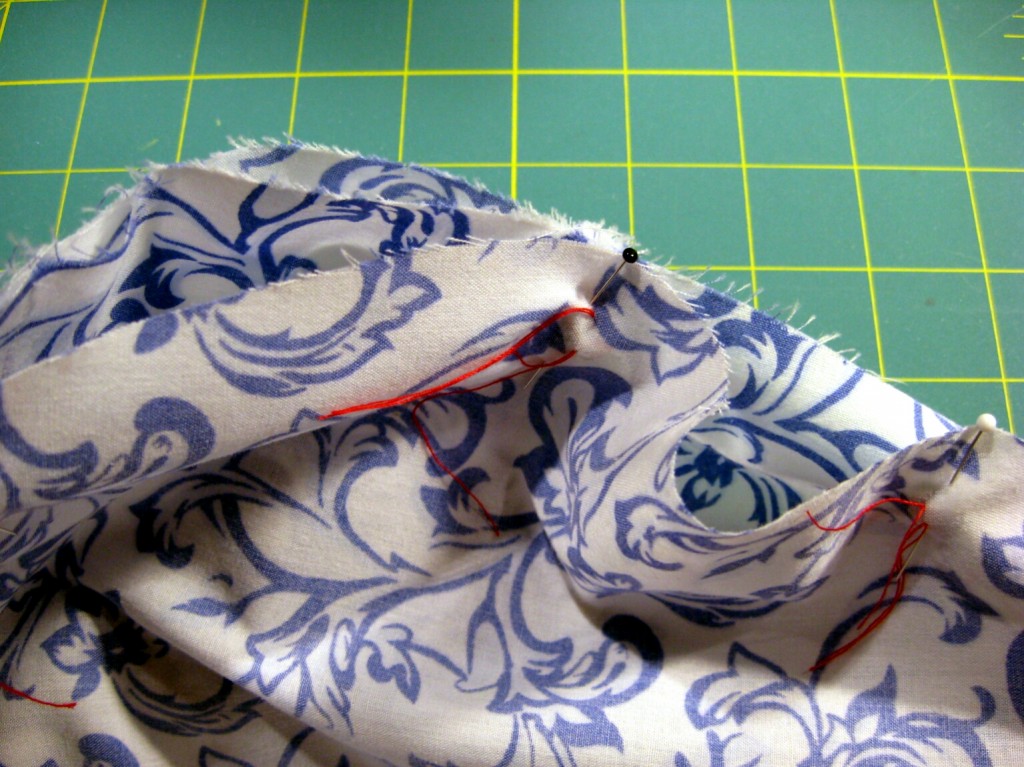
The shoulder seams must be eased into the armscye.  You’re supposed to match ends, notches and dots on both the sleeve piece and the armscye. At this point the armscye is formed by the combination of front, yoke and back pieces. There’s supposed to be a little bit of mismatch because the two are different lengths, but when I pinned the matching points I found something was seriously wrong.
IMG_0588 Continue reading

Rolled Hems on the Brother 1034D Serger

The Brother 1034D is a popular, dirt-cheap serger ($200 or less on Amazon) which performs well.  I’ve had mine for six months now and find it a pleasure to use.

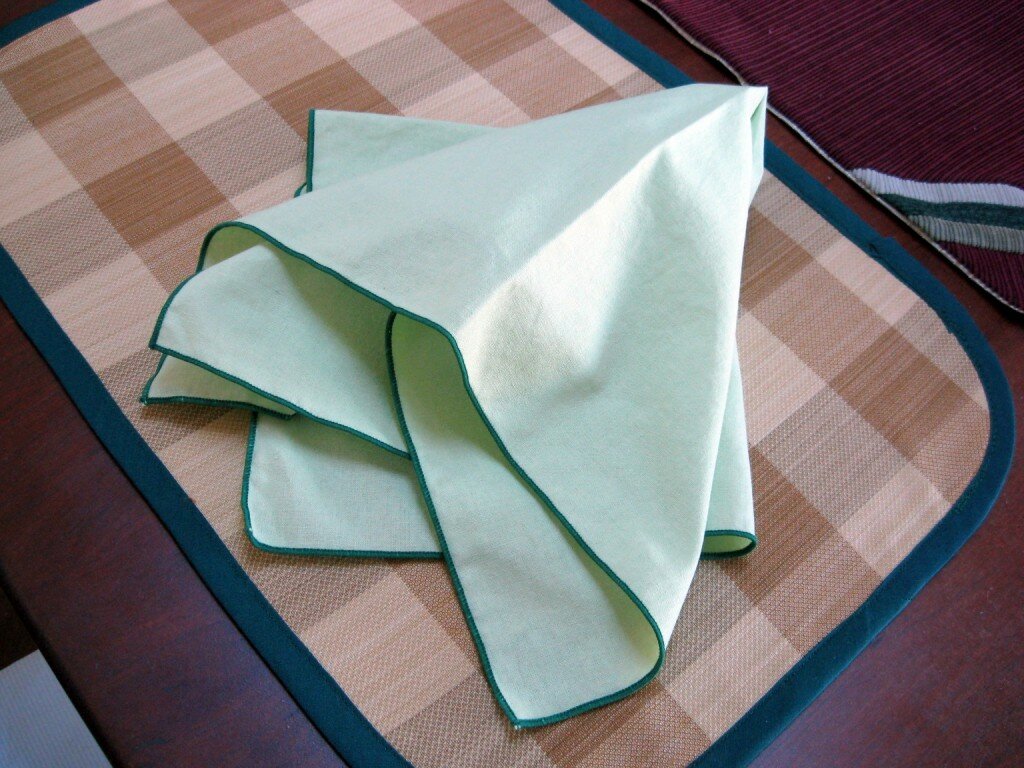
Recently, I made a set of dinner napkins from cotton broadcloth. It was partly a chance to explore the serger’s capabilities, and also part of a larger project to produce new dinner table decorations including placemats and a table runner.

The napkins turned out very nice. The fabric is cotton broadcloth that I got from J0-Ann’s.  (The placemats and the table runner in the upper-right corner were made from upholstery fabric samples I acquired at the local fabric store and from FabMo, a creative fabrics cooperative).

napkins Continue reading

The Tailored Shirt #9: Sleeve Placket

Here’s where I’m at so far in the construction order.

  • Staystitching and Interfacing
  • Prepare and Attach Front Pocket
  • Shirt Front Bands
  • Yoke and Shoulder Seams
  • Prepare and Attach Collar and Neckband
  • Prepare Sleeve Placket
  • Attach Sleeve to Armscye, flat-fell armscye seams
  • Sew Side and Sleeve Seams (with flat-felling)
  • Prepare Cuffs
  • Pleat Sleeves, Attach Cuffs, Topstitch Cuffs
  • Rolled Hems along bottom of shirt
  • Buttonholes (including front band, collar, cuffs, and sleeves)
  • Attach all Buttons
  • Final Shirt Press

For the sleeve plackets, I had planned to work from Pam Howard’s video tutorial, but the McCall’s 2447 placket piece is a little different from the class pattern, and so I chose to follow the pattern directions instead.  The big difference between the two is that the McCall’s pattern has 1/4-inch folds along the placket edges and the point, rather than wider folds along the edge.

First, I had to match up the placket to the sleeve it belongs to.  Right side of placket to wrong side of sleeve piece, tower towards center of sleeve.

IMG_0556-1608547187 Continue reading

The Tailored Shirt #7: Collar Construction


Previously on The Tailored Shirt, we had completed the following items:

  • Staystitching and Interfacing
  • Prepare and Attach Front Pocket
  • Shirt Front Bands
  • Yoke and Shoulder Seams
  • Prepare and Attach Collar and Neckband
  • Prepare Sleeve Placket
  • Attach Sleeve to Armscye, flat-fell armscye seams
  • Sew Side and Sleeve Seams (with flat-felling)
  • Prepare Cuffs
  • Pleat Sleeves, Attach Cuffs, Topstitch Cuffs
  • Rolled Hems along bottom of shirt
  • Buttonholes (including front band, collar, cuffs, and sleeves)
  • Attach all Buttons
  • Final Shirt Press

This episode begins the collar.  I’ll divide it into two articles. The first covers the construction of the collar; the second concerns getting the collar on the shirt body.

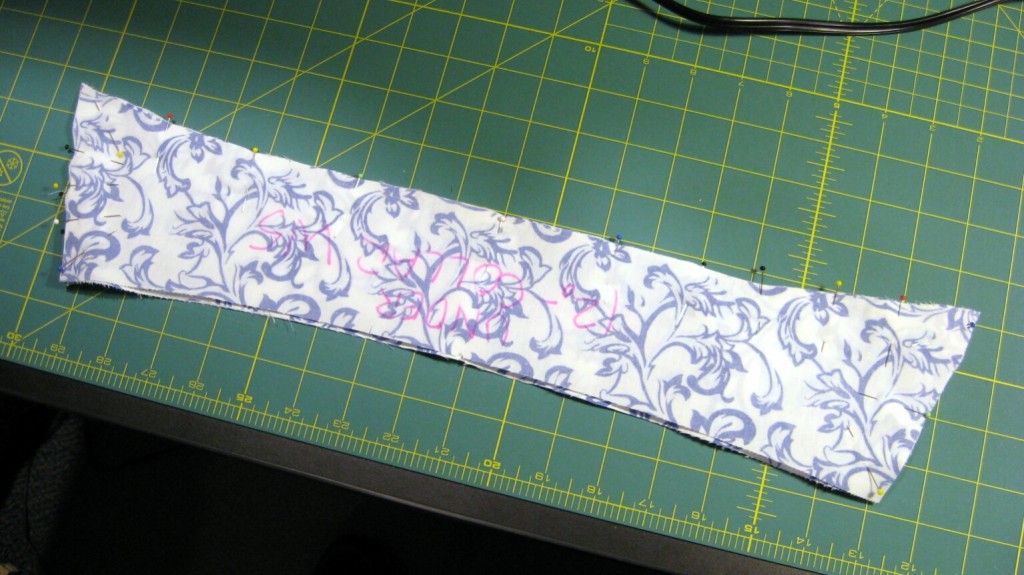
As we discussed earlier, the undercollar is 1/8 inch smaller on all sides except for the side that joins the shirt. I pinned them together with edges matching, which meant I had to do a little work scooching the smaller piece to match up with the edges of the larger:

IMG_0487
Then I stitched 5/8 inch seams around three sides of the collar, and clipped them to 1/4 inch, with some bevels at the collar points. Continue reading