Yes, I know what you’re thinking: I’m covering the construction of this shirt in excruciating, back-breaking detail. Few other sewing blogs I’ve seen have gone this far into the weeds in covering the making of a garment.
But, as I said before, this blog is partly my public notebook. I’m writing this for my own reference, and I’m putting it out here in the hope that someone might find this useful – or to tell me where I’m going wrong. Or to tell me they’re bored to tears, in which case they should go back to Facebook.
I’ve received some feedback off-blog that the fabric I’m using is pretty poor. That is true. It’s not awful to work with, but it could be friendlier. And it doesn’t look pretty. But I never intended this shirt to be wearable; I expected some disaster along the way would make the shirt unwearable. The idea was to learn and make mistakes along the way.
As it turns out, this shirt is evolving into something that might be wearable. If not for the pattern on the fabric and that I’ve made no attempts at fitting. If it turns out that way, great – it means I’m getting a good start towards making shirts with the $30/yard Italian shirting fabric (okay, I paid $20/yard on sale at Britex) sitting in my fabric stash.
So, anyway, onward. Today we’re focusing on attaching the sleeves and side seams.
-
Staystitching and Interfacing -
Prepare and Attach Front Pocket -
Shirt Front Bands -
Yoke and Shoulder Seams -
Prepare and Attach Collar and Neckband -
Prepare Sleeve Placket - Attach Sleeve to Armscye, flat-fell armscye seams
- Sew Side and Sleeve Seams (with flat-felling)
- Prepare Cuffs
- Pleat Sleeves, Attach Cuffs, Topstitch Cuffs
- Rolled Hems along bottom of shirt
- Buttonholes (including front band, collar, cuffs, and sleeves)
- Attach all Buttons
- Final Shirt Press
Shoulder Seams
The shoulder seams must be eased into the armscye. You’re supposed to match ends, notches and dots on both the sleeve piece and the armscye. At this point the armscye is formed by the combination of front, yoke and back pieces. There’s supposed to be a little bit of mismatch because the two are different lengths, but when I pinned the matching points I found something was seriously wrong.
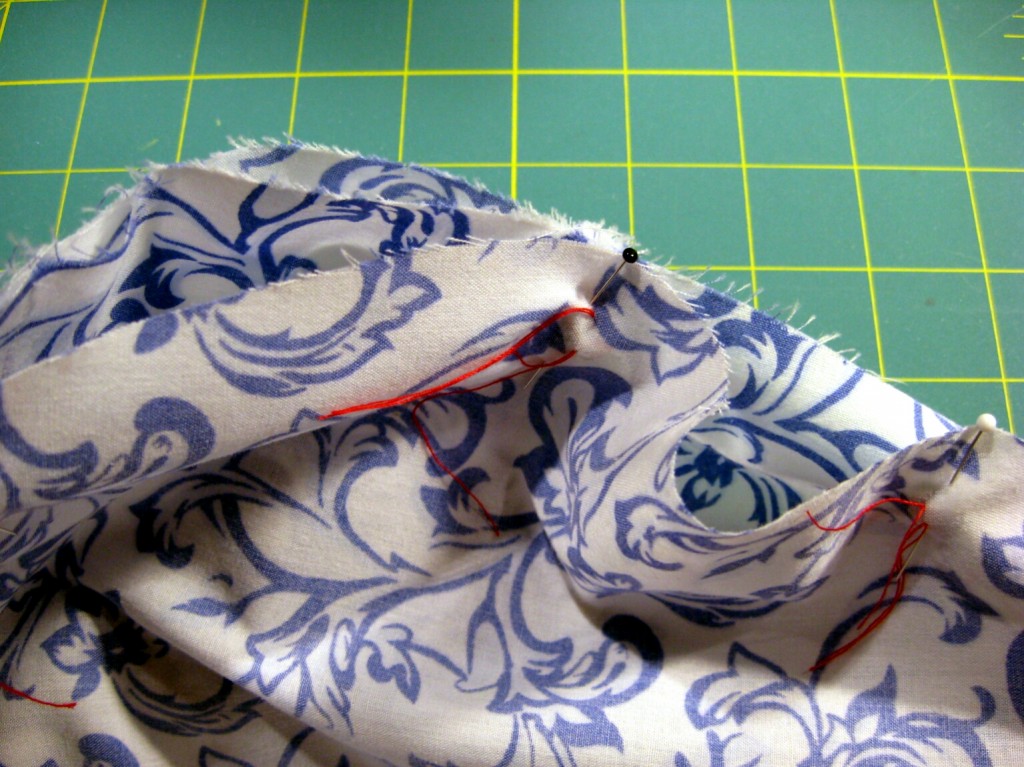
There was a big bubble of fabric on one side of the sleeve cap point, far more than can be eased, and a big bubble on the opposite side – which can’t make sense since all the “bubbling” from the mismatch should be on one side of the seam. That meant the sleeve cap is mismatched to the armscye.
I was matching the top of the sleeve cap to the shoulder seam. I checked the fabric against the pattern pieces and made sure all notches and dots were properly transferred – they were. But what I discovered was the correct matching point for the sleeve cap on the yoke piece:
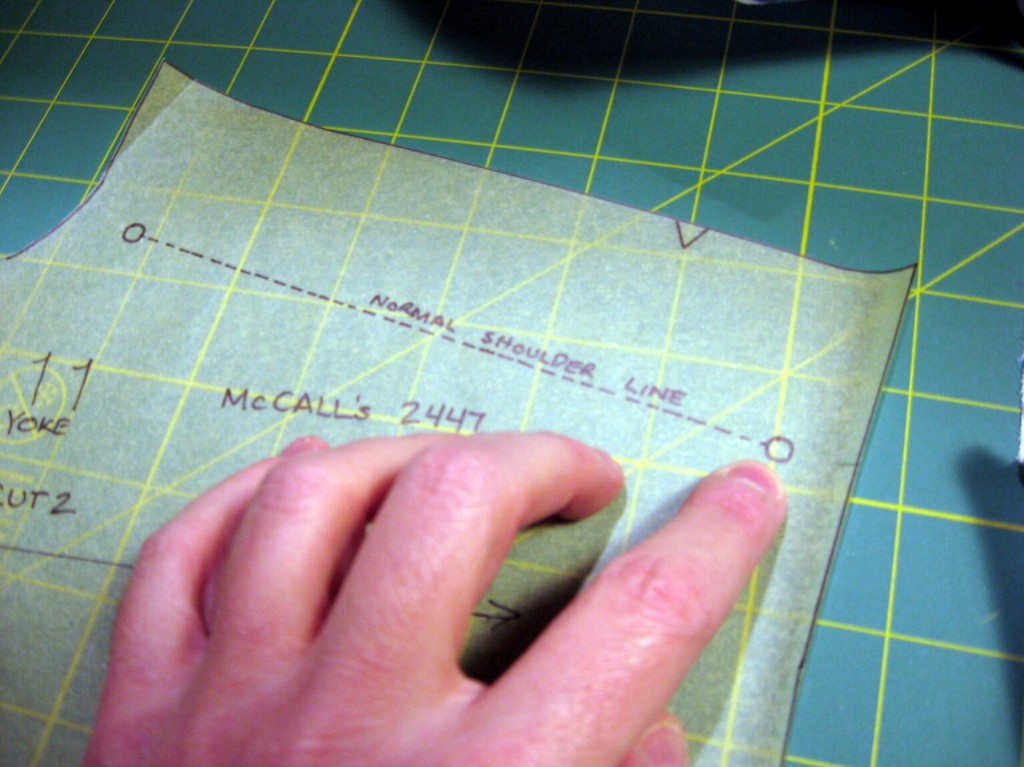
The yoke has a dot, which is not on the shoulder seam, indicating the end of the “normal” shoulder line.
When I matched sleeve cap top to this dot, everything fell into place.
Fearing the prospects of easing the fabric without pins, by letting the feed dogs do it, I took the other route (suggested by Pam Howard in the class) and pinned the living daylights out of the sleeve seam.
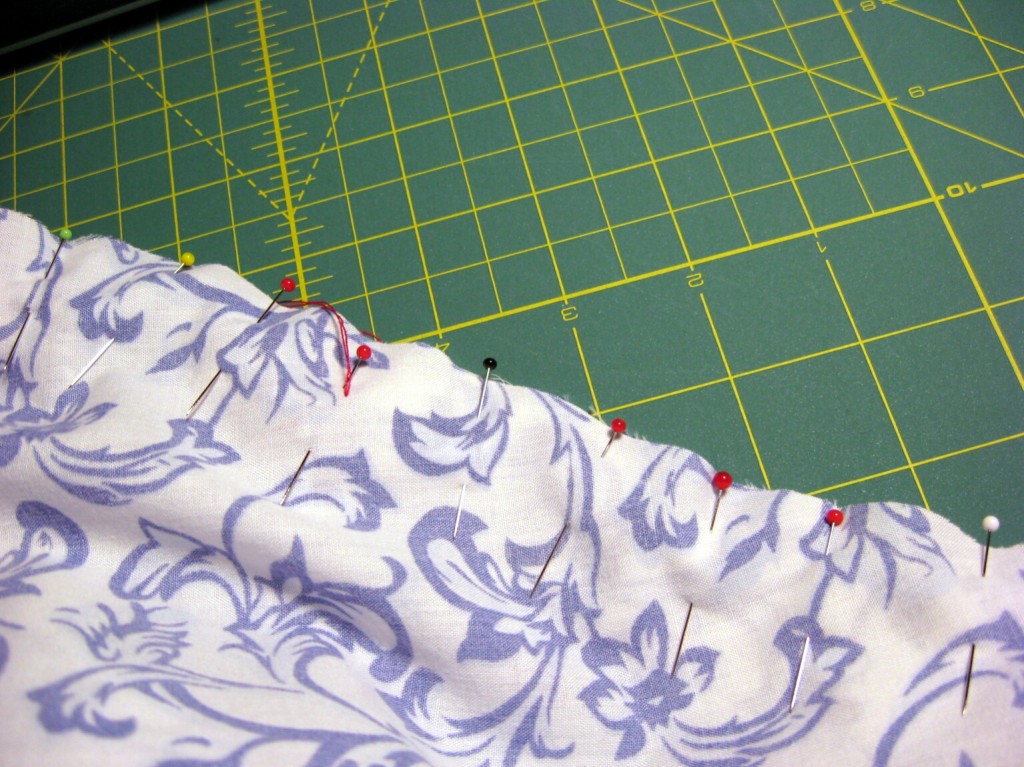
The shoulder seam went together without too much trouble. I only had to restitch one two-inch long section because the sleeve got pulled into the stitch.
Only a little lumpy after easing.
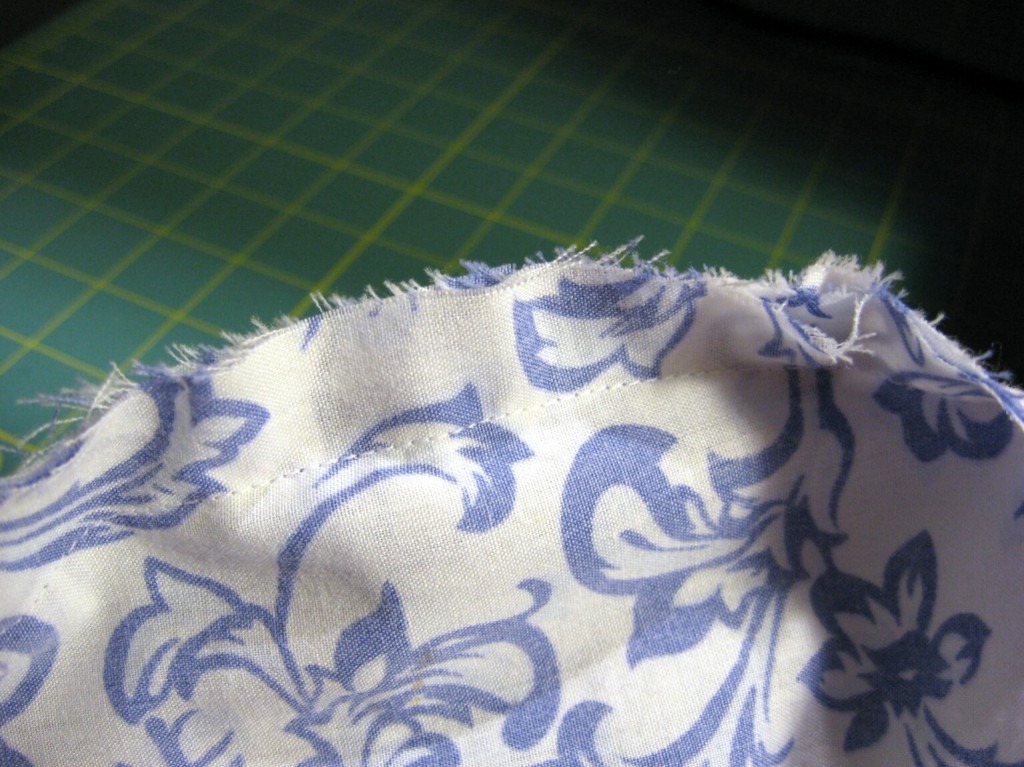
Here’s the sleeve cap after stitching, but before pressing and flat-felling.
Flat-felling the Shoulders
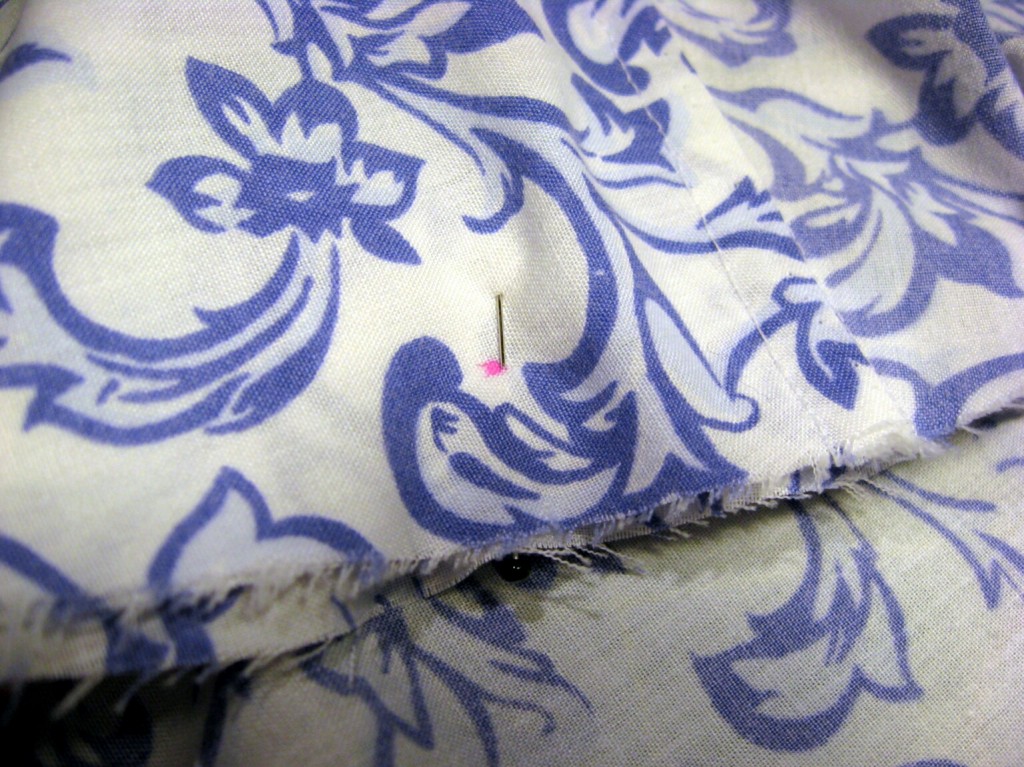
It wasn’t too much work to flat-fell the seams. After pressing the seams, I trimmed one seam edge down to 1/4 inch:

and then folded over the wider one. The polyester in this poly-cotton blend makes the fabric a bit messy to work with at this level of fine detail, but I persevered.
Pam Howard has you pin the flat-fell seams before stitching them down. I actually press the folded seam with the iron, and then stitch.
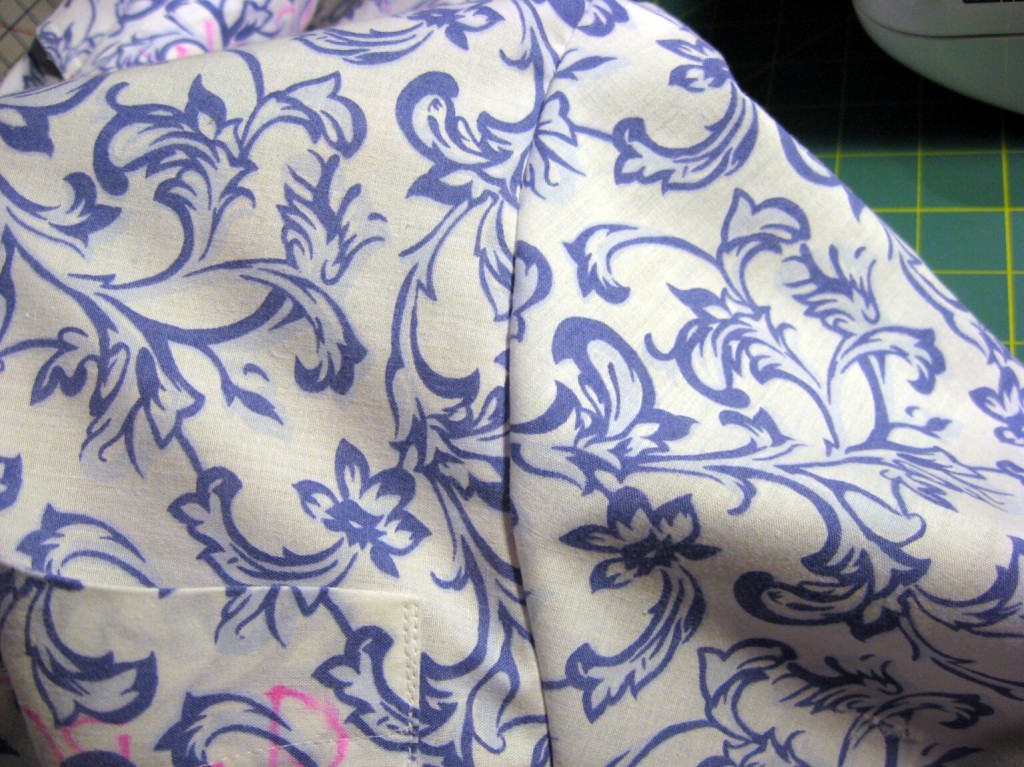
The result looks nice on the outside:
Even if there’s a few places where the seam came out a bit messy on the inside:
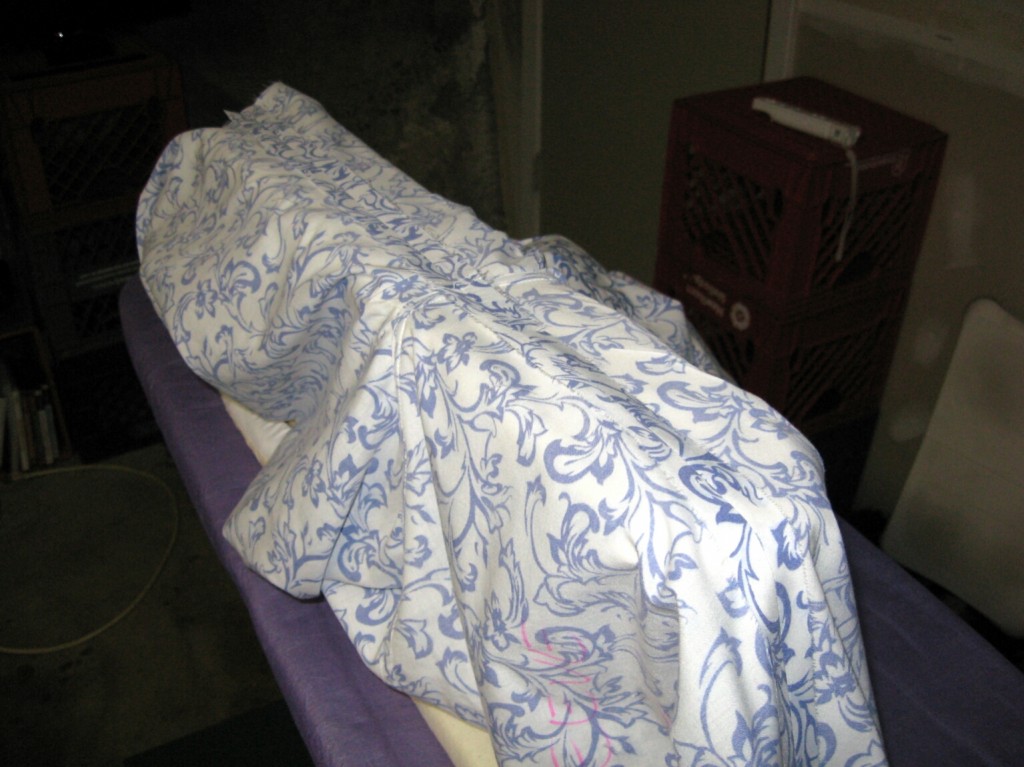
The side and sleeve seams haven’t yet been joined, but it’s starting to look like a shirt.

Side Seams
The side seams are mostly uneventful and easy to sew.
After sewing the seams on both sides, I pressed them on the sleeve board.
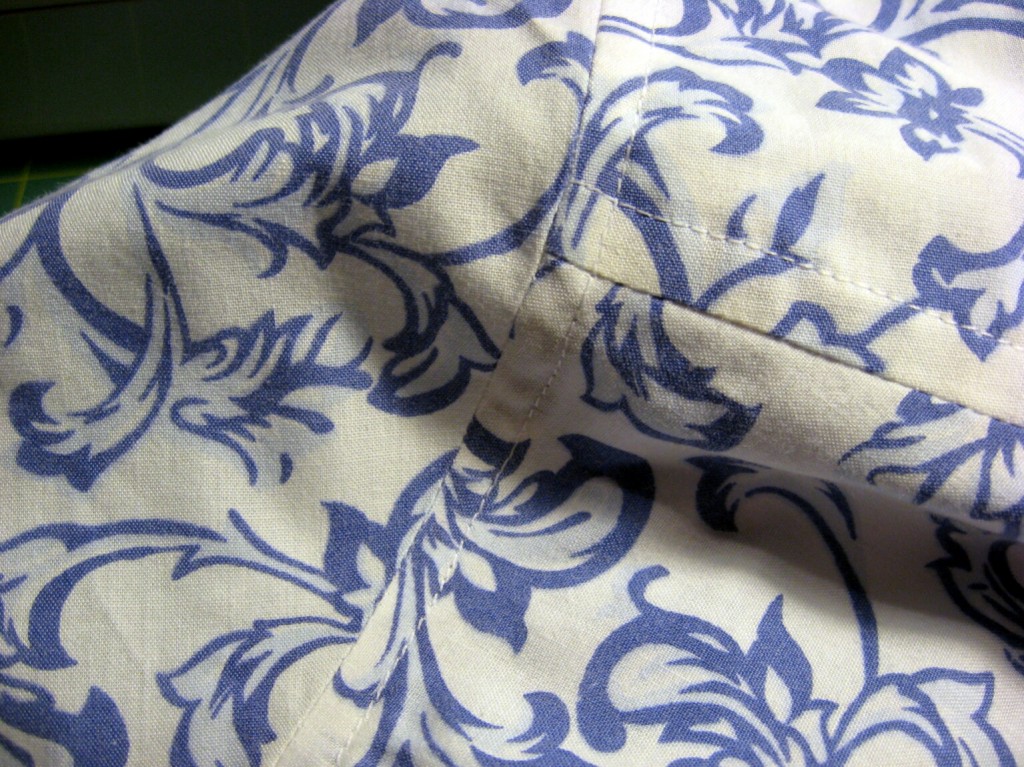
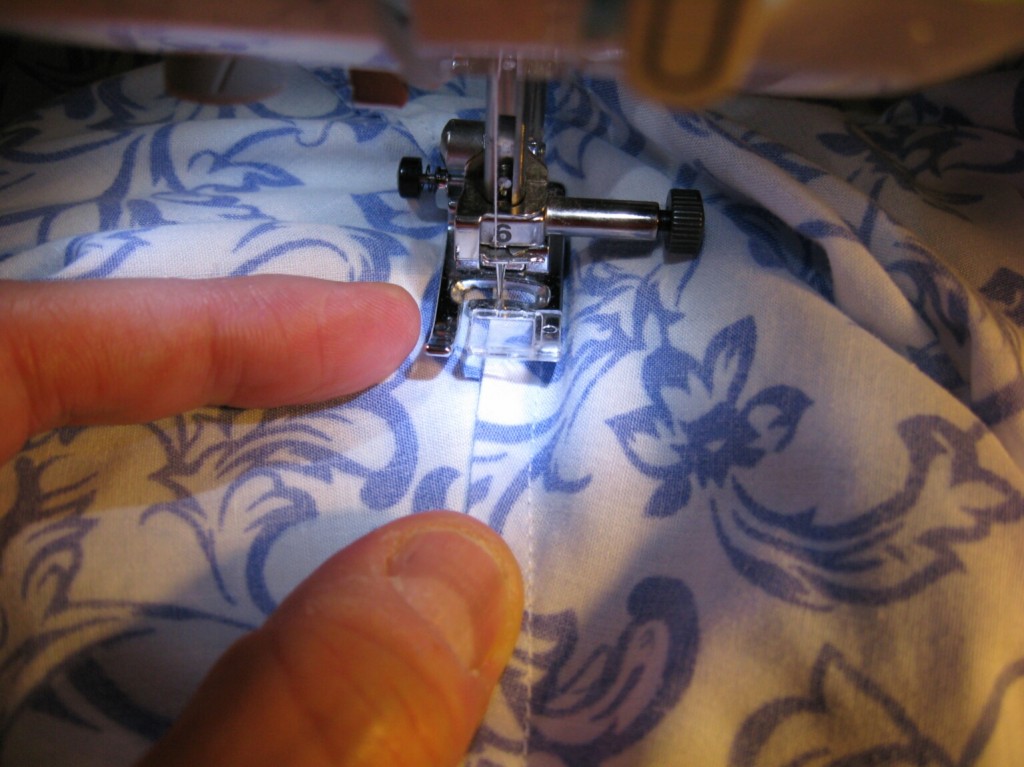
The only real challenge is that you have to flat-fell the sides and the sleeve seams. Flat-felling the sleeves involves sewing your way down a tube – which can be a bit of a challenge even if your sewing machine has a drop-down sleeve capability. Here I’m in the midst of stitching the flat-fell sleeve down the sleeve.
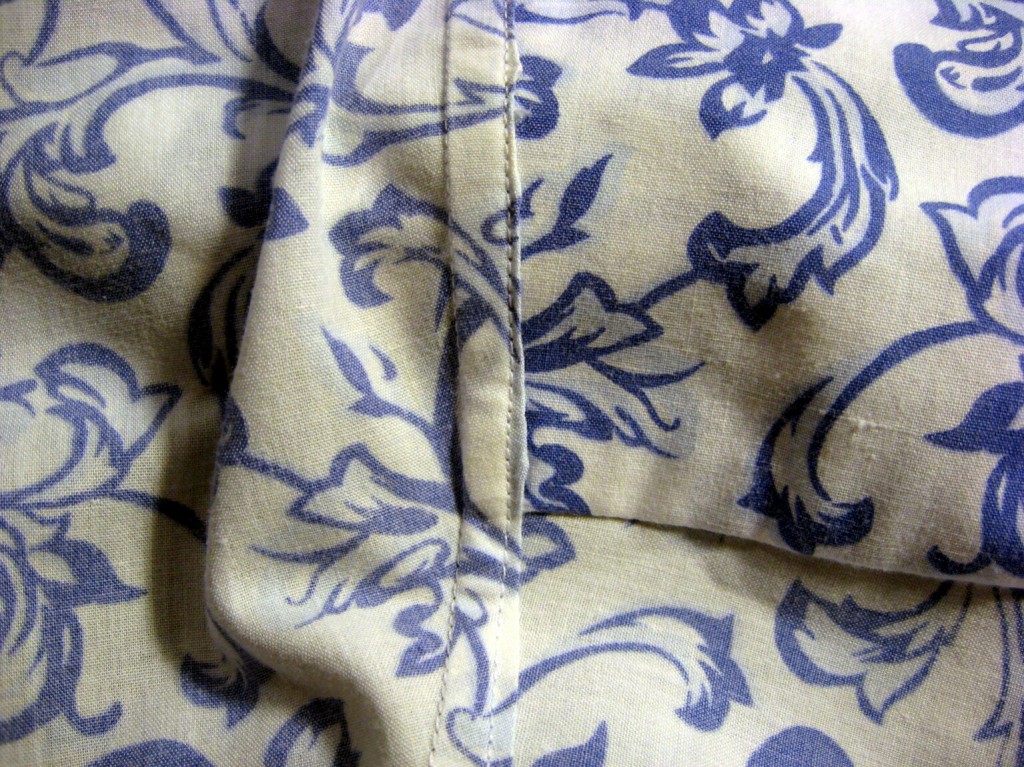
The end result turned out okay:
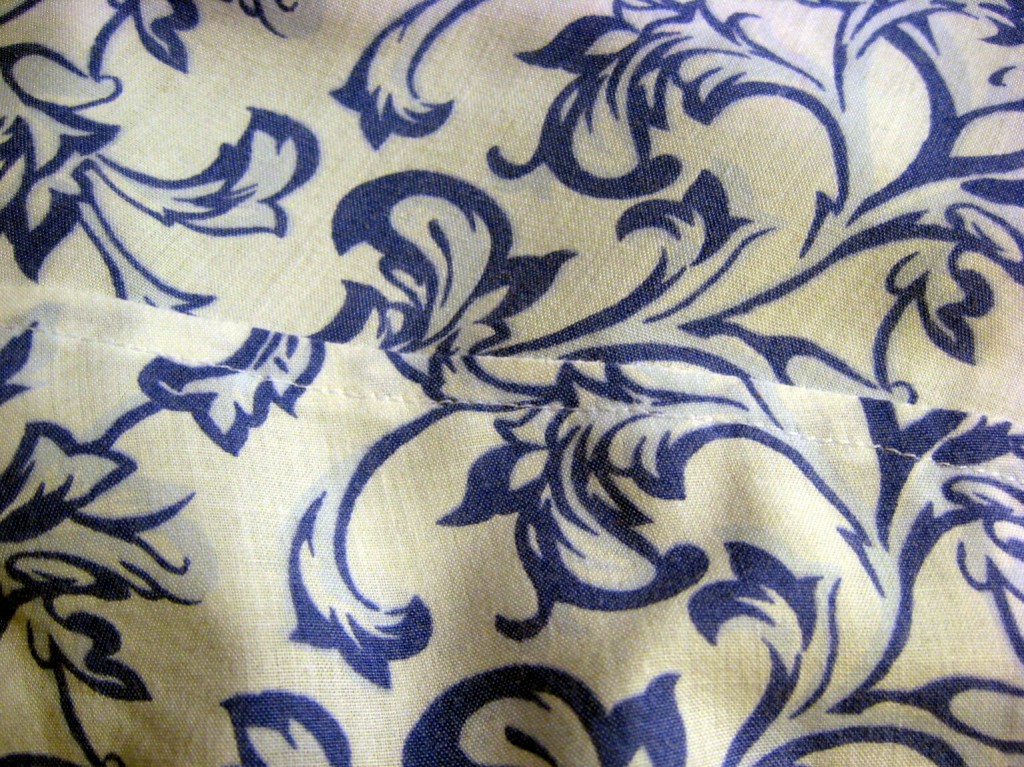
Except for a few places where I twisted the fabric a bit while trying to steer the sleeve through the machine. Oops!
Next time: Cuffs and sleeve pleats. See you then!