I’ve been working on what was intended to be a “test shirt” for my Pink Shirt pattern, to make sure there were no mistakes in drafting out the feature details.
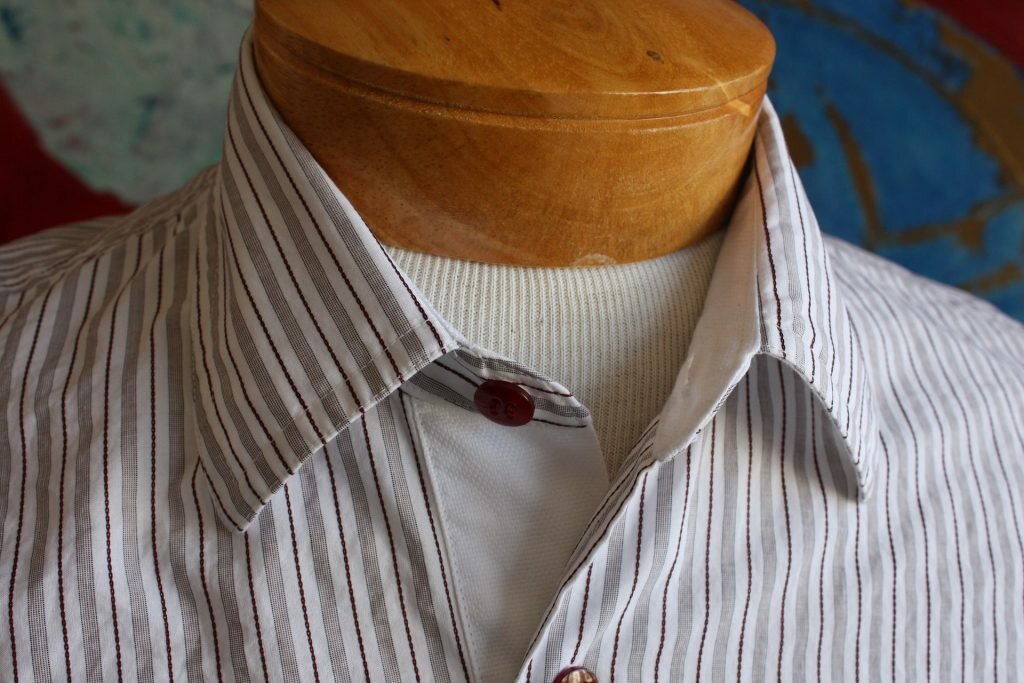
Along the way, I realized it was a bit of a shame to call it the “Study for the Pink Shirt”. It was turning out to be a beautiful shirt in its own right, that I knew I was going to enjoy wearing. I also noticed the stripe pattern looks just like a candy cane. And the buttons I chose look like cinnamon candies.
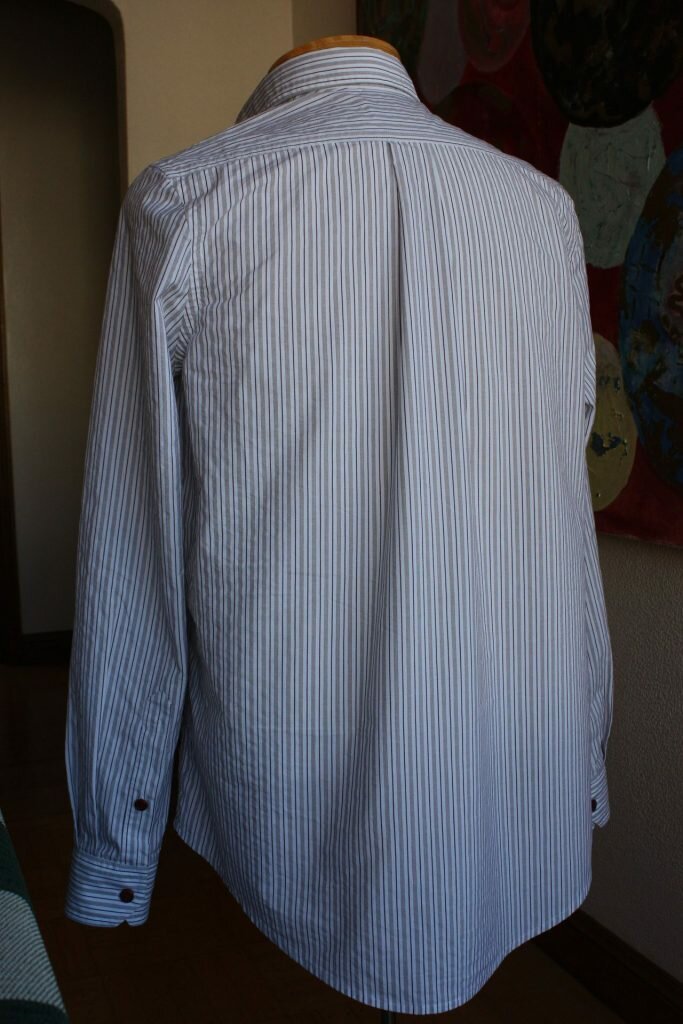
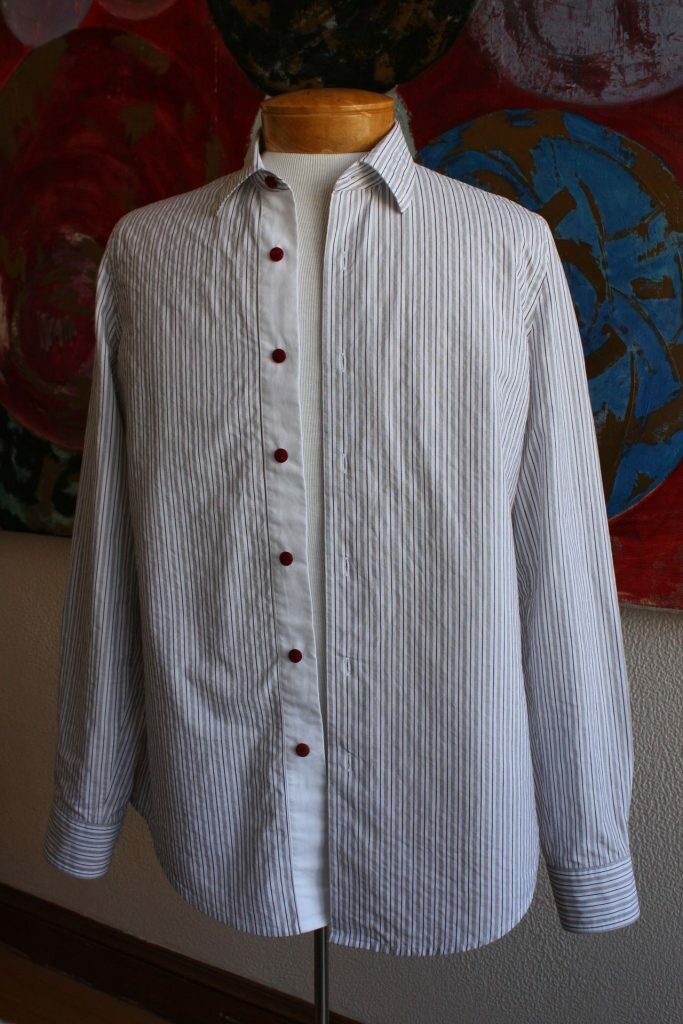
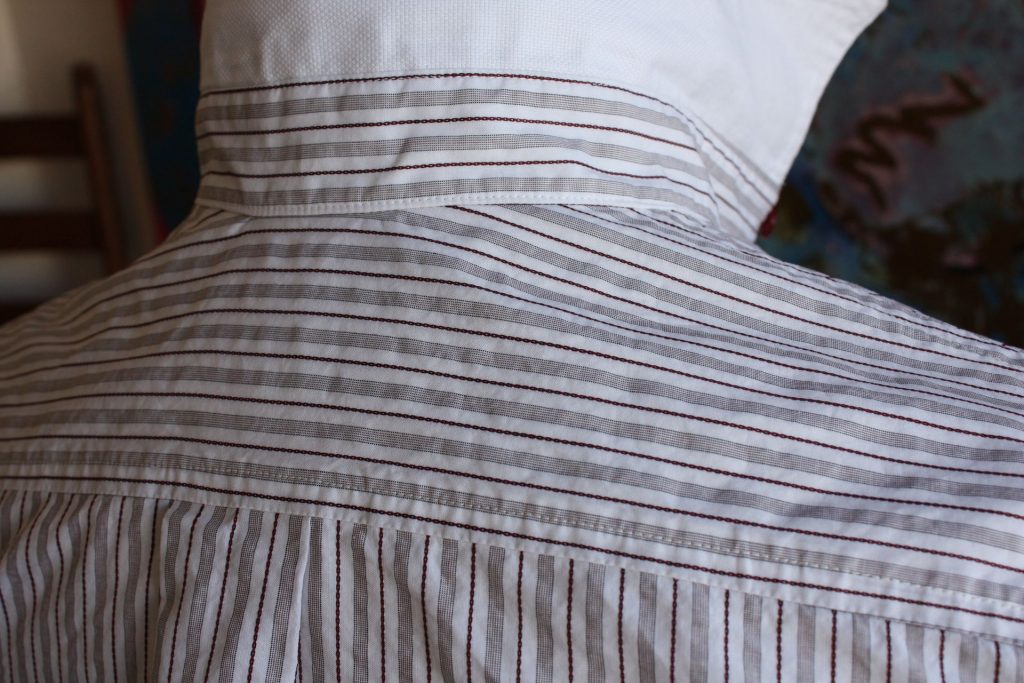
So here I present some photos of the completed Peppermint Stick Shirt.
As always, some construction notes.
Front Band
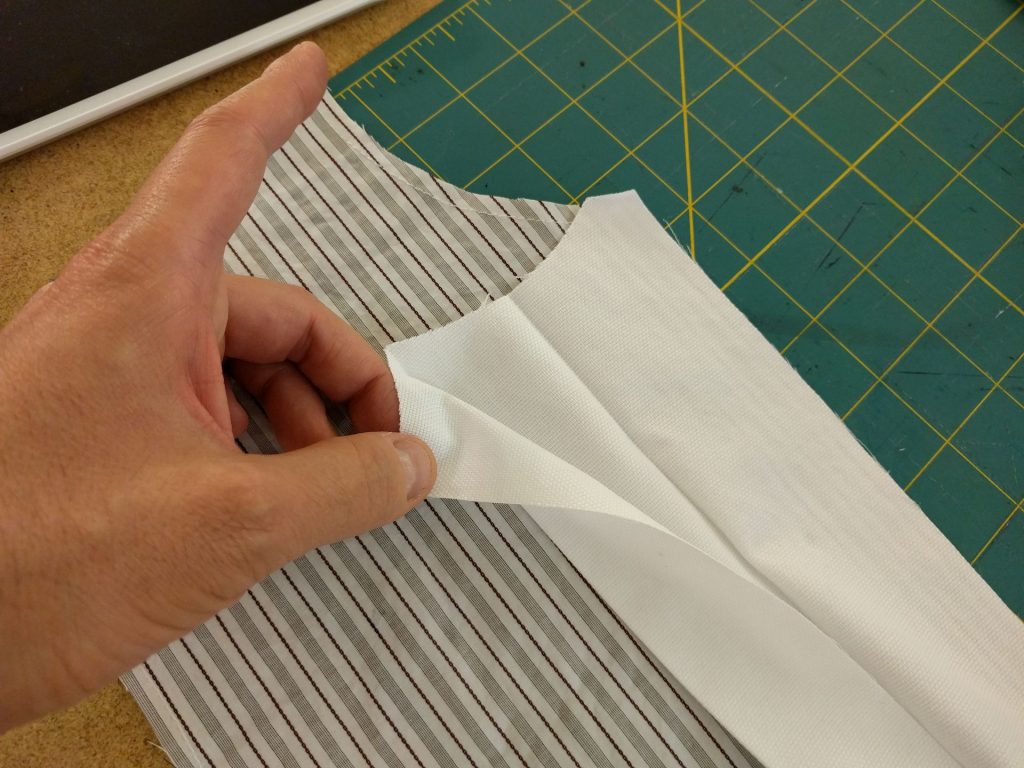
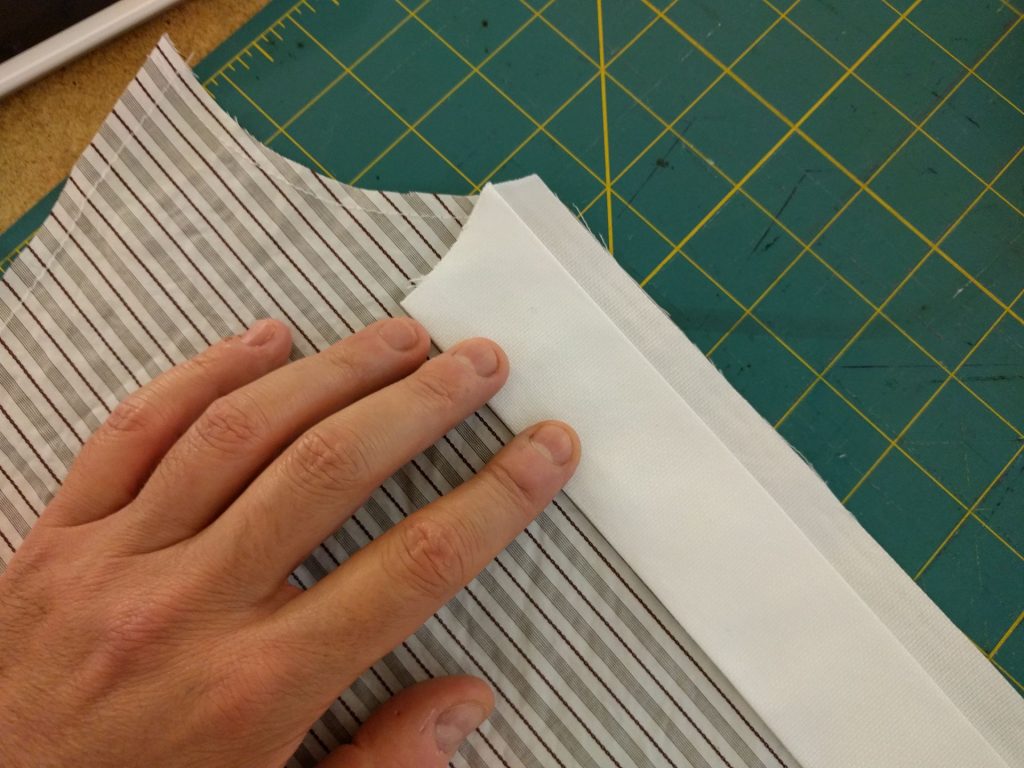
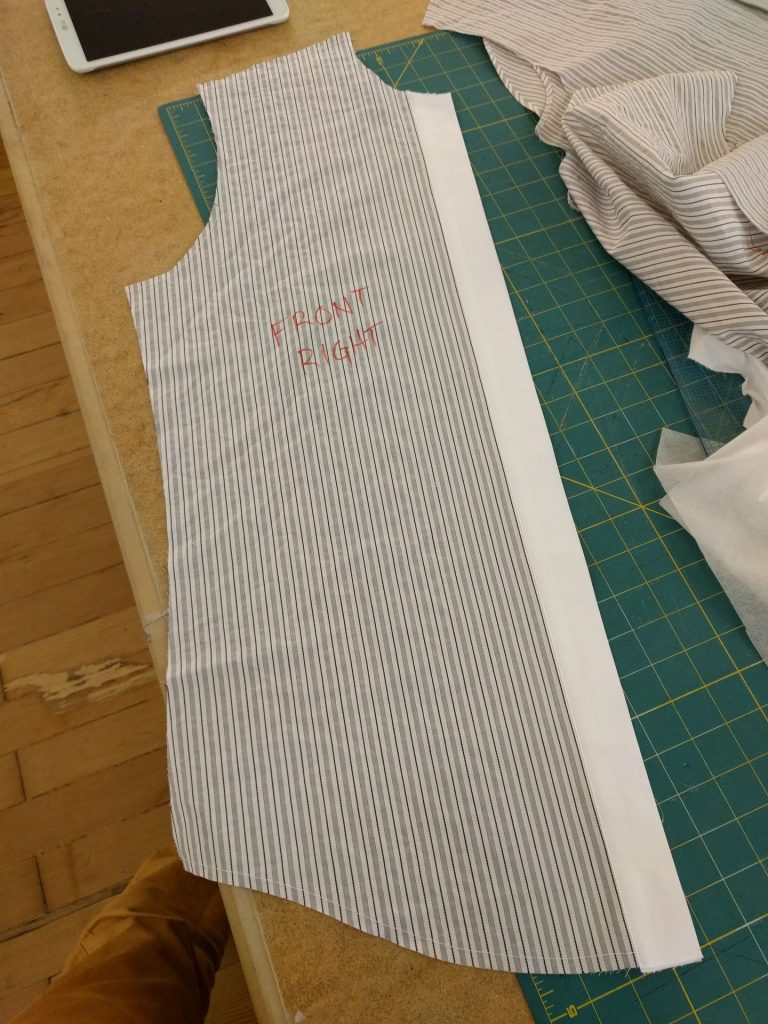
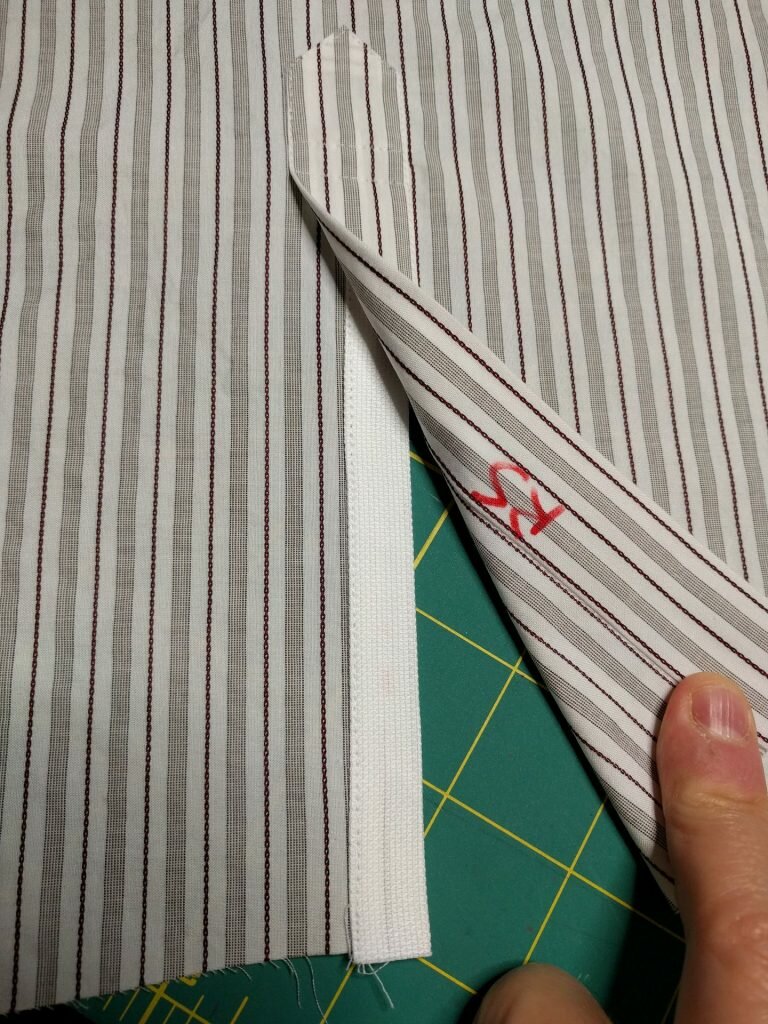
The right front band underlap is made from the accent fabric (solid white in the photo). I seamed this onto the front with a 1/2 inch seam allowance, folded it under, then secured it with a line of edgestitching right where the shirt meets the front band. This band was one of the pattern drafting bits I wanted to test by making this shirt.
To get clean and precise lines on the front band, I use a long strip of tagboard (about 30 inches or so) long, cut cleanly with a quilting ruler and rotary cutters. I use this tagboard as a template to press edge creases into the front band before attaching it to the shirt front.
Collar
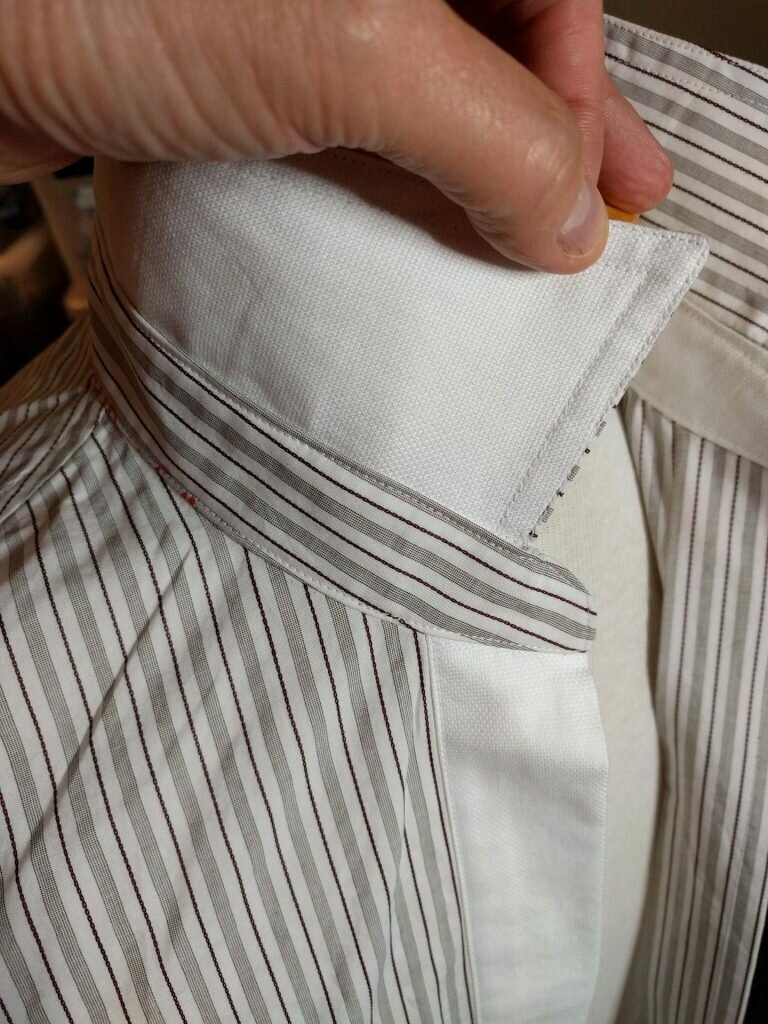
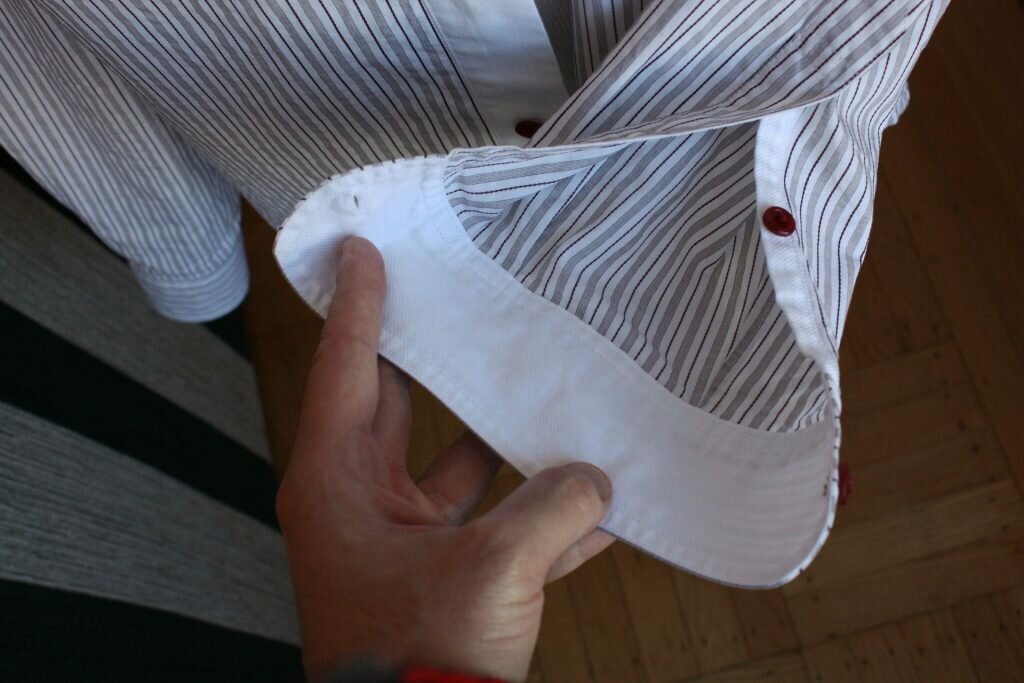
I went with collar sample G, the on-trend point collar design traced from one of my ready-to-wear shirts. The undercollar is made with accent fabric.
Cuffs and sleeve placket
With David Coffin’s assistance via email, I got my two-toned sleeve placket pattern piece in order, and produced a placket with accent on the underlap. The inside of the cuffs are also accent.
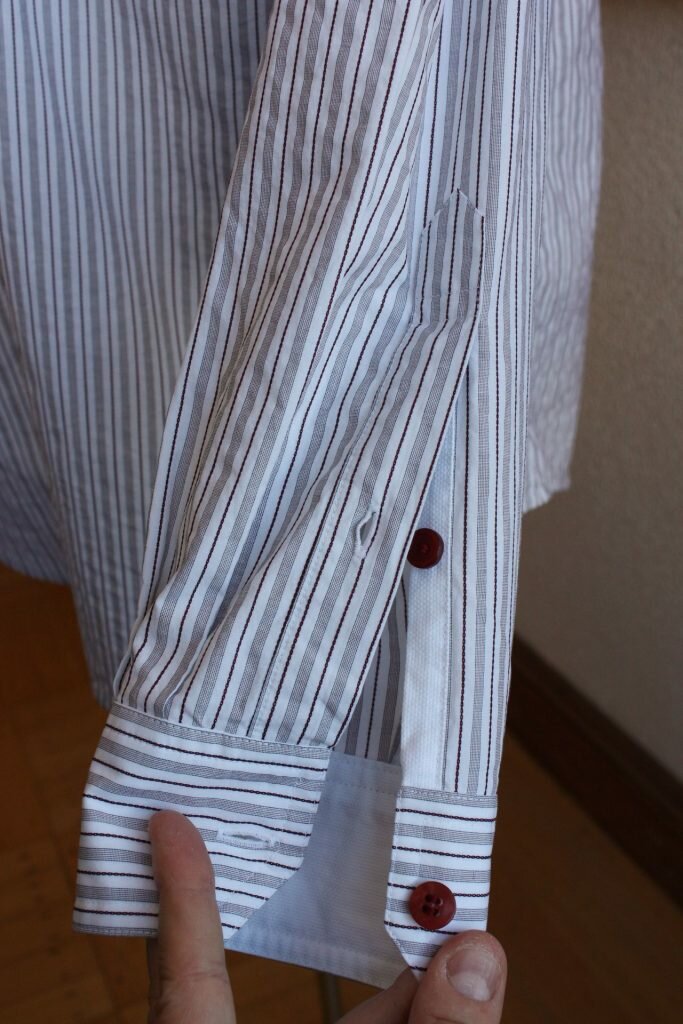
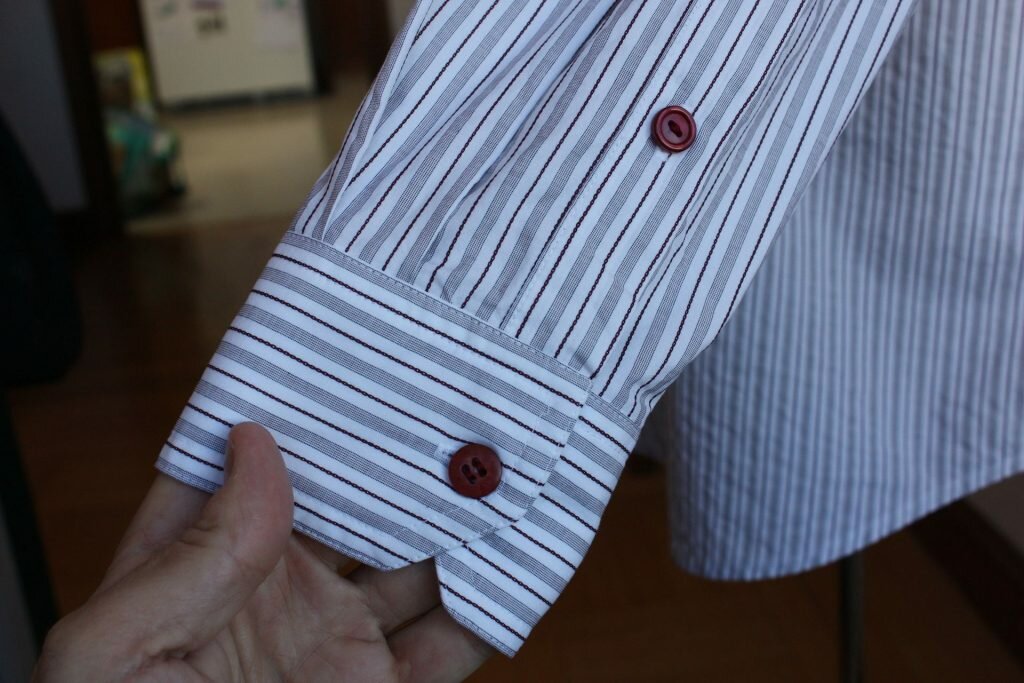
Turning the cuffs was an interesting exercise. I follow David Coffin’s method of using forceps to hold the seams in place while turning the cuff to get crisp points. Since the cuffs have beveled edges, I used two forceps at once, one for each corner of the bevel.
Next Time
I’m very happy with the way this shirt turned out, and I’ve worn it around town several times already. But I’ve identified some minor fit issues with my pattern. There are some diagonal drag lines that go from outside shoulder tip down to the second button. The shirt feels a tad tight across the shoulders in front. And the collar feels too tight in front.
If you’ve followed my blog for a while, you know that I can’t leave this alone. I’ll talk more about this in the next article.



Mee likes!
Thank you!
There is red writing on the right front and the placket. Does it come out in the wash?
Yes- it is a Crayola Washable Marker. It comes out completely in the wash.
I bought a box in several colors from Amazon.com. I’m using the “fine line” markers but they really don’t make that fine of a line. They do work really well for marking pattern notches inside the seam allowance.
Very nice. I love the white front band. Your collar band is so nice. Whose instructions do you follow? That very last part of attaching the collar always stumps me.
Mary,
I’m using the collar attachment method from David Coffin. The best presentation is in his Craftsy class, “Shirtmaking Details” (Link to class on Craftsy) As I write this, the class is $19.99, 50% off the regular price.
It’s Lesson 2 in the class. He also covers it in his book, “Shirtmaking”, though I found the video presentation far more accessible.
I also recommend the Craftsy class, “Sew Better, Sew Faster: Shirtmaking” by Janet Pray. (Link to Craftsy). It’s pricier, but there’s a couple of really brilliant construction techniques in this class I’ve yet to try.
Wow, the stitching on that collar and band is immaculate. In fact, the stitching everywhere is amazing. Thanks for inspiring all of us.
I much appreciate the compliment. Thank you.