When I made the Blue Gingham Shirt, I intended mainly to test the fit of my pattern draft in a real garment. So I wasn’t worrying so much about the collar. I just used the collar I had traced off the original shirt, and didn’t think much of it.
Now that the shirt is done, I’m not happy with the collar. It doesn’t roll properly, not like the shirt it was copied from. Perhaps I got something wrong when I traced the pattern, perhaps I used too much interfacing and the collar blades are too stiff. I tried to tame this by making it a button-down, but so far, that hasn’t been successful.
But the main issue with the collar is that I don’t like the style; it’s too large and draws attention away from my face. So I wanted to find a collar I would be happy with for the Pink Shirt.
Selecting a Collar
As with anything menswear, there are standard rules of wisdom about men’s collar styles. Most style authorities suggest matching the collar shape to your face. Long faces look good with a spread collar, round faces look good with a point collar.
Probably the best collar selection advice online comes from Proper Cloth:
- Which Shirt Collars Work with Your Face Shape
- How to Choose a Collar Style
- Spread Collar vs Point Collar
The Real Men Real Style site has a pretty good runner-up article:
- Introduction to the Shirt Collar
As with all matters of style, there is never consensus. Some articles opined that men with a long, oval face (like mine) are somewhat versatile in that both point and spread collars can look good on them.
- How to Choose the Best Collar Styles for Your Face Shape
-
The Right Shirt Collar For Your Face Shape
Samples
Instead of following rules of thumb, I decided to try out some collars and see what looks good.
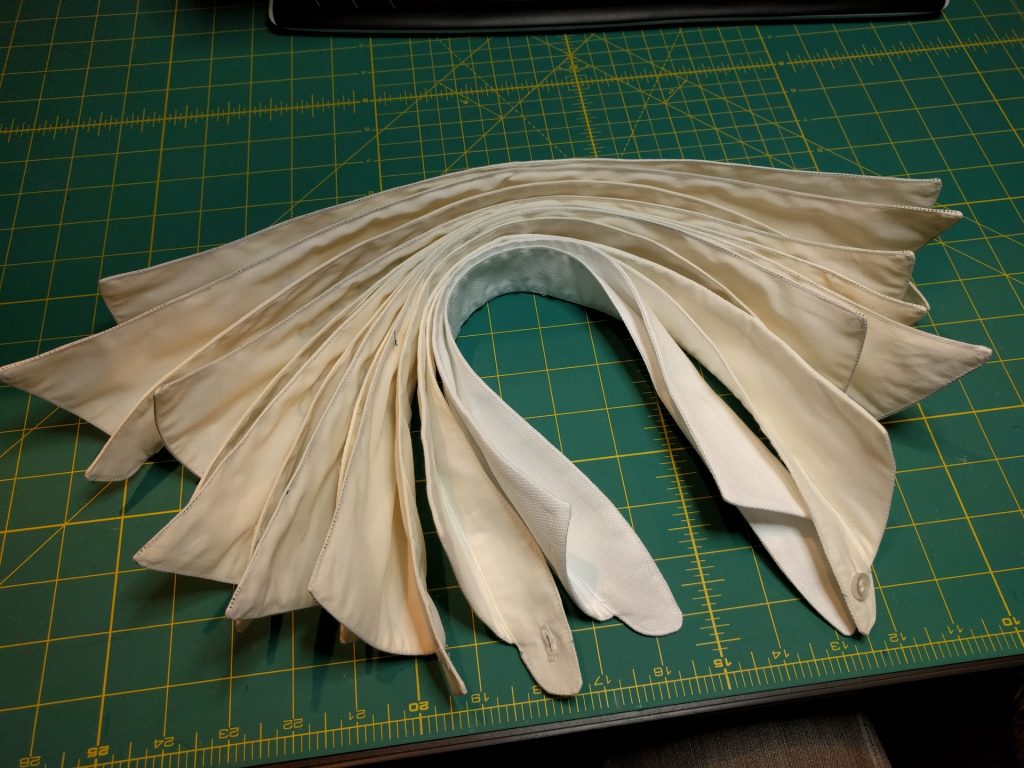
David Page Coffin’s The Shirtmaking Workbook offers a huge selection of downloadable collar patterns to use as-is, or as a starting point for design. I chose 6 designs from the book that I somewhat liked based on the sample photos, and stitched collar samples including the stand from muslin fabric.
I could have done simple muslin cutouts to save time, but I wanted to practice construction techniques, especially sewing without pins. I also had a spread collar sample on hand, from the Tuxedo Shirt project.
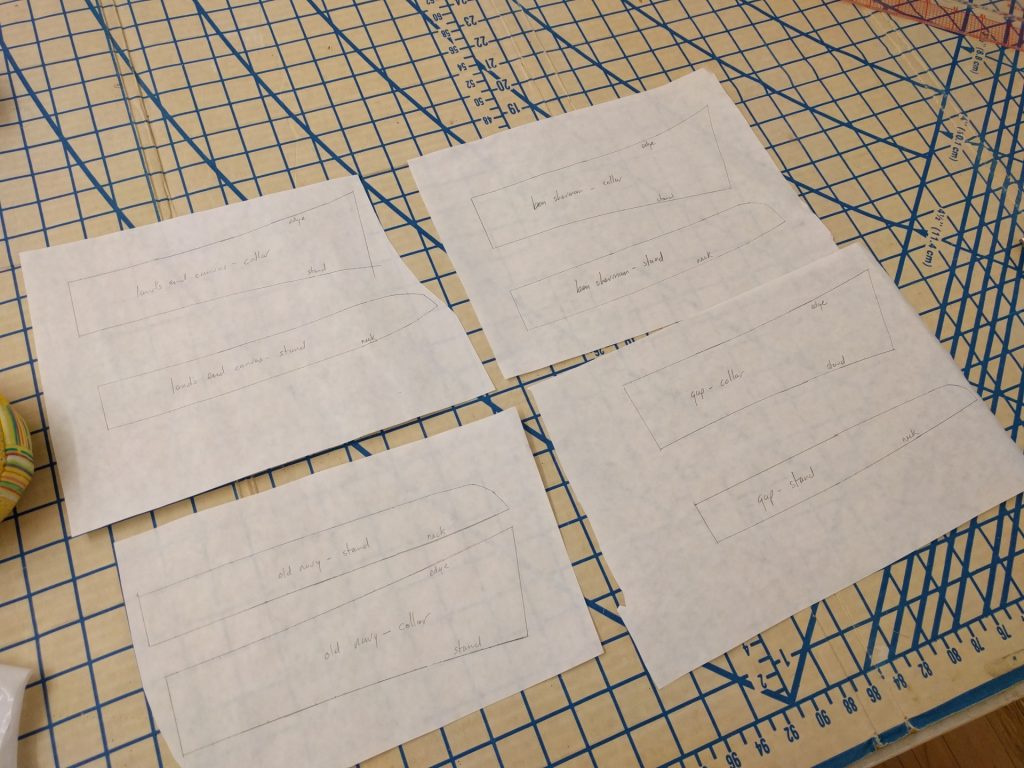
I also traced collars from some of the ready-to-wear shirts, for use as pattern blocks.
Trying them out
Including samples and ready-to-wear shirts, I had 13 samples to try – points, spreads, and other styles in between. Some had high collar stands, some did not.
I took photos of myself with these samples, and I ranked them based on my preferences and taste. But I also posted the entire album to Facebook to get my friend’s reactions.
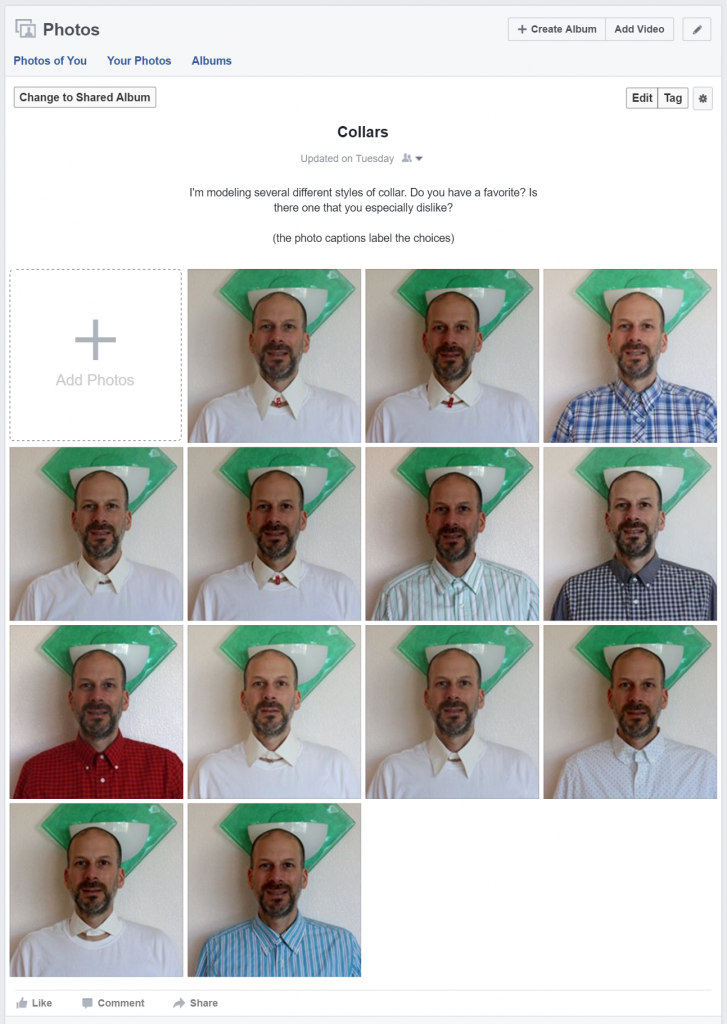
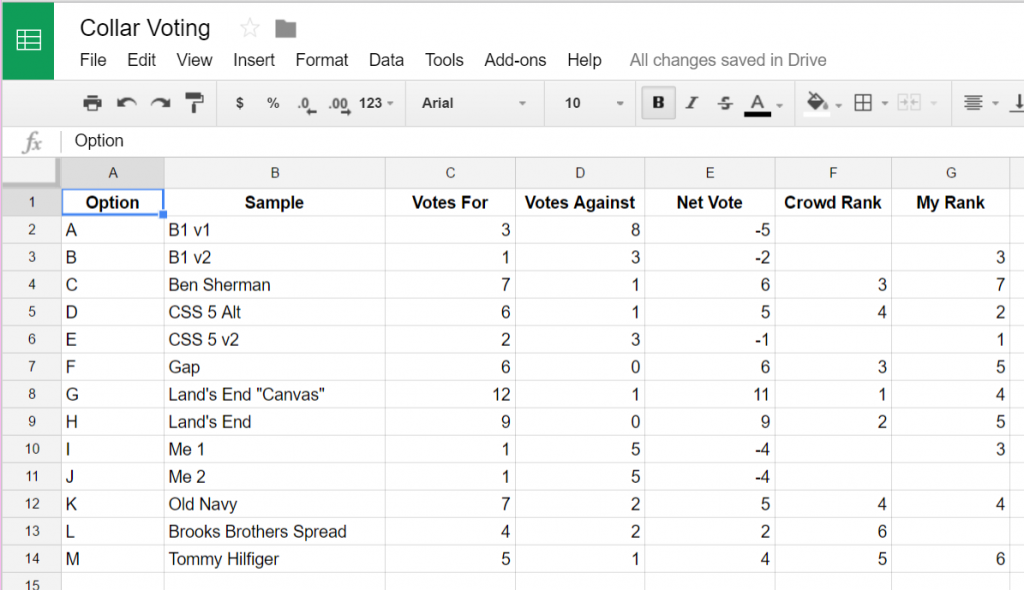
I asked my friends to indicate which ones they liked, as well as which they disliked. I compiled the votes into a small spreadsheet. For each choice, I subtracted all the “no” votes from the “yes” votes to come up with a “net positive” rating. (The options are labeled left-to-right, from “A” at upper left down to “M” at the bottom).
The Winners
Here’s a summary of the Facebook voting.
- Option G, +11 votes
- Option H, +9
- Option F, +6
- Options D and K, +5 (tie)
- Option M, +4
- Option L, +2
The Facebook crowd had a clear favorite: Option G, a shirt from Land’s End’s “Canvas” collection.
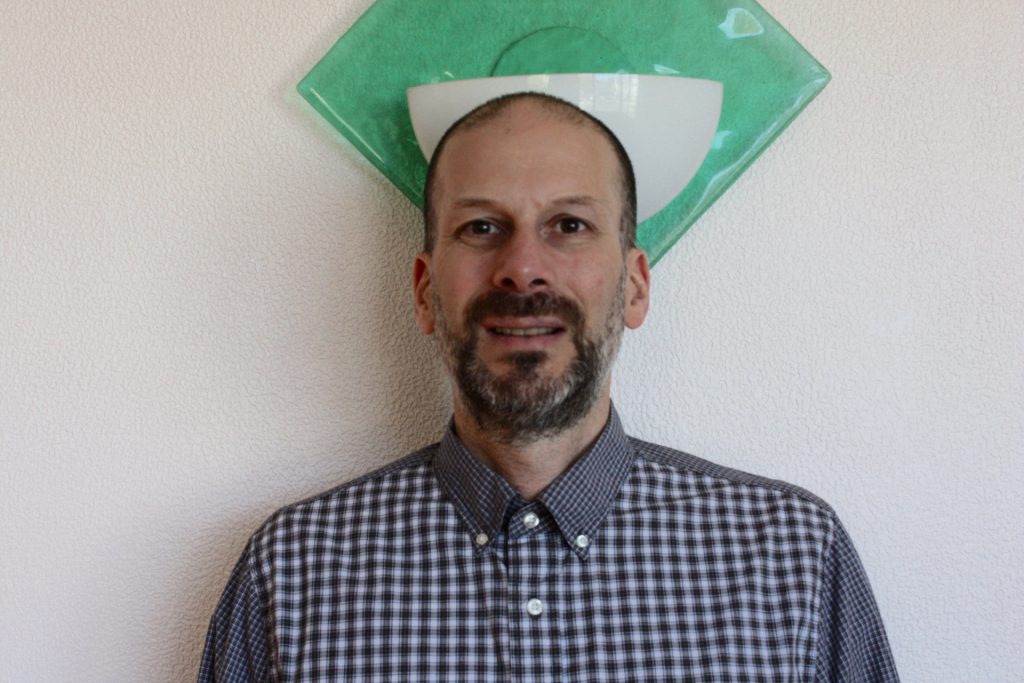
The runner-up was also a shirt from Land’s End, this time from their traditional line. This is a very classic button-down point collar.
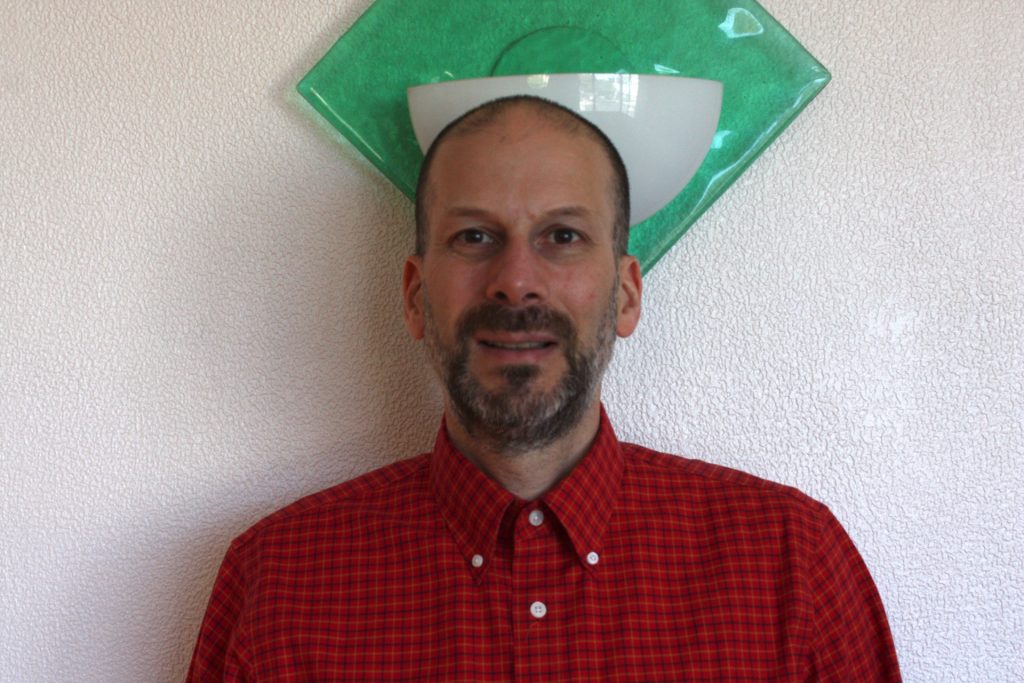
My own top choices, made before I posted the photos, were E, D, and B or I (tied for third).
Option E:
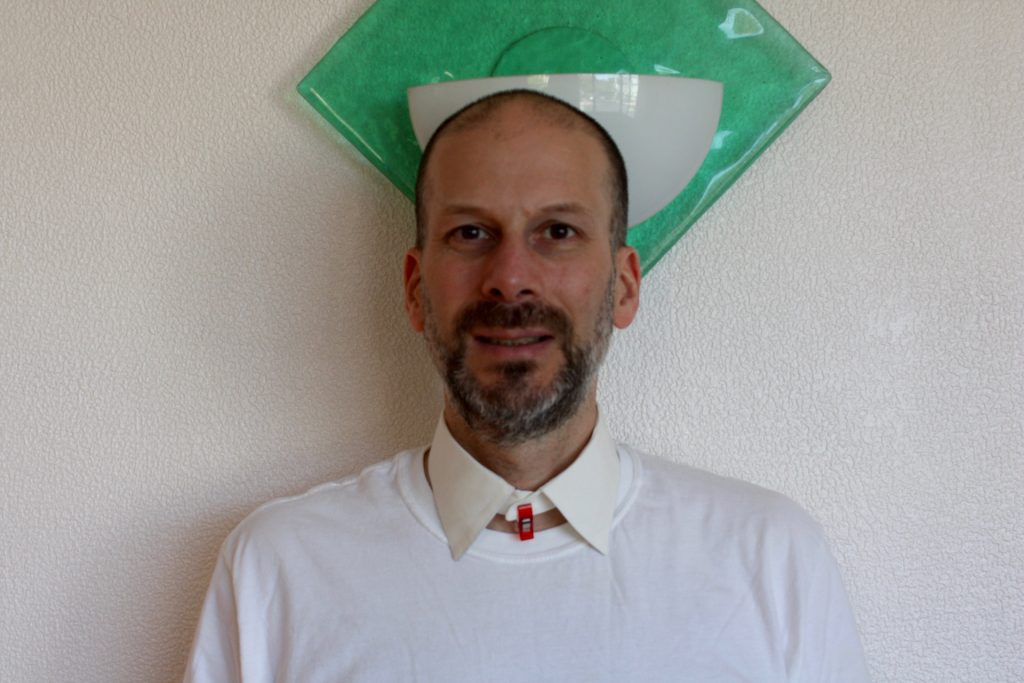
Option D:

Option D finished in the middle of the pack in the Facebook voting. Option E received few votes either positive or negative and came out overall negative. So, either my tastes don’t align well with my friends, or they may be reacting to flaws in the experiment. I got a lot more votes and support in general for the ready-to-wear shirts, over the muslin mockups.
If I were to repeat this, I would sew mockups of my ready-to-wear traces to keep everything on an even playing field, and pay more attention to the photography. Working with a self-timer is never easy, but double-checking the shots to make sure the collar is properly situated would have been helpful.
Study for the Pink Shirt
For the Pink Shirt, I’m going with the Facebook favorite, Option G. I had already traced this collar, so I scanned it into Wild Ginger on the computer, and made a complete pattern with seam allowances and corresponding interfacing pieces.
There was also a minor controversy around the plackets. David Page Coffin contacted me privately in email to alert me to a problem with the placket draft I had presented in Part 2:
Just read your latest blog post and noted that your placket draft has both the under and overlap rectangles the same width, which will make them the same width when done, and give you no easy way to conceal the underlap underneath the overlap. […] My formula is basically that the A (underlap) widths should equal the stitching box width and the B’s (overlap) simply must be wider, usually by at least ¼”, just to be on the safe side.
Together with the other changes I’m making for cuffs, plackets and front band, I decided to make a shirt to test out the new pattern.
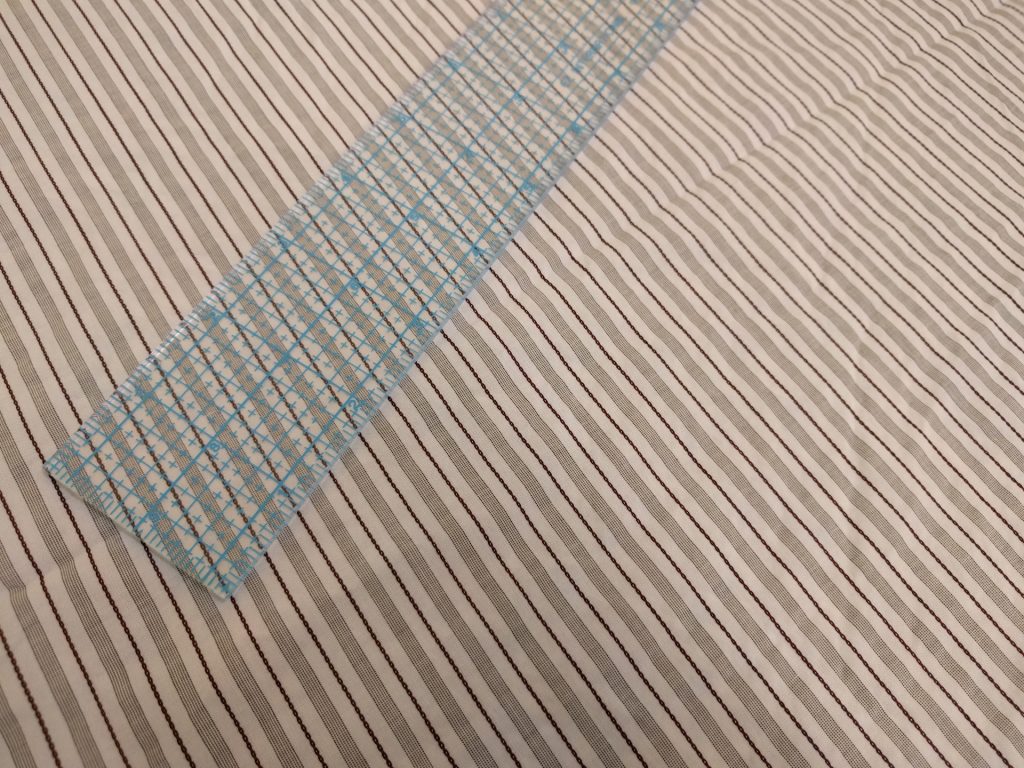
The main fabric I’m using is this shirting I got from Michael’s Fabrics, in one of their shirting bundles. The red lines are actually a chain stitch embedded in the fabric, which is raised and gives it an interesting texture. (Click/tap to better see the chain stitch detail).
For the accent fabric, I’m currently planning to use the textured white fabric I used in the Tuxedo Shirt. I want to use the remainder of the white Pima broadcloth, but I don’t have enough of it left for all the accent pieces.
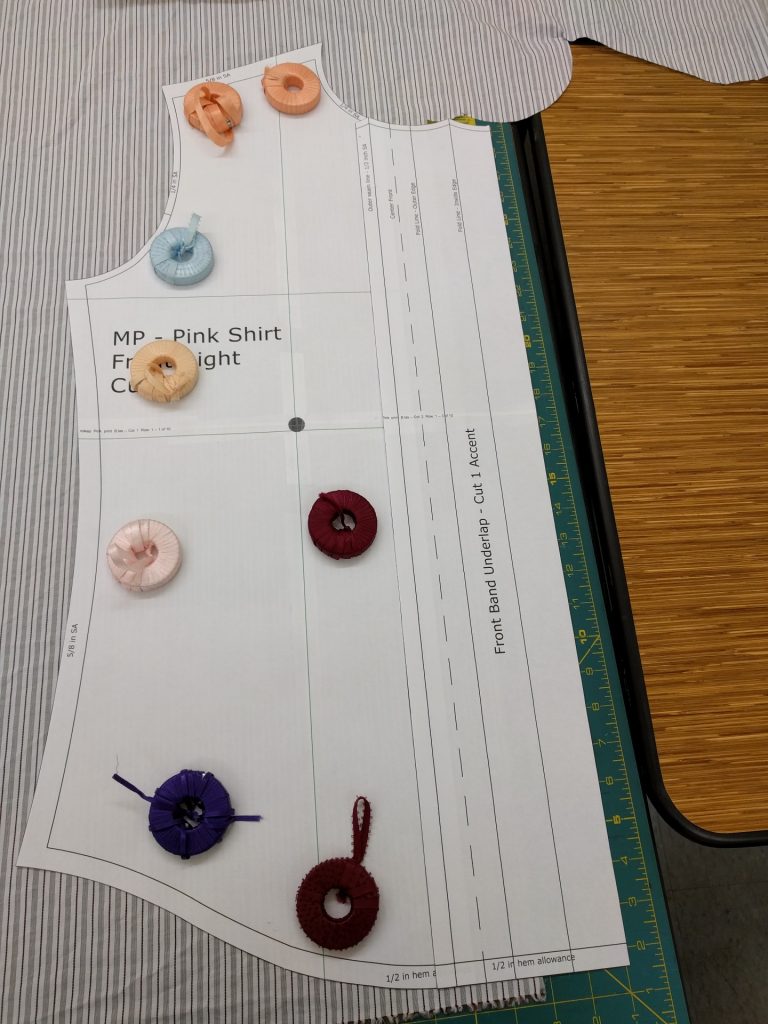
Laying out the pieces is interesting. I want the stripes to run vertically, but the stripes run along the cross-grain. So I am aligning the pattern pieces to the crossgrain rather than the lengthwise grain.
Since the front band underlap is a separate piece cut from accent fabric, the right front pattern piece no longer has a center front line. I’m aligning center front along one of the red chainstitch lines. To do this, I taped the front band pattern piece to the front right, then used the combo to line up the fronts to the fabric.
Next Time
Hopefully, I will model the “Study for the Pink Shirt”.
It’s funny, but I liked the two Land’s End shirts that your friends did, AND the ones that you liked best. Perhaps some of the reason why the Land’s End ones made it in is that they look finished and set, whereas the collar alone gives a little something odd that a non-sewist wouldn’t be able to appreciate as much?
I’m making things up. It’s been a fascinating read, watching as you work your way through shirt designs. I don’t do much with menswear, and so am quite terrible at it. Hopefully, I can use your journey to inform my next sewing expedition for my husband. :)
Tegan
Tegan,
I totally agree with you – I think you nailed the big difference between my viewpoint and friends on Facebook. The muslin collars are unfinished in a way, and though I overlook that, the Facebook viewers judge the photos on “face” value. (see what I did there?)
I’m glad to hear that you find the articles fascinating – I hope you find them useful as well!
Fascinating and cool, love the sheer effort you’re putting in, and that some of my patterns were in the mix:)
As far as I can tell, your voters chose the current fashion moreso than making judgements about collar shape vs face shape, which I’ve always viewed with deep suspicion anyway. It’s always whats fashionable that looks good to most people; that’s basically the definition of fashionable, no? Good choice:)
David,
I’m not unhappy with the selection of my voters. A big reason why I started the project was that I was frustrated with a commercial pattern that gave me a dated-looking shirt. Looking in a mirror, I realized the pattern was dated because of the collar style.
Both the LE “Canvas” shirt (G) and the Old Navy shirt (K) are very on-trend, and I like the look of both. The Old Navy shirt also got a good share of positive votes. Though the two collars are similar, when tracing out the collars I saw the LE collar definitely has more personality in terms of their curves. And I do like that LE shirt.
I am also comforted in a way that the #2 crowd selection is a classic point collar.
I, too, thought G and H were the best. Not because they’re finished (although I can’t rule out subliminal influence), but because they genuinely seem to fit you neck better and don’t overwhelm. Some of the collars are too loose or cram your neck.
Some of the muslin samples may be too snug because the fabric shrinks a frightful amount when pressed, even when I try to pre-press the fabric first. I figured that wouldn’t matter much for judging general matchup of collar to face, but perhaps I was wrong.
The RTW shirts fit the way they fit. Given what I now know about fitting, shopping for off-the-rack shirts would now be an entirely different experience.
My $0.02: To my eyes, the muslin collars all look better than the RTW with B, E, and I being my favorites. (You look very good in a spread collar, btw.) I’m not sure if it’s a lack of pressing or due to design but if a collar doesn’t have a rounded shape (either its roll or around the neck, button-down or no), then it tends to look flat and tacked on rather than an integral part of the shirt. I also think that RTW button-down shirts tend to exacerbate potential flatness because the points tend to sit onto the clavicle pointing with buttons forward rather than to the right and left sides. I assume this is due to improper sizing of the neck and chest. When I see a button-down collar facing me directly, I like seeing being able to see into the tunnels created by the rolled points without craning my neck too much.
In the Facebook voting, there was definitely a contingent who really liked the look of the wide spread collar (L) sample on me. That one was traced from a Brooks Brothers shirt.