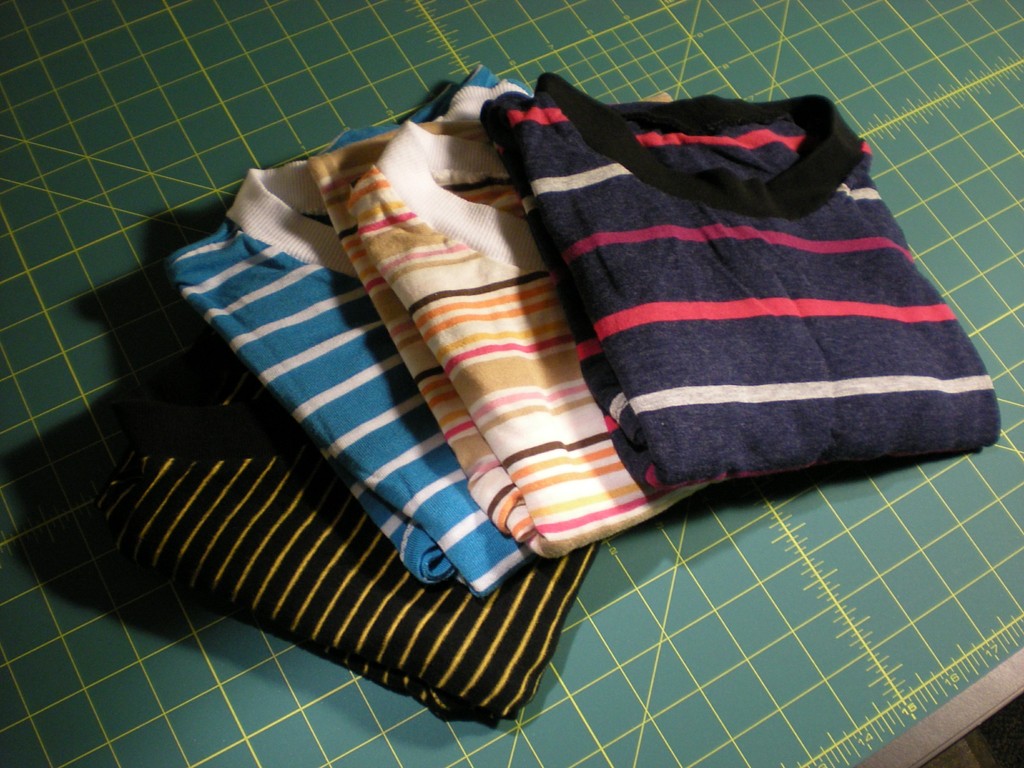
Shortly after getting my sewing machine a year or so ago, I started making T-shirts. Enchanted by the bright colors and patterns of the cheap jersey knit at the fabric shop, I ignored much of the standard beginner’s advice to stick with woven fabrics. I started cutting and sewing.
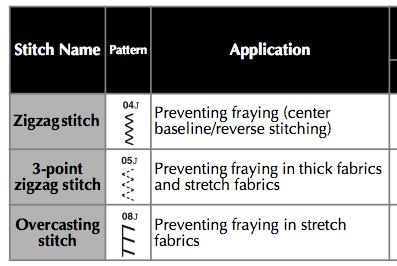
My machine has a stretch overcasting stitch that worked quite well for sewing the shoulder, arm, and side seams of the T-shirt.
But doing the hems was a big challenge. There’s quite a lot of stretch at the hem and when I pulled the shirt on or off, I frequently ended up with popped stitches.
Around that time I saw my first episode of “Sewing with Nancy” – the “Sewing A to Z” show. It was like Sesame Street for us newbie sewists. The letter “K” was for Knits. Nancy shared her preferred technique for sewing knits – use a zigzag stitch, but to set the stitch width very small – like 0.5 or 1 mm – to produce a very slight “wobble” stitch which provides some extra give on knit seams.
Of course it worked great on her show. She’s Nancy Zieman, after all. But when I tried to use this stitch on the hems of my T-shirt, I got the same old problem – the stitches on the hems popped after one or two wearings. But why? I thought this was supposed to be the solution to my problems. Nancy Zieman said so, on TV no less.
So tonight, I’m watching a rerun of “Sewing A to Z” on TV. The letter “A” is for “Anchor Cloth”, and here she uses it to help start a seam while sewing Knits. But as an aside, she discusses the wobble zigzag stitch as she sews the seam on the knit sample.
And then it hits me. The wobble stitch is intended for sewing seams, not hems. The wobble zig-zig is intended as an alternative for a straight stitch on garment seams which have more stretch than a woven, but not as much as you encounter in the waist hem of a T-shirt. It’s supposed to be a straight stitch with a little extra give, that’s all.
I tried several options for T-shirt bottom and sleeve hems:
- The “Lightning” stretch stitch also intended for knits, which produced a wavy hem even when I set the presser foot pressure as low as it would go. What’s worse is that this stitch is impossible to remove with a seam ripper without destroying the fabric.
- The “Triple Stretch Stitch” (mangled fabric and popped stitches)
- A Twin Needle stitch (popped stitches)
- A Twin Needle stitch with Wooly Nylon in the bobbin (popped stitches)
Ultimately, two things did work out for me:
- Attach a folded self-fabric band to the waist with the serger (two inches wide, fold to one inch, match right sides and serge to bottom of garment)
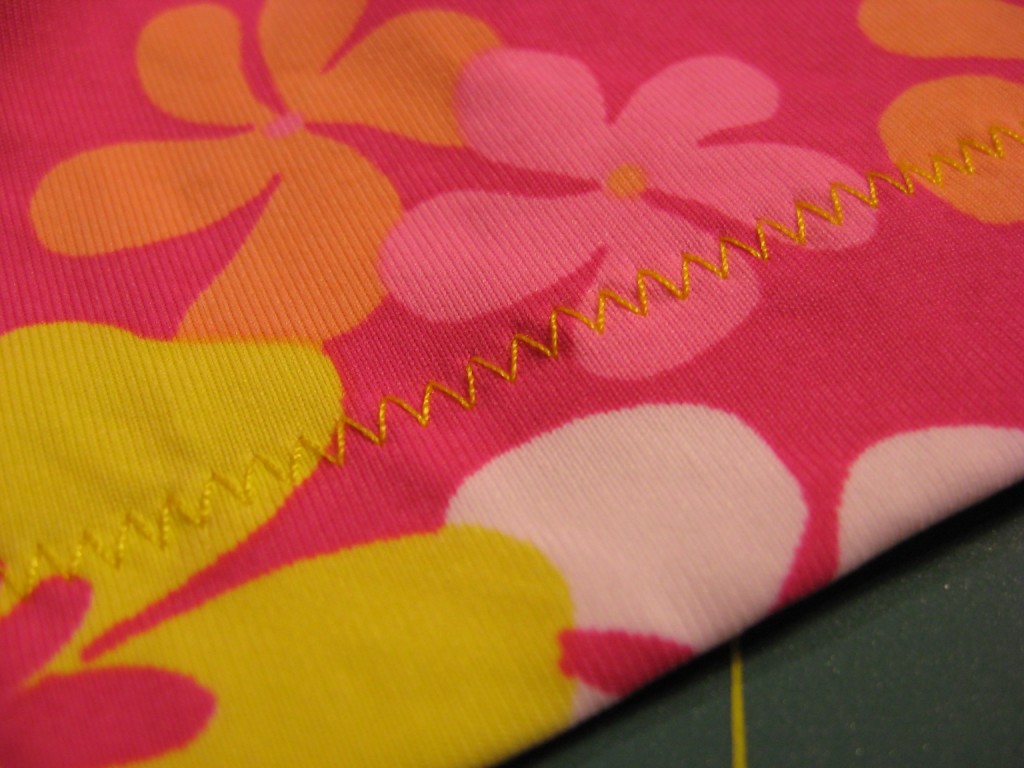
- Or just use a plain old zigzag stitch.
Right now for me at least, either approach is preferable to spending additional money on a coverstitch machine. And though some say a zig-zag stitch says “home made”, I actually kind of like the look of the zigzag stitch for this application.
Finally, I heartily recommend “Sewing A To Z” – both the book and the companion video on DVD – as a great introduction to basic sewing techniques. It’s much more accessible to a total beginner than the “Reader’s Digest Guide to Sewing” and other encyclopedic-style reference guides.


When you sew knits on a regular sewing machine you need to stretch the fabric a little while sewing so that the seam can have some “give”, even if you use a small zigzag stitch. Also, before you start to sew, test and adjust the tension of the machine so that it is suitable for the fabric and the stitch. Using paper which you can tear away after sewing can also . P.S. If your machine needs cleaning, oiling or servicing, stretch will give you a hard time. BEST OF LUCK!
Thank you for the advice!
My go-to hem stitch on knits is always the twin needle. I like the professional look of it and it does stretch. However, if you have popped stitches, try turning the knit grain the other way. It either does not stretch or it stretches a lot. Hope that helps.