Fall Sewing Whirlwind Recap

Oh, my. There’s a layer of dust everywhere. Pardon me for a second.

Pffffffffffffffffffffth!

Pfffffffffffffffffffffffffffffth.

Now that I’ve blown the dust away, time to resume the blog.

Fall Recap

On my last blog update, I had signed up for four fashion classes at City College of San Francisco. I figured it was ambitious, but doable. The four classes were: Fashion Illustration 2, Garment Fitting, Apparel Construction 1, and Custom Tailoring.

Plans changed very quickly. Shortly after classes started, an opportunity for some freelance work (not sewing-related) came my way, and so I started working two days a week. That meant I had to drop at least one class. I wasn’t giving up Fitting or Tailoring, and dropping Apparel 1 wouldn’t have made much difference, so I let go of Fashion Illustration 2.

Even so, I’m OK with the decision in hindsight. The Illustration class was a lot of homework, and as it turned out the Tailoring class needed every moment I could spare and then some.

So here’s a very quick summary of my fall semester classes and their outcomes: Continue reading

RIP, Nancy Zieman

Nancy Zieman, sewing instructor and host of the public television series “Sewing with Nancy” for over 30 years, has passed away.

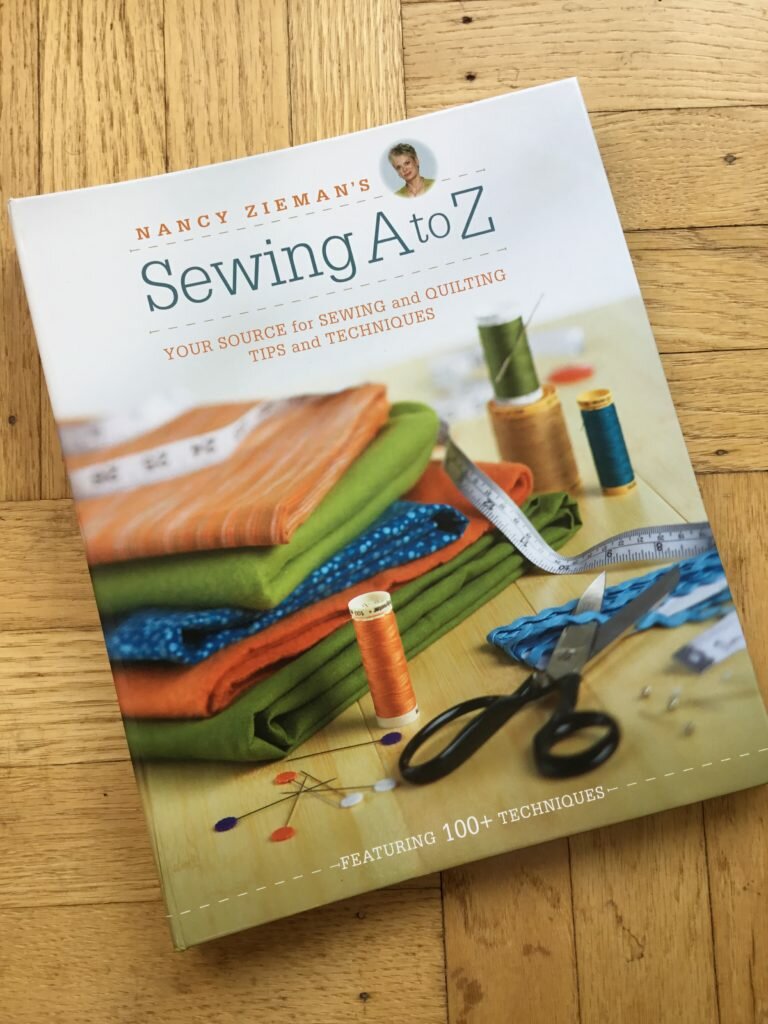
When I began sewing six years ago, I stumbled across an episode of “Sewing with Nancy” on TV. She was sewing from “A” to “Z”, one basic sewing technique after another.  Anchor Cloth, Basting, Cutting, Double Needles, all the way to Zippers.

It was like the heavens opened. Nancy not only showed me basic skills I needed to learn, but also things I didn’t know I needed to learn.  I bought the book and DVD and several more since.  I still use techniques such as her method for inserting an invisible zipper, and her “absolute easiest” way to sew darts – which I just used for a class project.
And then I read her amazing story.  Nancy Zieman wasn’t just a successful entrepreneur, instructor, and television personality.  She was all of those things against a backdrop of health issues, some very visible, her entire life.

From her autobiography, Seams Unlikely:

On Sunday afternoon, December 12, 1982, I was feeding Teddy when the phone rang. It was David Larson, the one producing Sewing With Nancy.

“This arrangement isn’t working for me,” he said by way of announcing an end to our television production. He was pulling out. “Go ahead and do it yourself,” he said.

We had recorded only eleven programs. Dave did it all, both production and editing. The production and editing crews worked under contract to him. The contract with the Satellite Program Network held his signature, not mine. Without him I felt there could be no Sewing With Nancy, and if it wasn’t profitable for Dave, how could it be for me. That was it. My television career was over.

A couple of nights later I awakened in the middle of the night in a sweat, something that had never happened before. As I bolted upright in bed, the thought came to me and wouldn’t leave: ‘If you don’t do this now, you will never have another opportunity.’

In the morning I began making phone calls to see if I could produce Sewing With Nancy on my own.

Goodbye, Nancy. You are an inspiration and you will be missed.


Quote source: Zieman, Nancy. Seams Unlikely: The Inspiring True Life Story of Nancy Zieman. Glass Road Media. Kindle Edition.

My sewing machine thread breaks. What do I do?

I recently received this comment on one of the earlier articles in my blog, about tension adjustments for sewing jeans:

I have a commercial machine and I’m using a 18 needle but the thread breaks. It sews about three stitches and breaks, but when I put it on a thin material it looks beautiful. Can you tell me what I’m doing wrong.

Here is a checklist to help solve the problem. I tried to arrange it roughly in order from simplest fixes to the more involved ones. And since the reader was asking for help with an industrial machine I’ll try to take that into account as well.

Starting with needle and thread:

  • Try a different needle, same size. The needle you’re using might be defective in some way, such as burrs at the tip or being bent.
  • Try a different bobbin. Again, the bobbin you are using may be defective, or the bobbin may be wound incorrectly.
  • Are you using the same thread on top and in the bobbin? You should.
  • Are you using cone thread, rather than spool thread? Industrials are meant to use cone thread. Cone thread is wound in cross-diagonals, and when used on industrial-style thread feeds the thread unwinds without twisting.
    If you put a regular spool of thread on an industrial thread spindle, it will gradually twist while sewing and can cause poor stitches and possibly thread breakage. (If you have a home machine, you can use cone thread with an appropriate cone thread holder).
    Here is some additional information on cones versus spools, and when it is appropriate to use each: Thread Delivery System
  • Is the thread the right size for the needle? If you are using a large-size needle and thread that is too lightweight, this can cause stitch problems. You should user a heavier weight thread with a size 18 needle.
    Along similar lines, if you use a topstitching needle, you should use topstitching thread along with it.  A topstitching needle has a longer eye and is intended to accommodate thicker thread.
    Here is an article that discusses the relationship between needle size and thread size in detail: Technical Advice: Needles and Thread
  • Is the thread old? Old thread can degrade and become brittle due to exposure to sunlight or air, and can break when used in the machine. Give a tug on the thread to see how much it can take before it breaks. Sometimes you can salvage a spool or cone of thread by unwinding the outer, brittle layers of thread and tossing them.

Vintage thread makes a great display item, but don’t use it for sewing.

Next, check your machine setup and usage:

  • Always make sure the thread take-up lever is always at the top of its travel when you begin or end stitching. Otherwise, the thread can break, or the needle can come unthreaded. This sounds super simple, but it was a problem I had working with industrials (and mechanical sewing machines in general) before I was properly taught how to use them.
  • If you have an industrial machine, check that the needle is installed correctly. Industrial needles do not have a flat section at top to ensure proper orientation, as home machine needles do. Make sure the long groove shaft of the needle faces to the left (towards the left hand side of the machine) when you install the needle.
  • Make sure the bobbin is installed in the case so that it turns clockwise when you are looking at the open side of the bobbin case and pull on the thread.

Viewed from the open end, the bobbin should turn clockwise when you pull the thread.

  • Make sure the bobbin case is installed in the machine properly. On the Juki industrials I am familiar with, install the bobbin case with the open notch pointing upwards.

This industrial bobbin case installs with the open notch pointing upwards.

  • Industrial machines (and other high-speed straight-stitch machines like the Brother PQ-1500S, Janome 1600P, and Juki TL-2010Q) have lots of little twisty guides and discs the thread must go through, in order to stabilize the thread for high-speed operation. Miss just one of these guides and you can have stitching problems – ask me how I know! Rethread the machine from scratch, and recheck the threading diagram closely.
  • Remove the needle plate from your machine, and with a small, lint-free brush clean up any lint or fuzz that has collected in the bobbin area. Accumulated lint in this area can cause the machine to malfunction.
  • Check your machine for nicks, burrs, or other damage to the needle plate, thread guides, and other machine parts.

Finally, some things that involve adjustments to the machine.

  • Try checking the top thread tension. If the top thread tension is too high, the bobbin thread can break.
  • If top tension adjustments don’t help, try checking the bobbin tension. Here is a test for bobbin thread tension: You should be able to pick up the bobbin case by the thread, and the bobbin case should just hang on without sliding to the floor. If you give a little upwards yank on the thread, some thread should come out of the bobbin case.

Adjusting the bobbin thread tension on a commercial machine is pretty much the same as on a home machine. Here are some articles on thread tension that explains how to adjust both top and bobbin thread tension:

  • Understanding Thread Tension
  • When to Adjust Bobbin Tension

Tailoring Class Update (Part 2)

It’s been about a week since my last blog post, and here’s a quick update on my Tailoring class.

Fabric

I’ve already had a reversal of fortune; the beautiful steel-blue windowpane wool I planned to use is out for the project.

Knowing plaid matching would be a challenge, I researched it further up front. The Threads magazine article I mentioned in the first post of this series (“Plaid Ambition”, Threads #177, February/March 2015), has a few deficiencies.

Continue reading

Diving into the Deep End

There’s so much to write about, I don’t know where to begin!

Based on my experience from the summer session at City College of San Francisco, I’ve gone all-in on classes for the upcoming fall semester.

I’m taking four classes, which pretty much makes me a full-time student.  I’m hoping I can meet the workload for all four classes.  I’m pretty certain I won’t be sewing any projects outside classwork.  That’s not so bad, because some class assignments provide opportunities to make projects that have been lingering in my personal queue.

Fashion Illustration 2

This class continues where my summer class in Fashion Illustration leaves off.  I have the same instructor, Paul Gallo, who is a wonderful instructor and coach.

The second semester of Fashion Illustration builds on the first.  We learn additional rendering techniques, more menswear techniques, and the drawing proportions for children and teens. We also learn the details of producing technical flat drawings and spec sheets for production work.

One emphasis of the second semester is on developing everyone’s individual artistic style, and the midterm and final are capsule design projects that focus on original design work. My style so far is fairly photorealistic, and I’m curious to see how I develop as I work through the course.

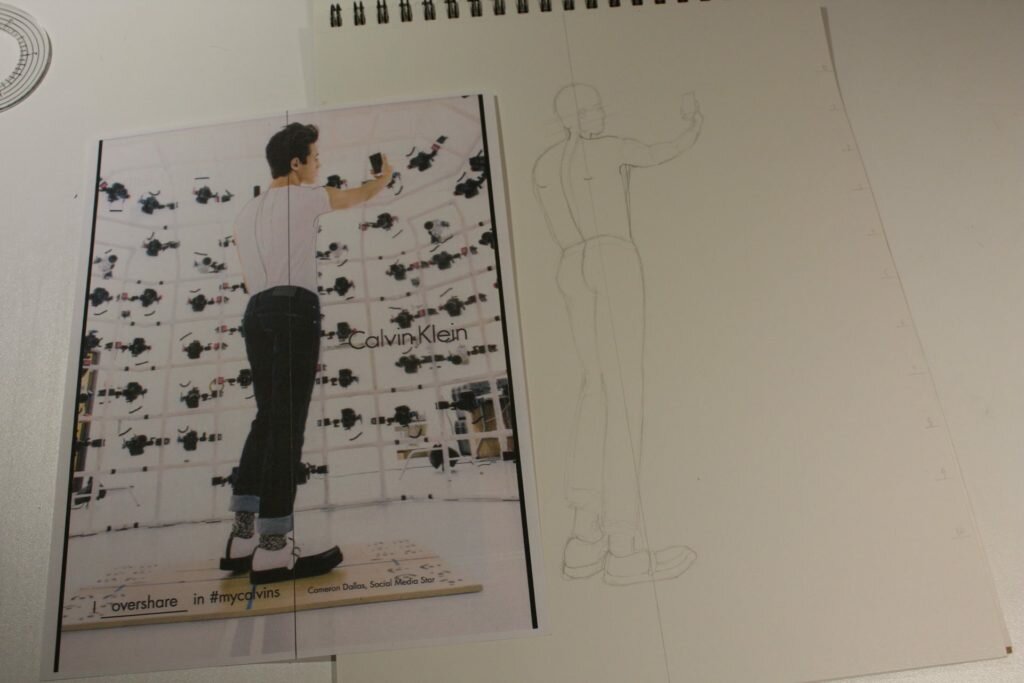
Here’s some work-in-progress from the second assignment; we’re revisiting the basic figure and learning new coloring techniques.

Continue reading