Work on the jacket continues.
Pattern Adjustments
When tailoring from a commercial pattern, there’s some additional pattern work that goes on before fabric cutting. We draft new pieces for linings and usually pieces for facings and interfacings as a consequence of fitting the main garment.
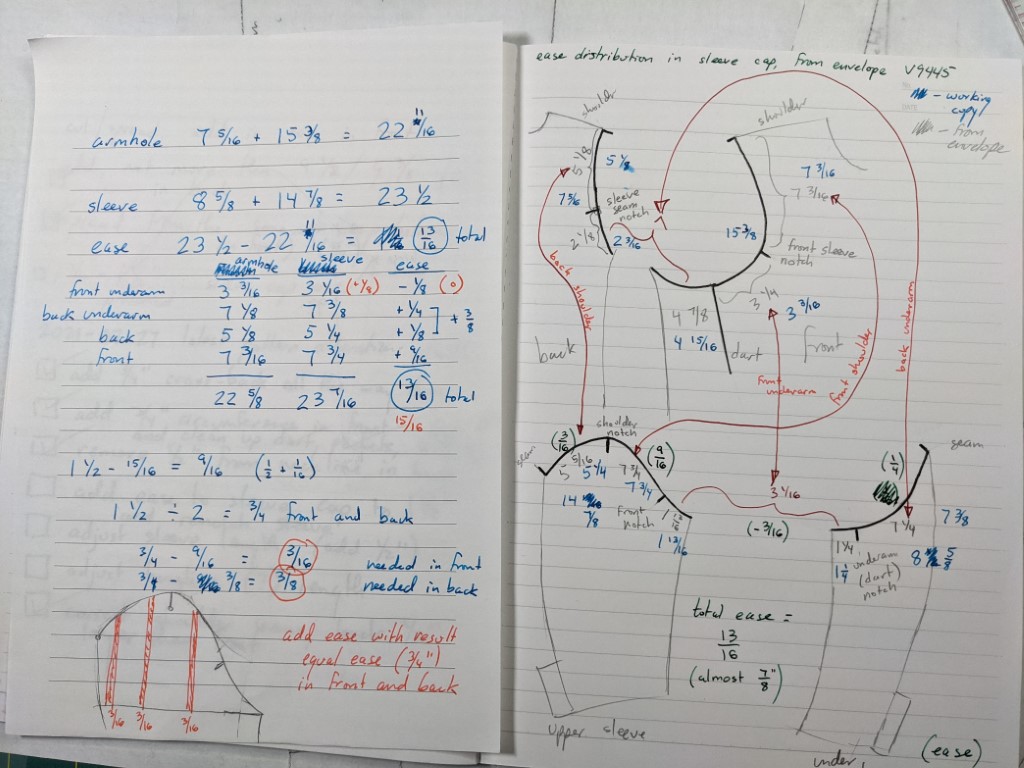
One issue I encountered with the original pattern has to do with the amount of ease in the upper area of the sleeve cap. A tailored jacket always has some amount of ease, anywhere from 1 1/2″ to (I have heard) in some cases 3″. The ease is essential in order for the cap to stand up from the shoulder, and also to accommodate the internal padding that is included in the shoulder area.

The pattern as drafted by Vogue had only 7/8″ ease in the sleeve cap. Additionally, the sleeve actually had 3/16″ negative ease in the underarm area at front, which normally should be drafted one-to-one. I don’t know if that was intentional on the part of the pattern drafters. On the Facebook group “Sew Manly”, a self-described tailor had this to say:
“Don’t assume the negative ease is an error. It may be there to create a subtle curve and help the sleeve sit into the armscye.”
Whether that’s true or not, most patterns have no ease at all in this area and eliminating that negative ease will make construction a lot simpler to deal with. As part of the garment fitting process, I eliminated all ease in the underarm area, and added ease at the top of the sleeve cap for a total of 1 1/2 inches in that area.

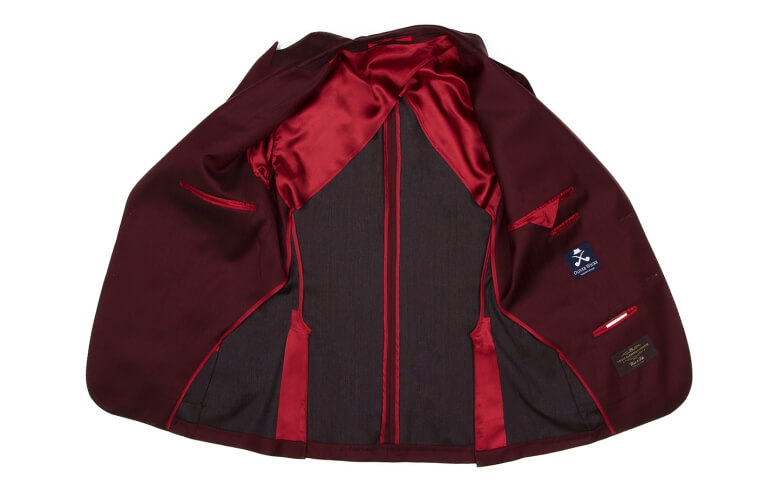
Another pattern challenge has to do with the back vent. Normally the inside-facing flap of the vent is lined, but in this jacket there is no lining, so the vents must be finished another way. I discovered the clue for what to do by inspecting online photos of other unlined garments with a vent; they solve the issue by covering the flap with a facing made from the lining fabric (as in this photo from the above website).

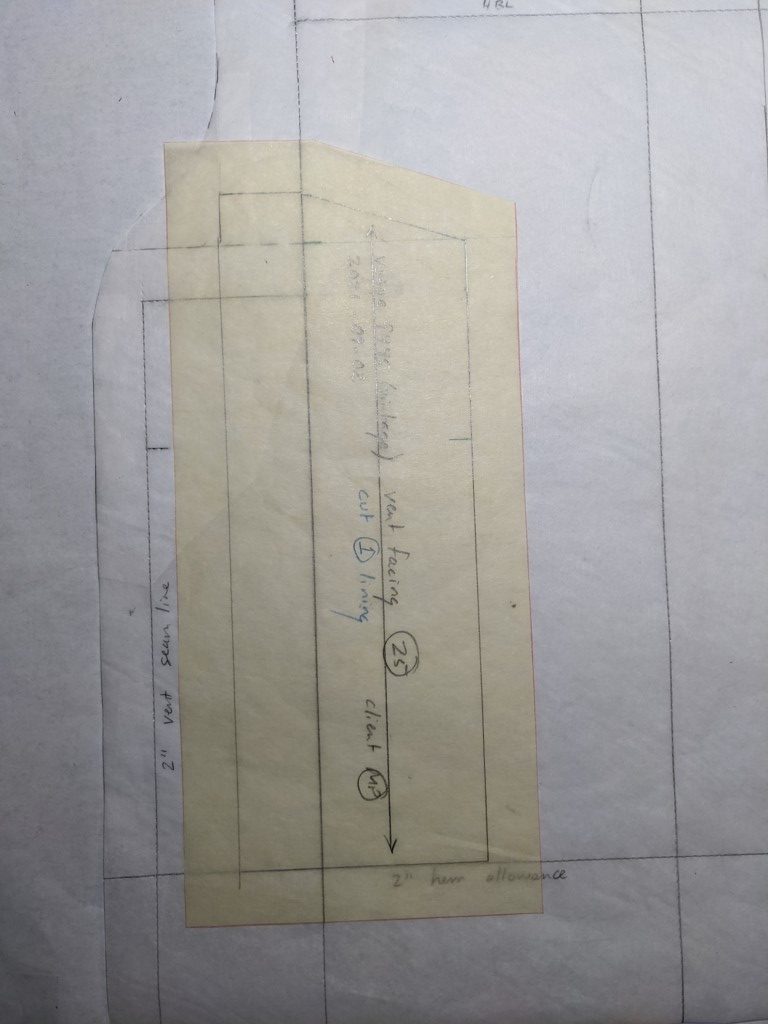
I drafted my own facing piece for the inside vents, to be cut from lining fabric. The vent flap (in white) will be turned to the other side of the seam, where it will be covered by the facing (in yellow).

Cutting
I knew that I was potentially short on the linen fabric for my project, so I wanted to lay everything out in one go so I could tweak the placement of the pattern pieces for the best usage of fabric. I have a folding pattern table that is 72 inches long fully extended, which was still not long enough to accomodate the entire cut of fabric.
I jury-rigged a solution to extend the cutting surface just a bit further using an ironing board and a cutting mat. I couldn’t cut in that area, but I could use it for layout. Which was a good thing, because I used all the fabric. I had to arrange some pattern pieces with seam allowances in the selvage to get everything to fit.

There is literally nothing left for re-cutting any piece, probably not even a pocket flap. I have enough spare to use for welts, and that’s it. I’m committed now.

Marking
I’m not a fan of chalk marking for a long project like this one; the chalk marks fade relatively quickly and leave you guessing. Previous experience has taught me that accurate markings of pattern notches are really crucial for tasks such as setting the sleeves and collar. Even though you may not place them exactly as the markings indicate, it’s essential to have them as reference points as you tweak the pieces to make them hang properly.

I thread-traced the notches, fold lines for hems and roll line, darts, grain line, and seam lines. The seam lines in particular are thread-traced 1/8 into the seam allowance; for instance, where there is a 5/8″ seam allowance, I traced the threads at 1/2″. This is good enough to allow for accurate stitching but avoids having the thread marks caught up in the stitch, where they can be unpleasant to remove.
Finishing the Seam Allowances
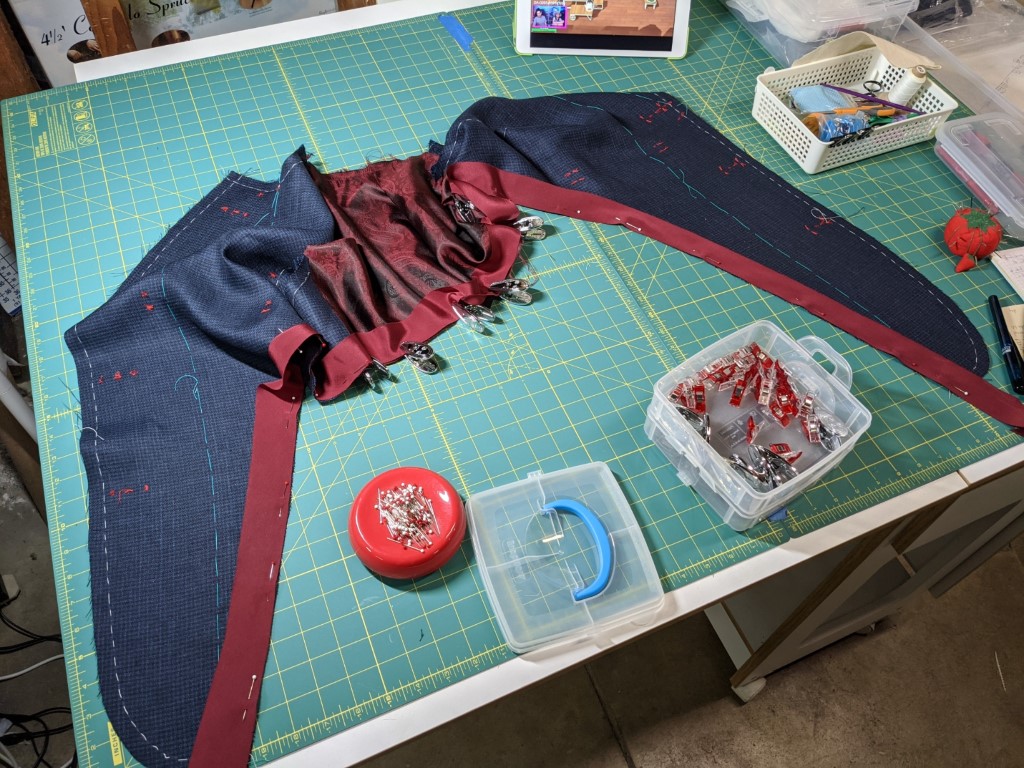
Becuase the jacket is unlined, the internal seams (back, side, facings) must all be finished. The most attractive way to do this is with the Hong Kong finish. It wraps the edges of the seam allowances in fabric, creating a beautiful border effect. The binding fabric is cut on the bias, to navigate curves.
The binding fabric is a very flowy silk, that works well for the binding because it is thin and adds little bulk to the finished seam. But it is shifty, stretchy and hard to handle especially on the bias. I hand-basted the bindings before stitching them to stabilize the layers, but I think a walking foot would have also helped.

It’s best to do the Hong Kong finish on all the seams that need it immediately after cutting, because it’s much easier to apply before the seams are sewn. I also finished the hems, but I realized that was a mistake and I left the hems in a half-finished state. I will come back and finish the hems once all the seams are sewn, because that will allow me to finish the hems with one continuous strip of binding.

Pictured here are the back pieces and the inside facings. The facings are joined together with the lining, and the inside edge (facing – back lining – facing) is bound in one fell swoop.


Next Time
We’ll talk about pockets.


