Today, I want to cover the design and construction aspects of the Chevron Latte Shirt. (ICYMI, Part 1 covered fitting adjustments.)
Design
I chose another fabric from one of Michael’s Fabrics shirting bundles. The cut was pretty generous – a few inches short of three yards in a 60-inch wide fabric. So I had plenty to work with.
I wanted to make a chevron effect, to give the shirt some personality. My original plan was to give the yoke this treatment, and because I had enough fabric to work on bias, the entire front band of the shirt as well.
As I worked on the shirt, the design evolved. I added the sleeve placket as a flash of inspiration while cutting out fabric. And the staff at Sips N Sews suggested I add a front pocket to create some design play between the elements on the front of the shirt.
The Chevron Effect
Professional shirtmaker Pam Erny provides a really easy-to-follow tutorial on making chevron-style yoke and pocket pieces at her website. The key trick is that you sew together two pieces of fabric on the bias, then place your pattern pieces and cut.
I have a few tips to add to her tutorial:
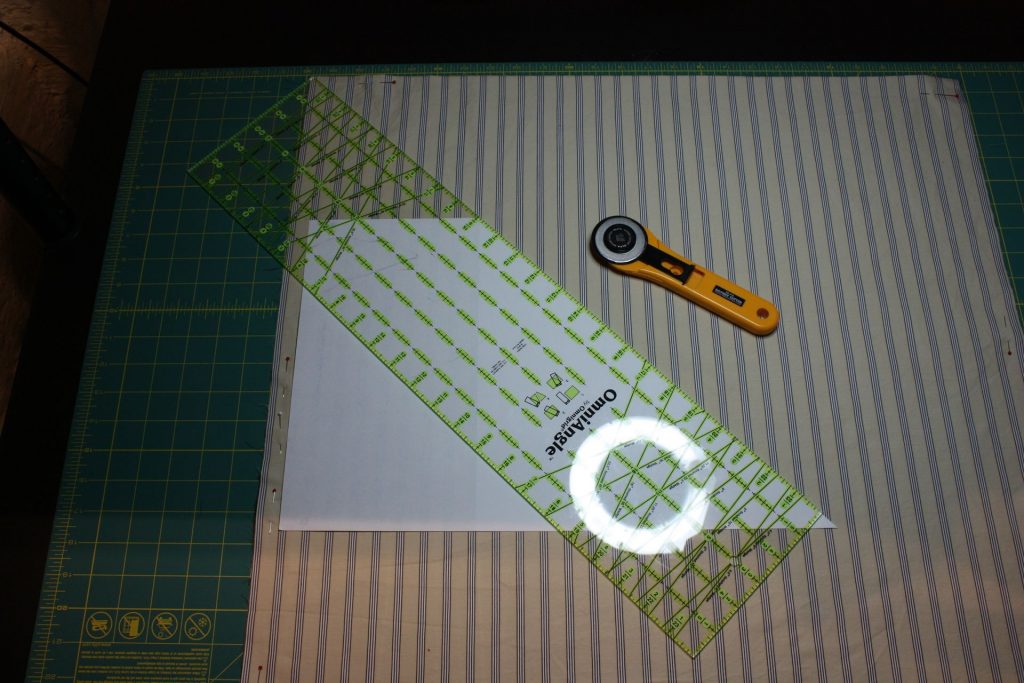
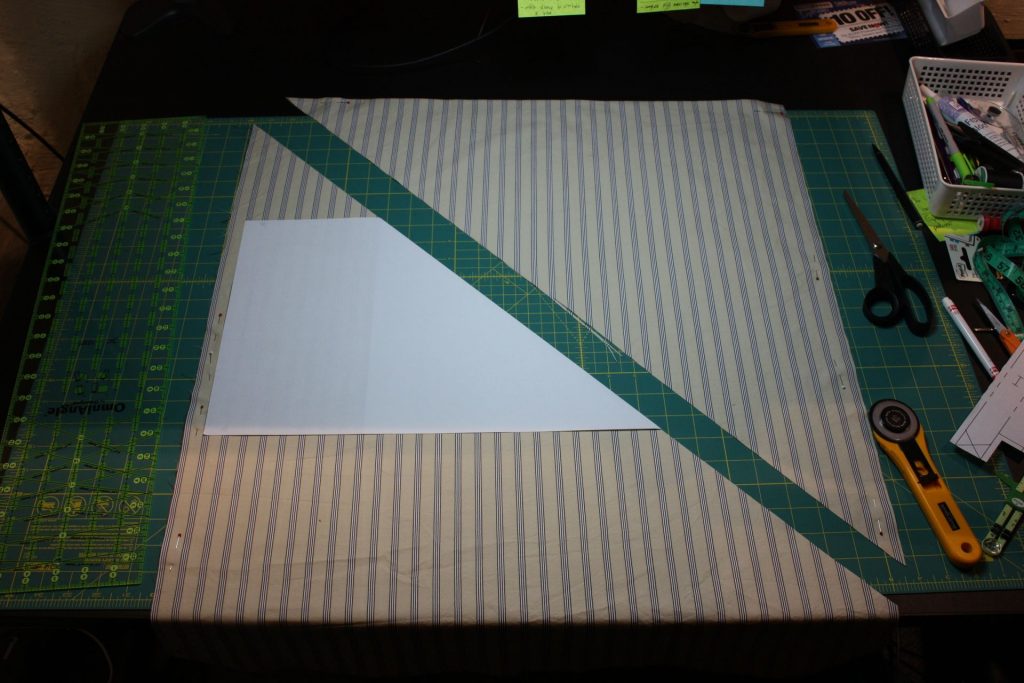
- You can cut the chevron stripes at any angle you want. But I wanted a precise 45-degree angle, for the design elements I had in mind. My quilting ruler has many guidelines, but none for a 45-degree angle. Quilters probably have some sneaky way of getting 45-degree cuts out of this ruler that I’ll never know. I made my own 45-degree angle guide by folding an 11×17 sheet of paper, then aligning the paper with the stripes on the fabric.
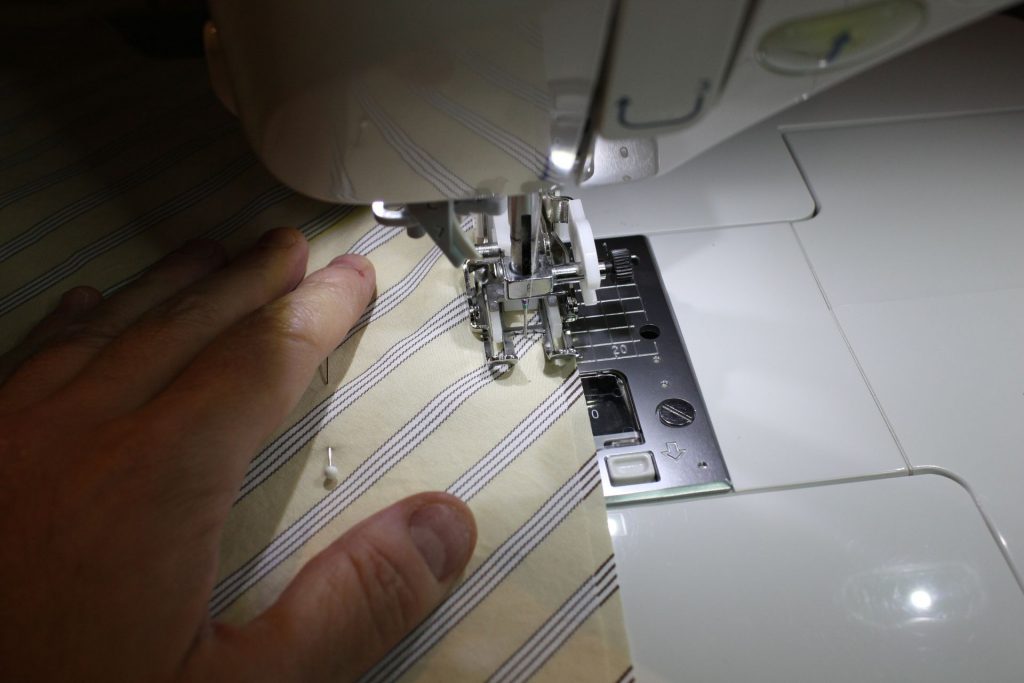
The walking foot was useful to ensure stripe alignment.
Front band and Yoke
Since the fabric is cut on bias, I had to be careful not to stretch out the fabric while pressing and stitching with these large pieces. I staystitched around all edges of the yoke pieces before constructing the shirt itself.
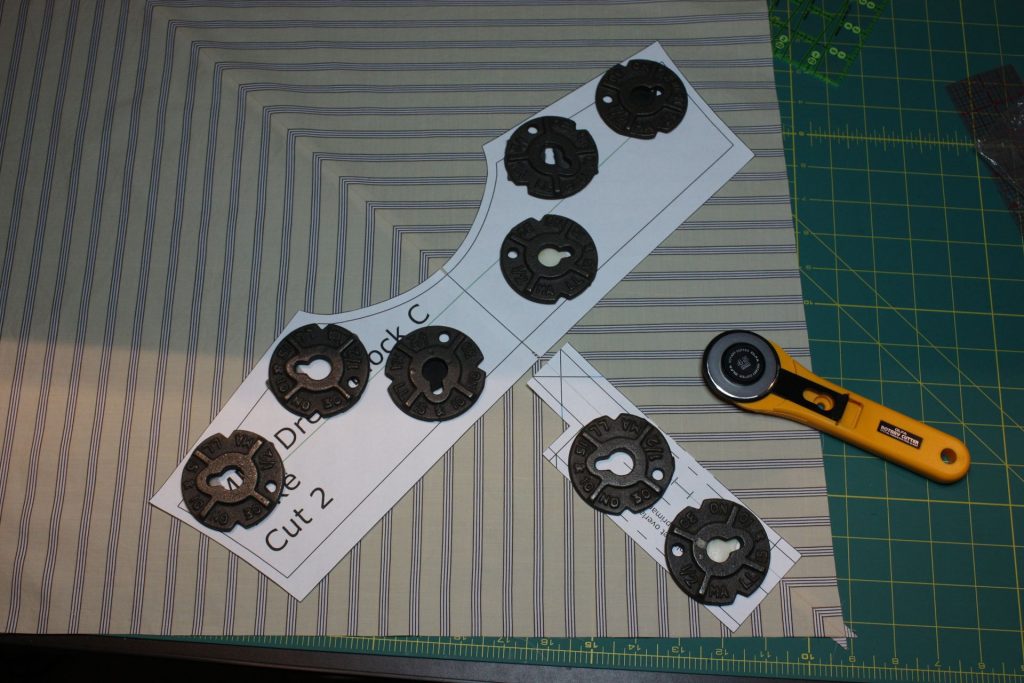
I also pressed edges without moving the iron.
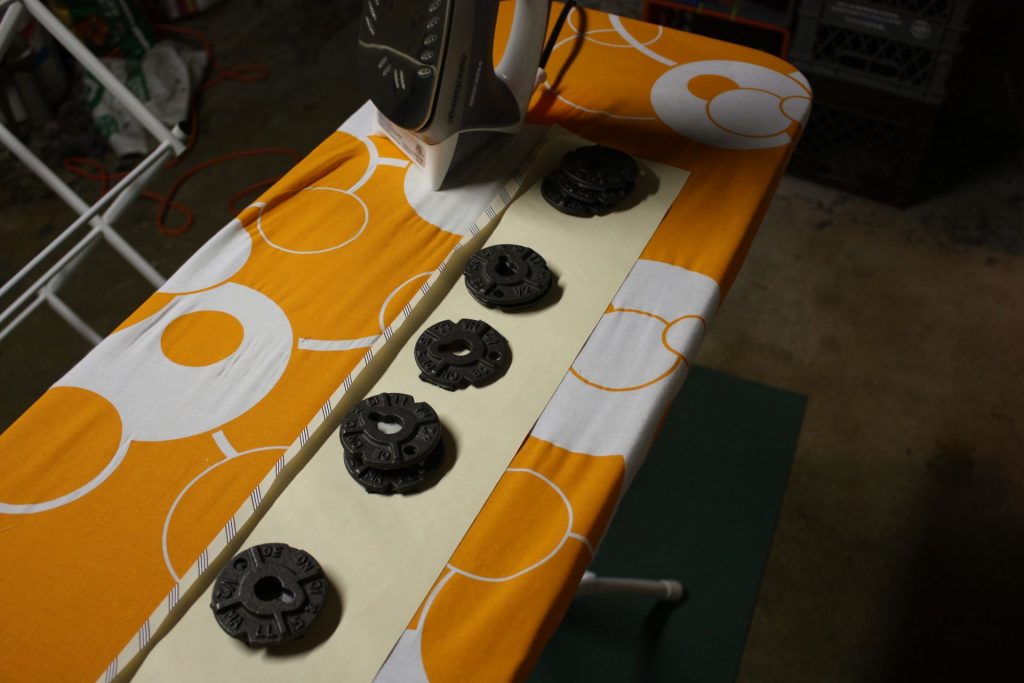
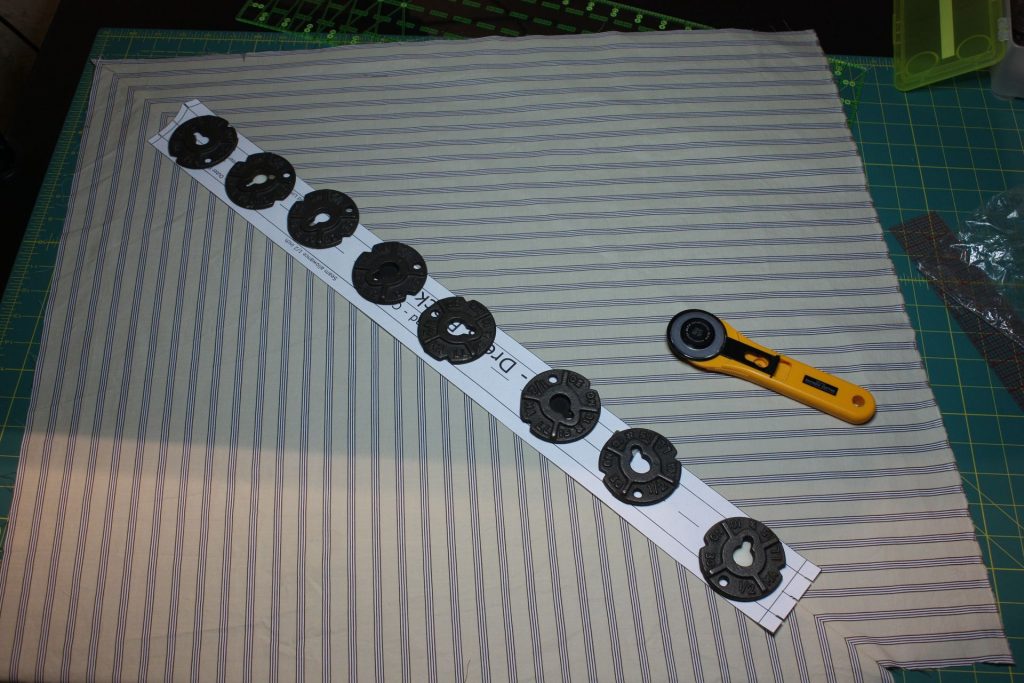
The cutting placement of the front band was done with the button layout in mind. The chevrons dictate the button spacing. I originally thought of placing the buttons in the negative space between the chevrons, but some auditioning on the dress form showed that placing them at the chevron peaks looked best.
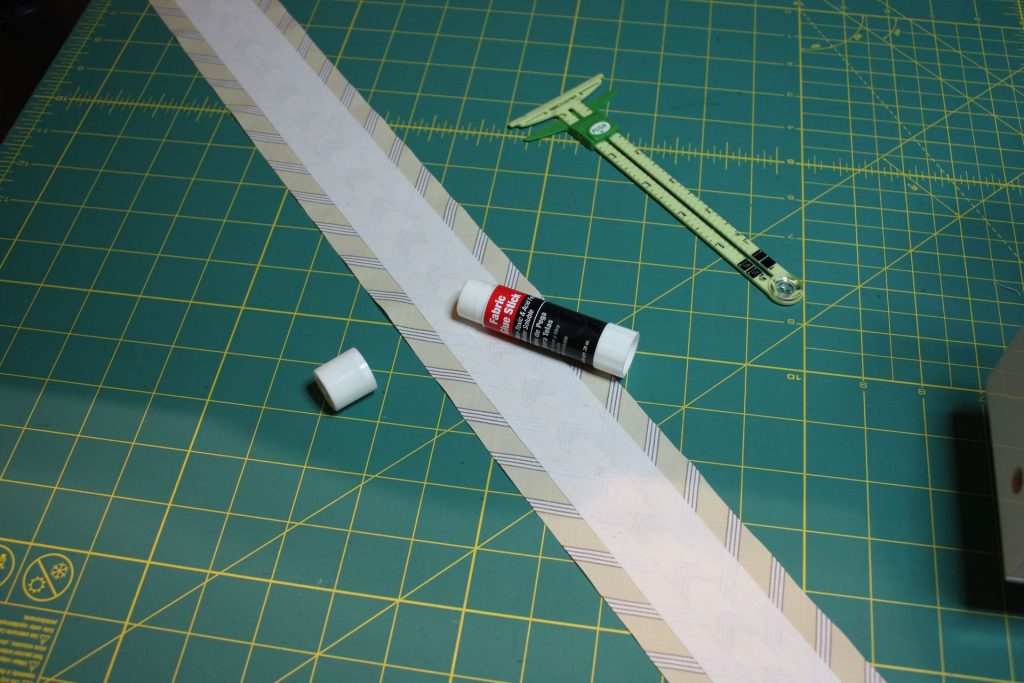
To interface the front band, I glue-basted the interfacing in place. I was nervous about placing fusible interfacing over top a seam allowance. Plus, I am distrustful of fusibles in general. My strategy nowadays is to fuse a piece of very lightweight fusible to a sew-in interfacing, then cut my interfacing piece from the combination, and finally baste/sew that into the garment. The combo adds durability to the sew-in interfacing, without risking bubbling from the fusible ruining the project.
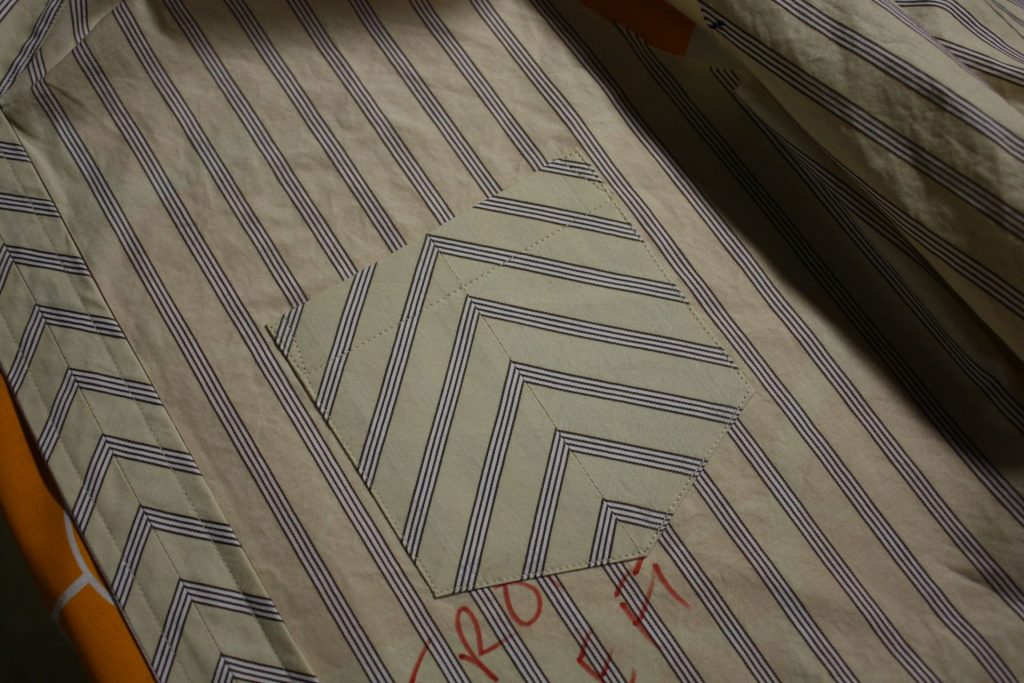
The pocket must be lined in order to enclose the seam allowance running up the middle.
Tammy at Sips N Sews had a suggestion: Instead of making the lining the same size as the pocket piece, cut it smaller so that it is caught in the stitching, but not folded as part of the seam allowances. This would avoid bulk in the result.
I cut a lining slightly smaller than finished pocket, but I discovered after finishing the pocket that the lining didn’t get caught by the edgestitching attaching the pocket to the shirt. Instead, you could pull the lining up out of the pocket.
So I had to do this twice. Here’s the steps I followed to do it “right” on the second try:
Cut the outer pocket from the pattern piece, then cut inner pocket exactly the same size as the finished pocket (i.e. omit the seam allowances). Take an extra half-inch or so of the top of the lining; it only needs to be tall enough to get caught in the flap seam.
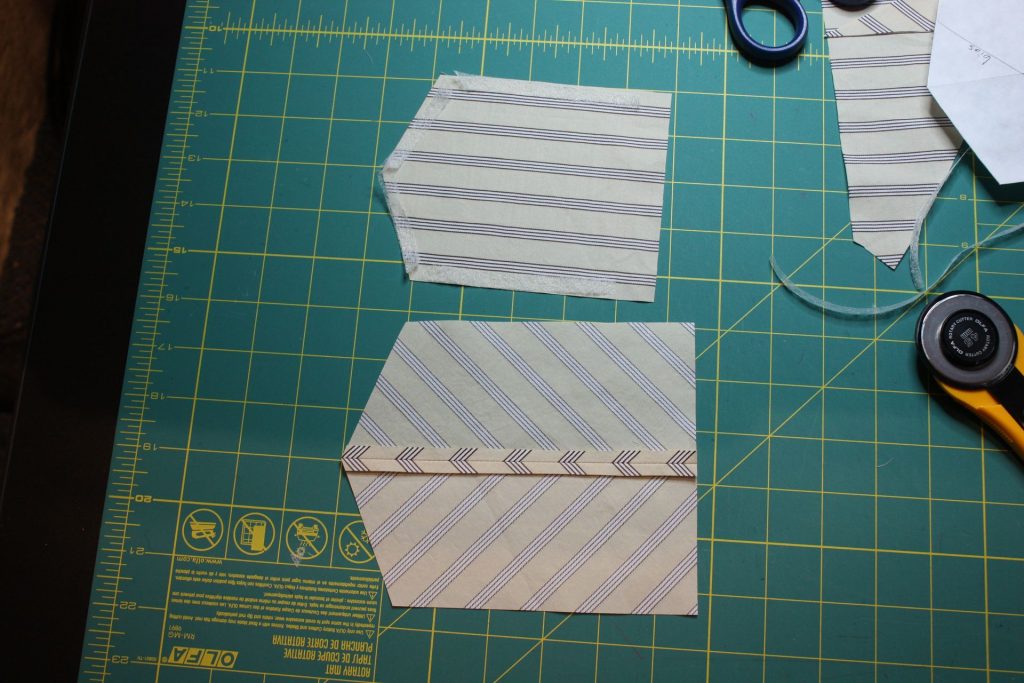
Fold and press the seam allowances. Add in some trimmed strips (1/4-3/8 inch) of fusible web. I used Stitch Witchery brand, which is intended to be a permanent bond. This is to ensure that (a) the lining gets caught, and that (b) the lining won’t rip out when the shirt is laundered since there is so little allowance to the edgestitching.
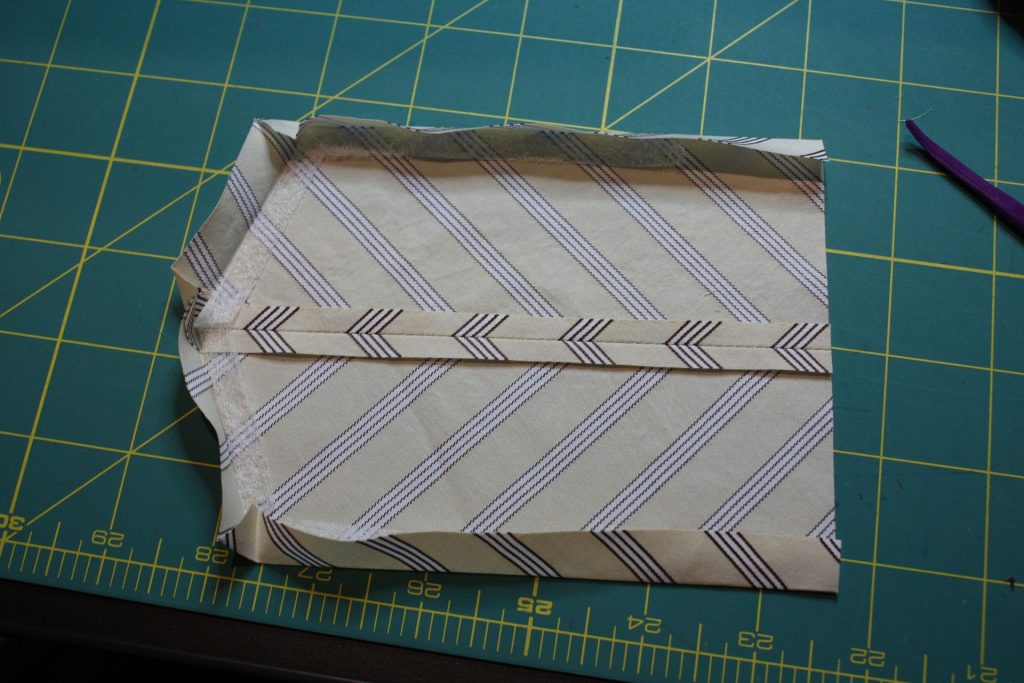
Insert the lining piece, then press to seal it in place.
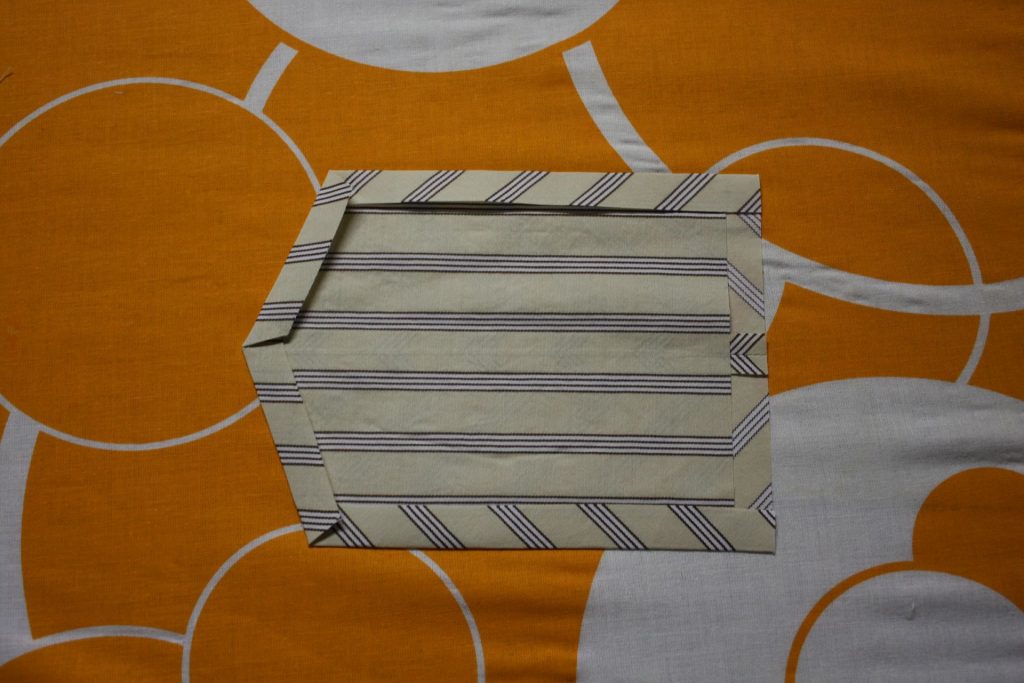
Unfold the side seam allowances. Then fold down the top flap and stitch it.
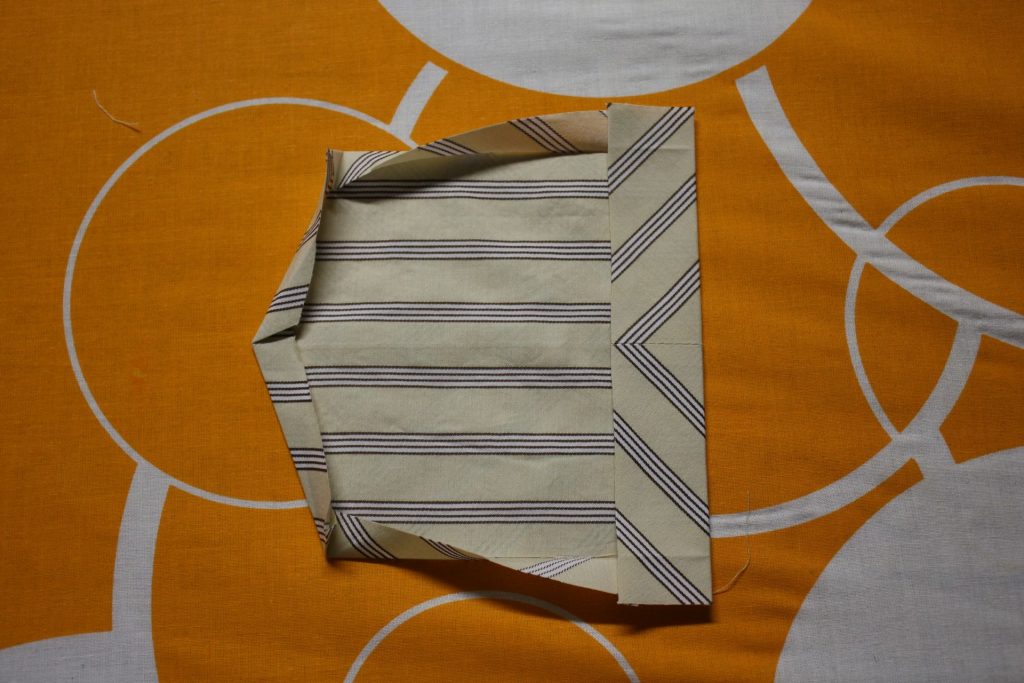
Refold the side seam allowances.
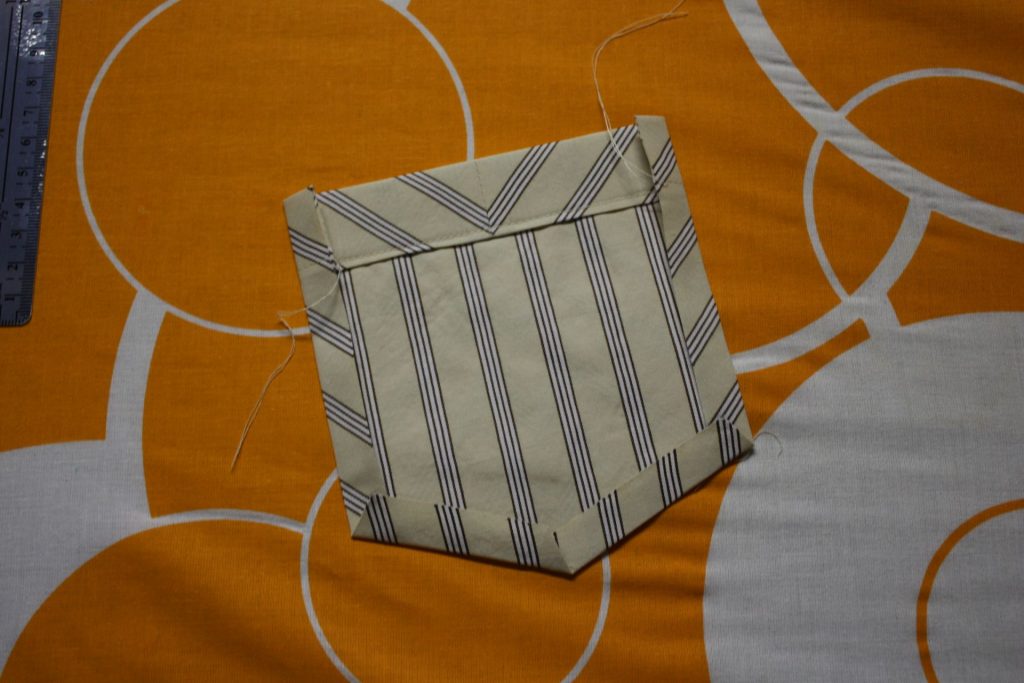
Finally, edgestitch pocket to shirt.
Tower Plackets
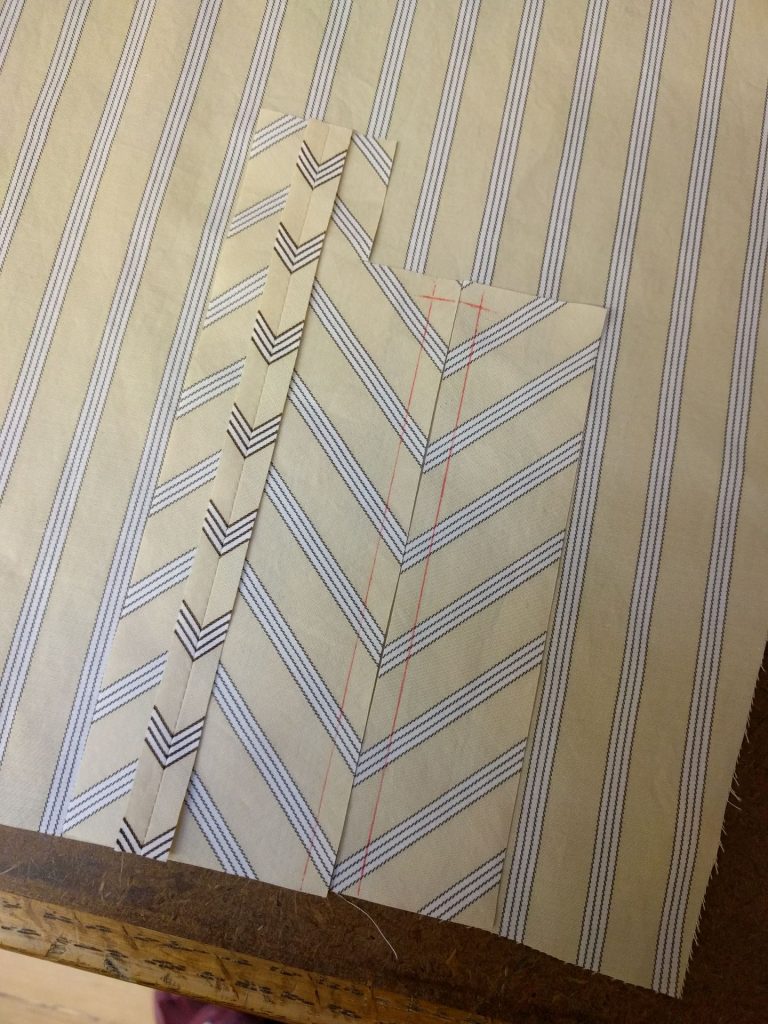
On the placket overlap, I wanted a chevron to end exactly at the end of the tower placket.
I didn’t know what I wanted to do with the underlap. I didn’t want to try to match the vertical sleeve stripes. Eventually I hit on the idea of cutting the underlap strips on bias, then placing them to mimic the angles of the chevron overlapping it.
The plackets looked like an origami explosion during construction. I mark the stitching box for the placket opening using a Pilot Frixion brand pen. The lines disappear when I press the placket edges before turning.
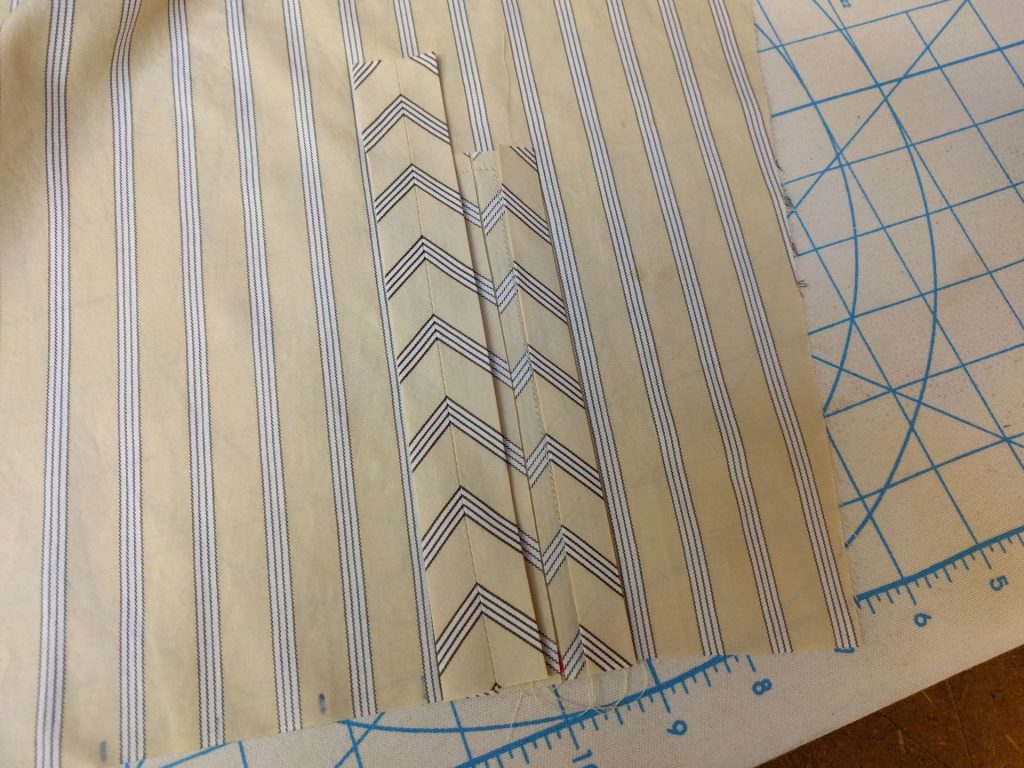
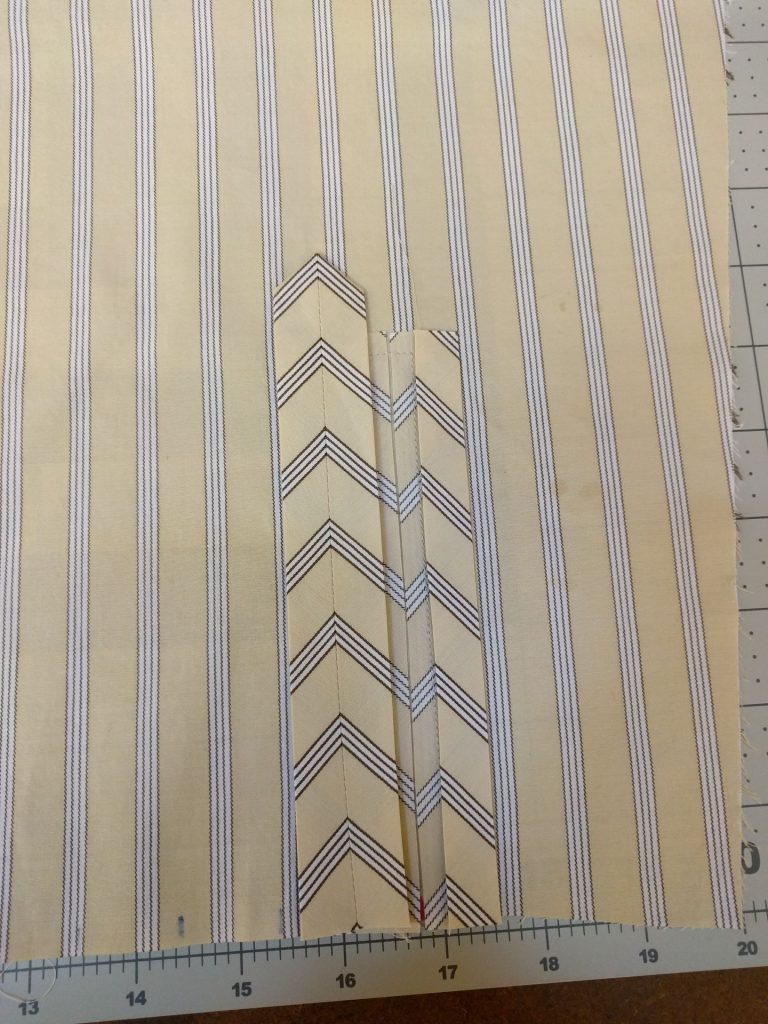
The peaks of the finished plackets line up dead-center with the stripes on the sleeve. I’m amazed to say that was an accident!
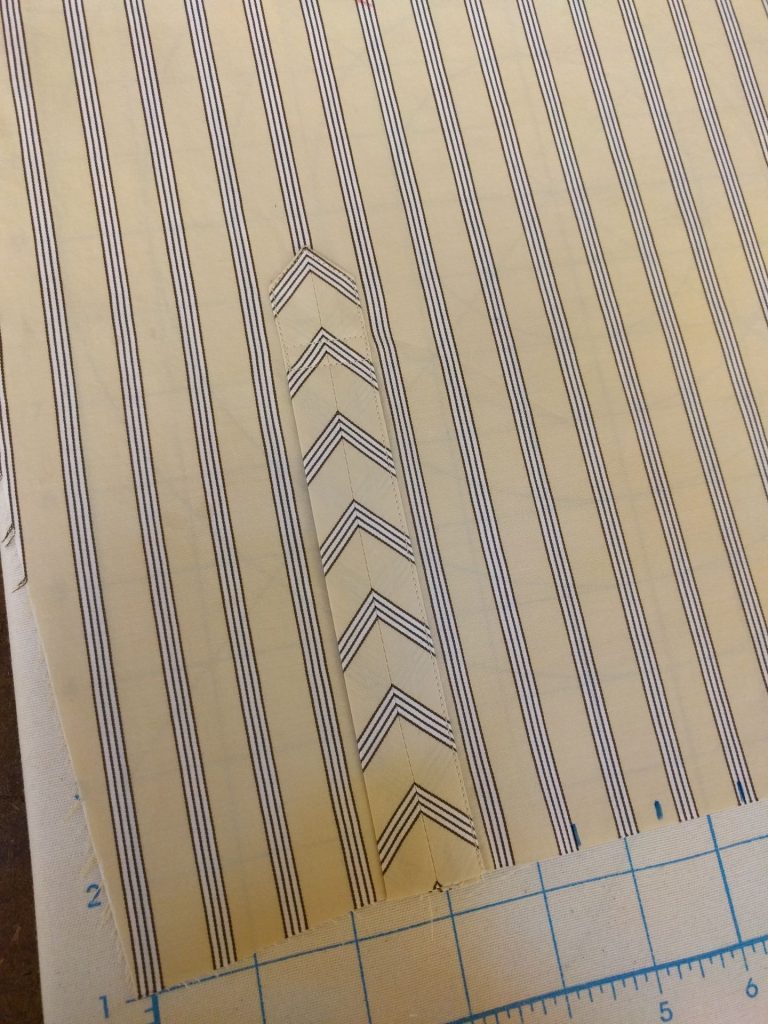
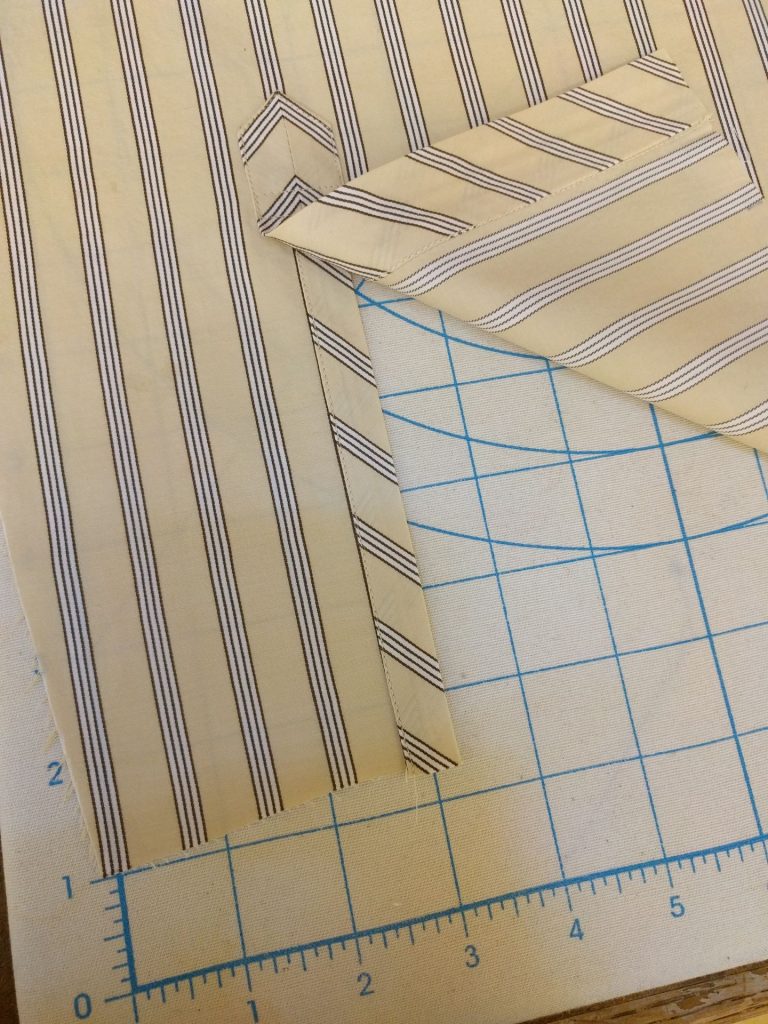
Working with the plackets on bias was a challenge. You want to press clean angles with a fabric that wants to stretch due to the way it was cut. I eventually resorted to gluebasting to keep the plackets from shifting while stitching them down. And when turning the cuffs, it was hard not to stretch out the placket strips. Doing this again, I might consider very light interfacing or edgestitching on the placket pieces to stabilize them.
Buttons
Originally, I chose from the button box in the Sips N Sews “Notions Nook”, available to all members. Both tan and dark brown button sets were available.
I went with tan buttons over dark brown because the shirt would be more versatile in terms of combining it with other wardrobe elements. Brown buttons “pop” but make the shirt harder to coordinate. Tammy and Ashley from the Sips N Sews staff were very helpful to me in working through these important design issues. We auditioned buttons by pinning them to the dress form.
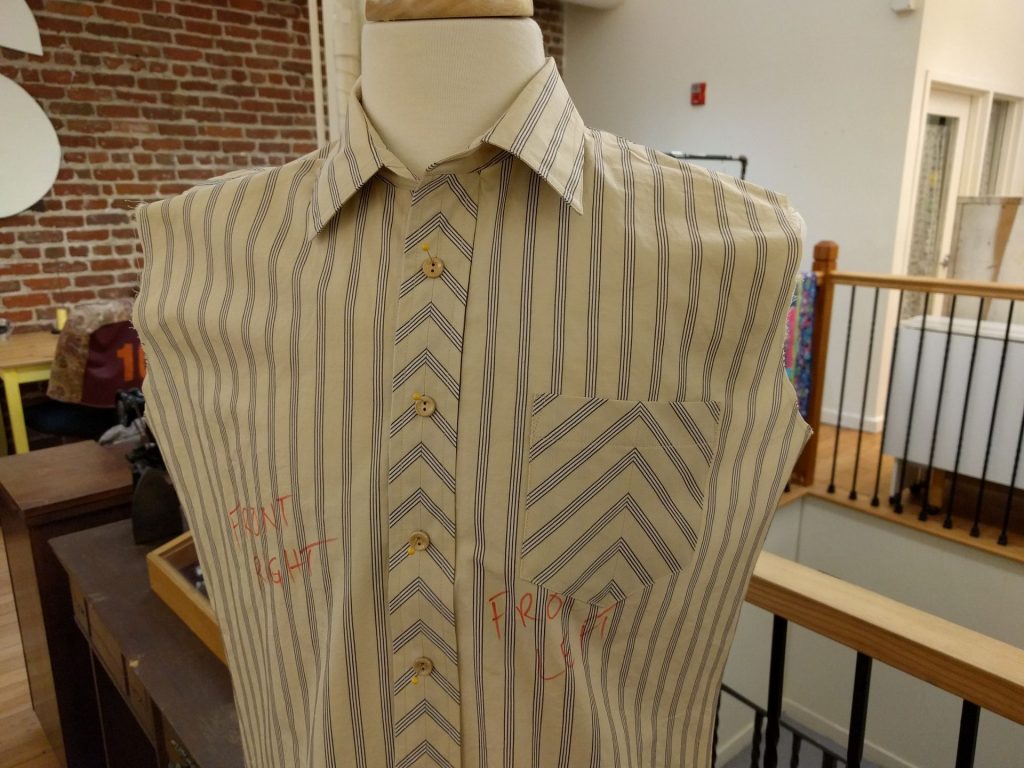
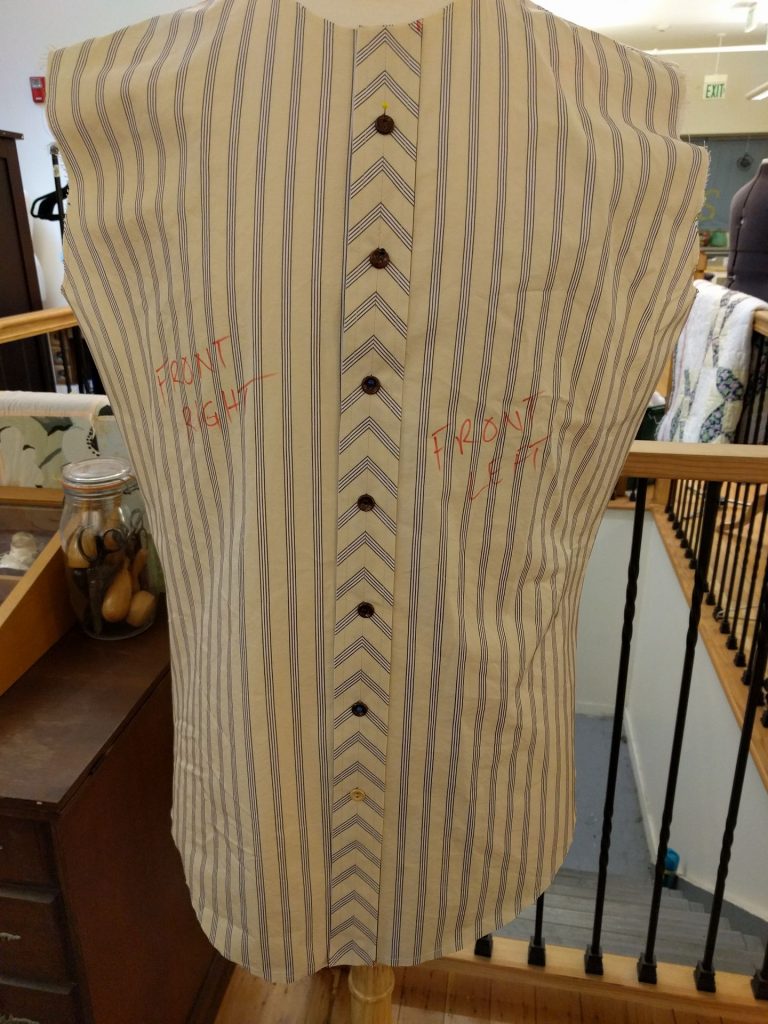
Looking for coordinating smaller buttons for the sleeve plackets, I visited Maya, the “Button Lady” at Britex Fabrics. She immediately pulled out a compelling alternative: some square buttons that fit the design perfectly, in matching colors and sizes perfect for the front and sleeves. I chose them for the final shirt.
The only thing I wish I could do-over here is that I made the buttonholes too small. The square buttons are rather thick, so need a slightly larger opening. I’m distrustful of the automatic sizing from the buttonhole foot on my Juki, so I usually go a notch higher. I did that and made a sample, and thought that was enough. But when the shirt was finished I realized it should have been at least another notch larger. The buttons do go through the holes, but you have to work a little to get them through, mostly when undoing them. Moral of the story: Make at least two samples.
Next Time
Let’s look at the finished shirt.

All those details are quite beautiful. I love the things you make
Beautiful work, can’t wait:)
Square buttons and a fabric which is stylish all add up to a great final product.
Post quickly – my fingernails are gone, and I’m starting to lose copious amounts of blood.
Testosterone your comments are always the cutest (in a good way).
I love watching your process. I can’t sew a straight line and I am in awe of anyone who can, which mean your skill here blows me away.
Thanks, Sandra.
Sandra, It’s OK if you can’t sew a straight line, most of us can’t either. That is what seam guides and the edges of your presser feet, all those little guide marks and quilting guides are for. If no one used them (the same with seam rippers) no one will sell them.
Beautiful shirt, by the way. I am going to use the chevron sleeve placket, by the way. I have been sewing a lot of things for my husband and for a mutual friend (he “comps” both of us membership to ConCave, a small Science Fiction/whatever convention we attend) in exchange for two handmade shirts, which he adores even if he does have to iron them. I’ve started making CD dress shirts too, even boxers. Last summer I made him a mint green/white/lavender stripe shirt with a chevron pocket. He puts his fountain pens in his shirt pockets. You can guess what happened, to his shirt, jacket and pants. “The cap somehow came off” he said.
Patricia – always happy if I can provide inspiration to someone else! BTW, I also collect and use fountain pens but don’t put them in my shirt pockets.
You are a smart man. Well, CD still has his boxers (Kwik Sew 1672 which I have used extensively).
Great information. Love the tower placket.
I guess you know a good tower placket when you see one! Thanks.
When I cut fabric that has a tendency to shift ( poly or silk charmeuse for example) or something cut on the bias, I lay a large piece of paper underneath the fabric, and pin the pattern to both the fabric and under paper (sorry, can’t use your weights for this technique. Then, when you cut, there is no stretching or shifting going on, and you get a very precise cut.