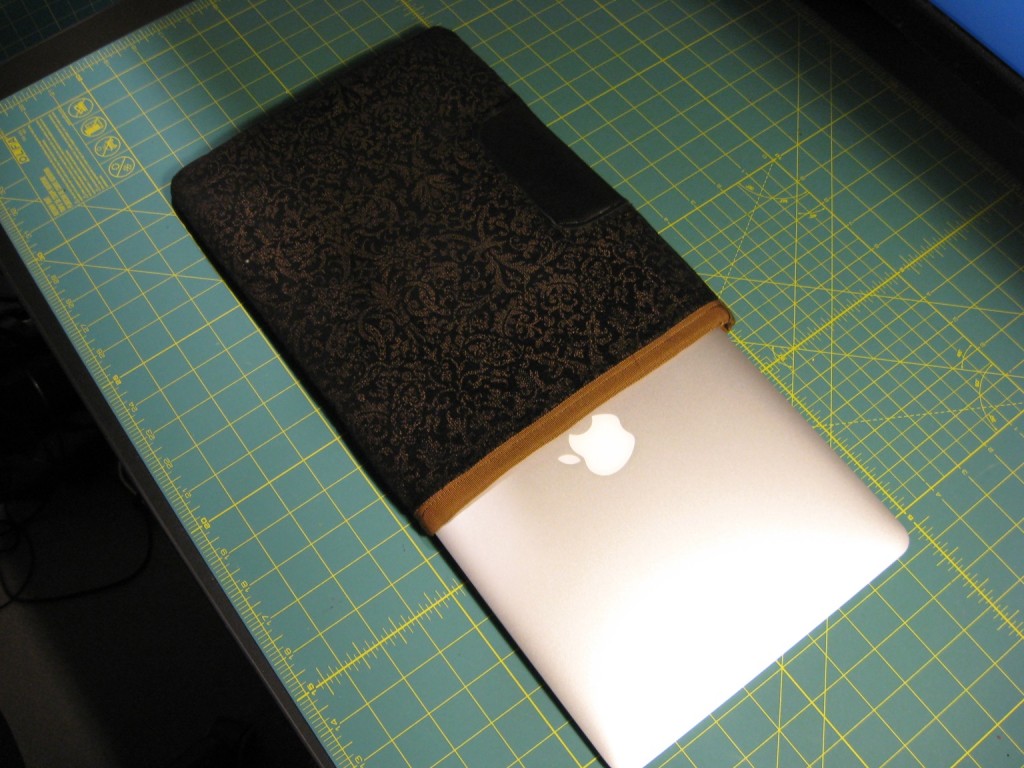
I carry around an obscene amount of technology in my commuter bag on my way to and from work. Typically, I have my smartphone, a work-provided Macbook Air, Nintendo 3DS, Kindle, and also a 10-inch Android tablet from time to time.
My tablet did not have a carrying case, so to keep it from getting dinged up in my commuter bag I’ve been wrapping it in T-shirts and other less-than-optimal things.
I have a carrying sleeve I made for my Macbook Air about a year ago. It does the job, but I made a crucial mistake in design; it opens from the side rather than the top, so it always slides out of the sleeve when inside my commuter bag.
My master plan was this: sew a new Macbook Air sleeve, then take the old one and restitch the sides to fit my smaller tablet.
The new sleeve follows the same plan as the one I did for the Macbook Air: an outer fabric layer (upholstery fabric), an inner lining layer, and 1/4-inch foam sandwiched between. For the original MBA sleeve I cut the pieces to size with seam allowance, then tried to stitch them together. The layers shifted a great deal while sewing, especially with slippery satin lining and the foam.
So this time I decided to follow the same plan of attack as with the Earbud case.
First I cut all the pieces larger than necessary, then sandwiched them right sides facing out. The gold, shimmery fabric is the lining. A few pins hold everything together before basting :
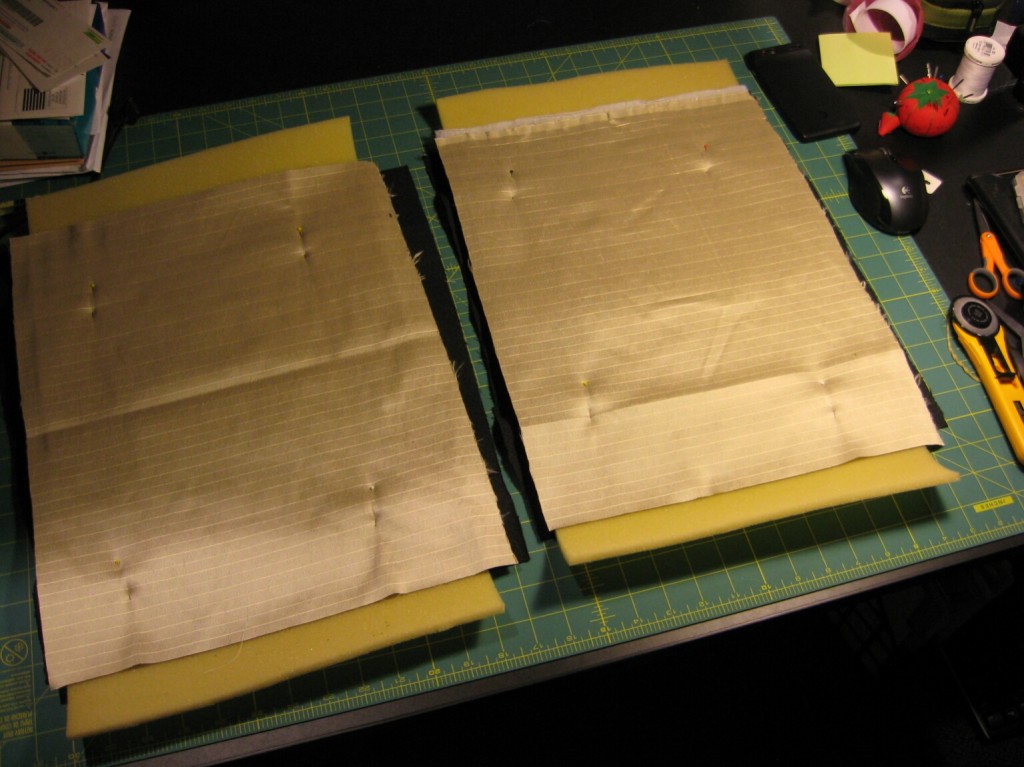
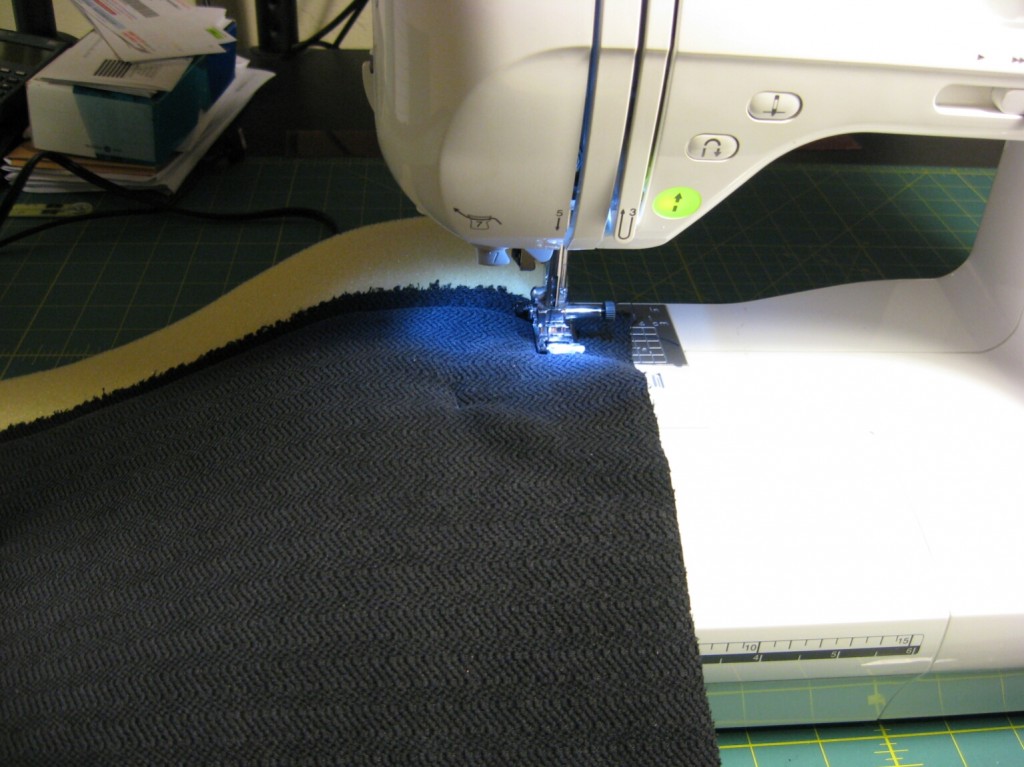
Then I basted them together. The basted seams fall well outside where the actual case seams will go:

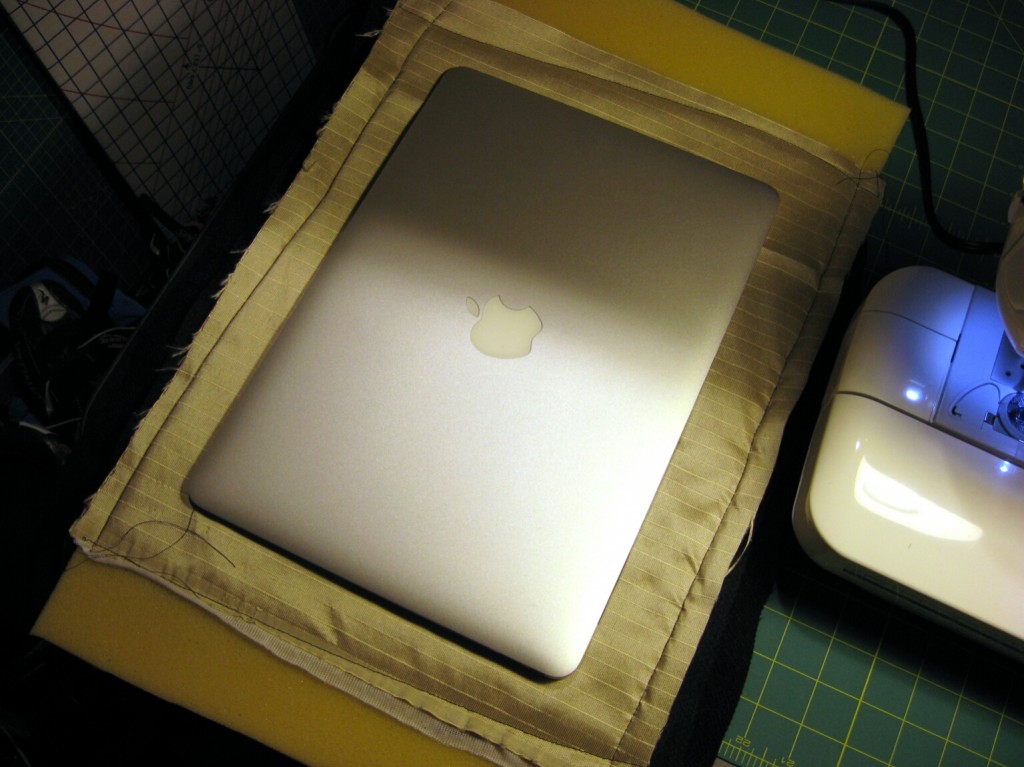
Next, I plopped the computer down onto one of the basted pieces, and traced the outline of the computer onto the inside lining.
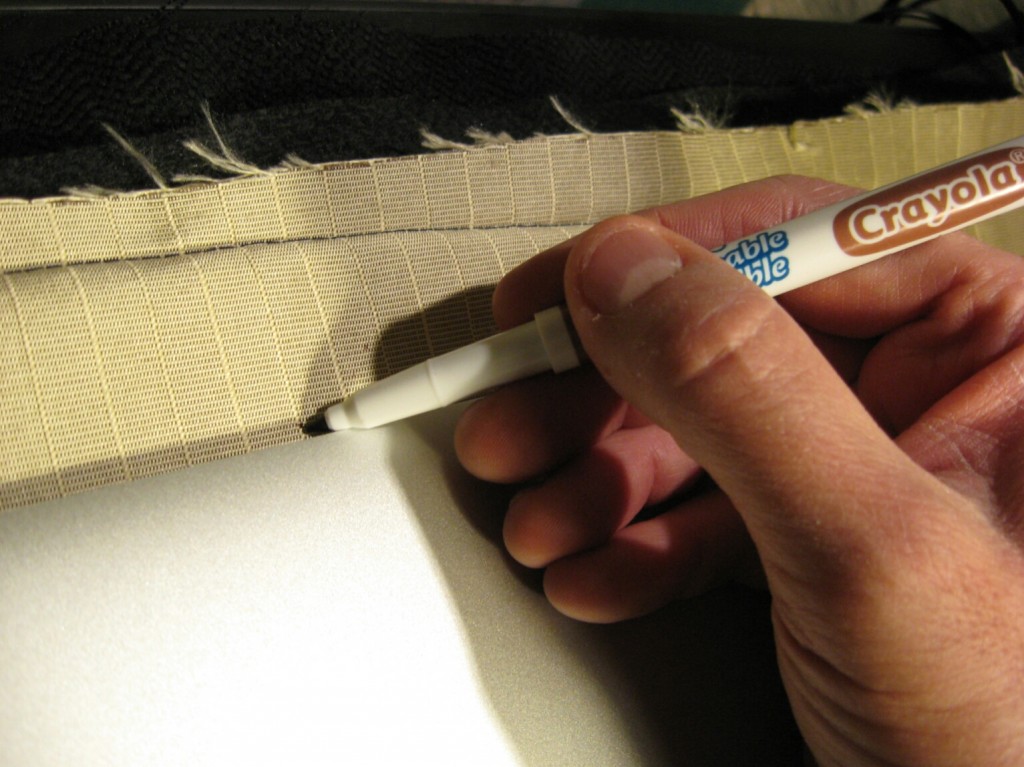
Then I pinned the two basted units with outsides facing, and stitched three of the four sides, leaving a long side open. Note there’s not a lot of precision going on here; I wasn’t in the mood for sweating details and so I wasn’t really measuring anything.

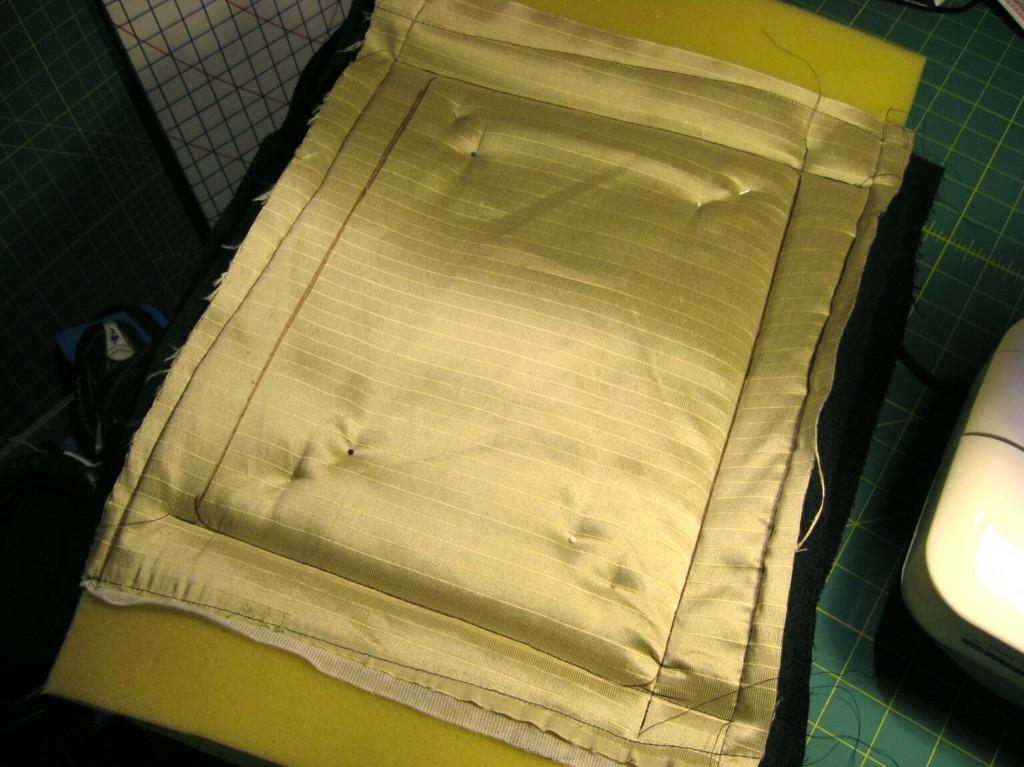
Then I trimmed the seam allowances to roughly 3/8 inch on the stitched sides. Scissors worked better than the rotary cutter, mainly because the foam was so thick it elevated the quilting ruler too high to use as a cutting guide.
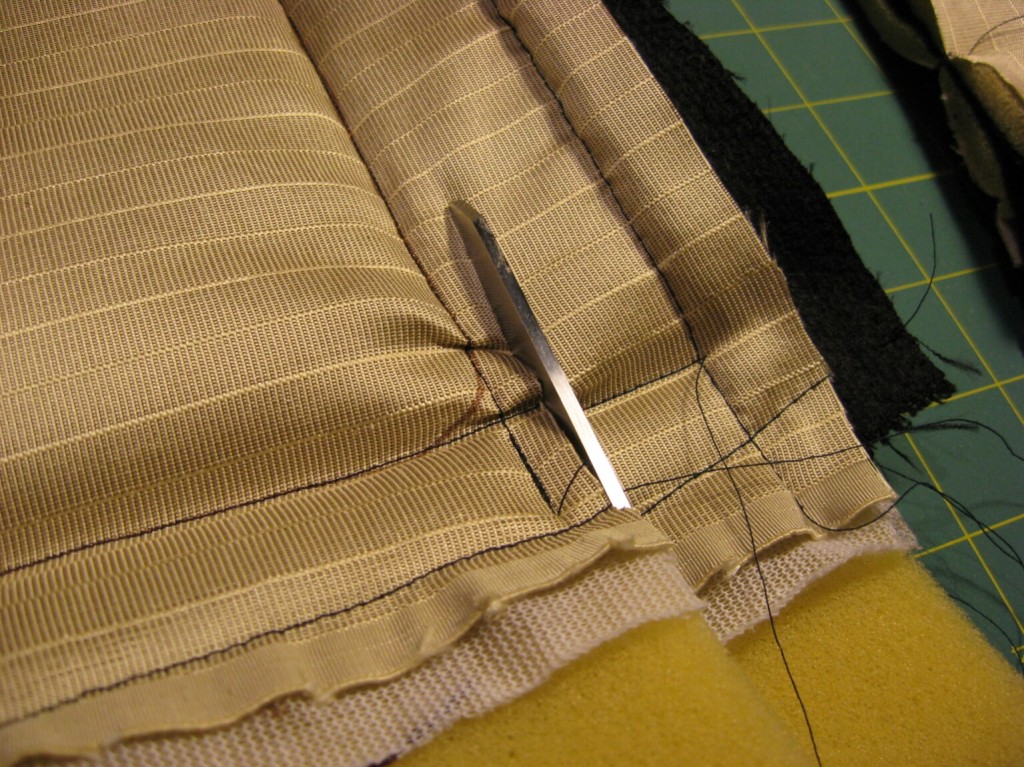
I then turned it inside out, and what I got was a sleeve that was too small to fit the Macbook Air. D’oh!
I had expected the foam to provide some “fudge factor” for inserting the computer, but by measuring just one face I left out ease for the computer’s thickness. A Macbook Air is a thin computer, but still fairly thick as far as the sleeve is concerned.
So, change of plan. My new Macbook sleeve just became my new tablet sleeve.
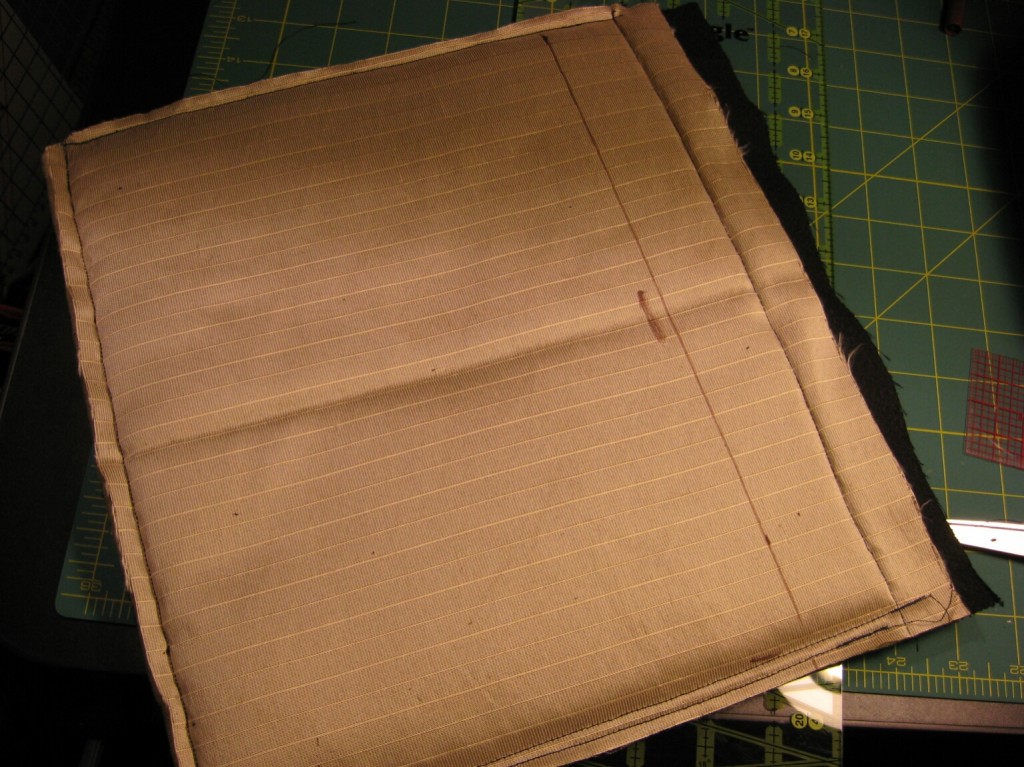
I inserted the tablet into the sleeve, and marked off where the new seam lines should be. Inserting the computer into the sleeve before measuring is the crucial bit; this accounts for the computer’s thickness as well as its width and height. As you can tell from the bottom of the photo, I progressively sewed narrower and narrower seams, “trying on” the sleeve with the tablet inserted each time, until I got the proper fit. I also marked a cutting line for the open side of the sleeve (shown here right before cutting) and trimmed along this line with the rotary cutter.
Finally, I sewed binding tape to finish the open edge. I made my own binding tape from some printed quilting-weight cotton I had in my stash. I chose a very wide binding tape, partly to account for the “fudginess” with the foam, and also to allow the fabric design on the bias tape to show nicely.
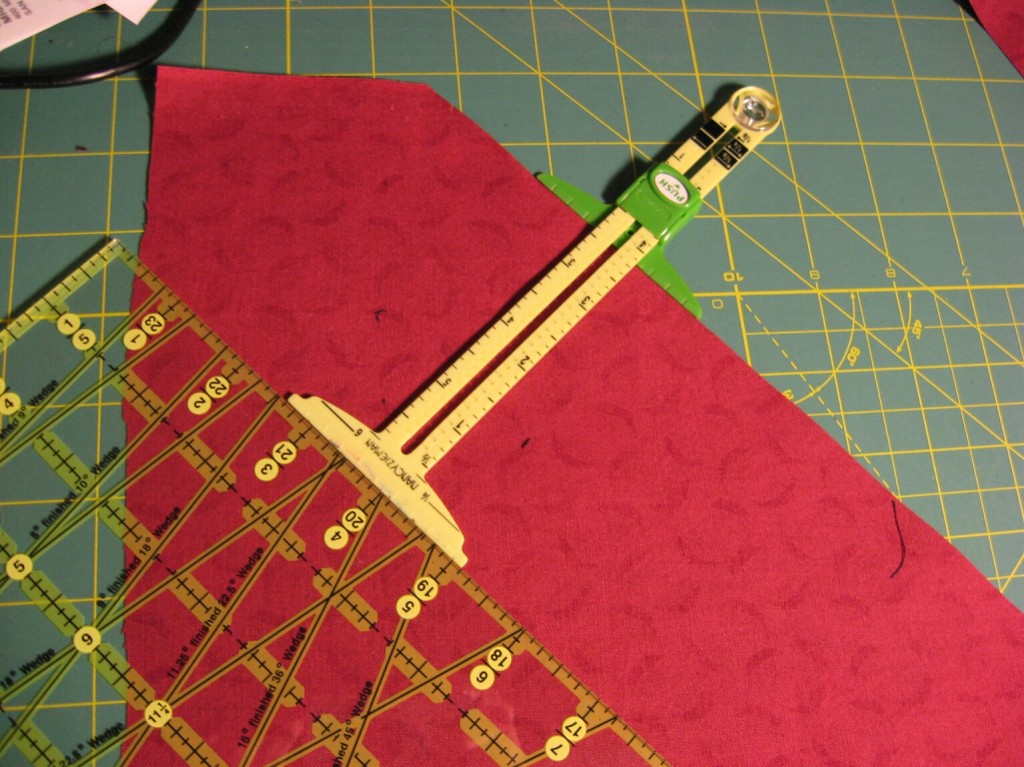
I have a set of bias-tape makers from Nancy’s Notions that work well together with an iron for making the bias tape (sorry for not having a photo of the tape-making in process). To cut my fabric along the bias, I used the markings on the cutting board to get one 45-degree cut, then used my Nancy Zieman measuring gauge to position the quilting ruler around 4 inches parallel to the first cut (98mm, according to the instructions for the bias tape maker). There’s probably a better way to do this, but this method works for me.
I did some test-runs attaching the binding with my scraps, and discovered the bias-binding foot I purchased for my sewing machine didn’t do as well as just attaching the binding with the regular foot. The bias-binding foot pulled the fabric unevenly on both sides of the edge, leaving diagonal “pulls” in the fabric.
I chose to attach the binding tape the normal way; stitch one side of the bias tape on the outside, fold it over the edge, then “stitch in the ditch” on the outside to catch the folded-in binding on the inside. It worked fairly well. I also zig-zagged the seam allowances after doing the binding, to keep them from unraveling.
Here’s the final result. The tablet has a keyboard dock; when the two are mated the tablet resembles a mini-laptop. That’s the form it has in this photo. (Click or tap for an enlarged view).
As always, a few things could have turned out better. Because the lining is pushed inwards by the foam, it actually bunches and folds inside and so the lining doesn’t lay flat nicely. I think if I had actually quilted the lining, it would have prevented the bunching. I also think adding a flap over the opening with a velcro fastener would add to the utility.
But as it is, it will work well as part of my normal commute armada, and give my tablet a nice “home” when it is at home.
