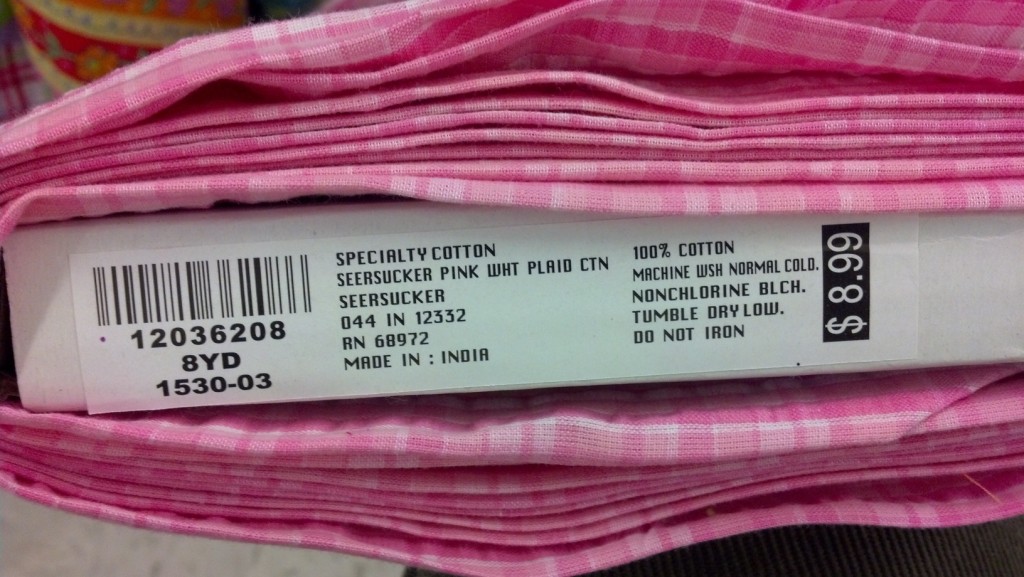
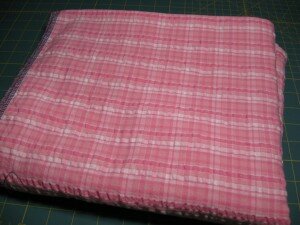
For my springtime shirt made with McCall’s 6044, I’m using some pink seersucker fabric I picked up at Joann Fabrics, during one of their many sales.
This fabric is challenging to me in two ways:
- It’s a plaid, so it will require careful matching to get everything to line up nicely
- It’s seersucker, which presents challenges in cutting, interfacing and pressing.
This is my first time sewing with seersucker, so I consulted the Great Google for advice. Here’s a summary of what I found:
Seersucker
- The puckers are actually woven in to the fabric.
- Some cheap seersucker, however, is chemically treated to make the puckers and they will flatten and lose texture over time.
- If you iron seersucker, and then launder, the puckers are supposed to come back.
The care instructions on the bolt at Joann’s say you shouldn’t iron the fabric.

Test
So I decided to test this theory. After doing a test layout to make sure I have enough fabric to cut my pieces even including plaid-matching, I cut a small (4×4 inch or 10x10cm) swatch of the fabric to test.
Here’s the fabric right after cutting and before ironing.
Before irorning.
The puckers are noticeably flattened out after I went after the fabric with a hot iron and lots of steam.
After ironing.
After laundering, lo and behold the puckers returned:
All puckery again after the wash.
Set back next to the original fabric, other than the fraying it looks like the texture is still the same:
And it looks like the original, un-ironed fabric.
Interfacing
Next, I decided to try some fusible interfacing to see how that affected the seersucker.
Seersucker immediately after applying the fusible interfacing.
Seersucker, wrong side after ironing.
There’s still a little bit of pucker left, but by and large the seersucker is much flatter after the fusible interfacing has been applied:
Seersucker, right side after ironing.
For my project, I will be using sew-in interfacing, rather than fusible, so the seersucker will retain its unique sucker-y texture. I’ve worked with sew-in interfacing previously, while making pajamas, so it isn’t all that intimidating or inconvenient to me.
Update: Some readers are wondering if seersucker has a right side and a wrong side. Based on my experience with this sample, I think the answer is yes. Careful inspection shows the pattern on one side of my plaid fabric to be just a little bit more vivid than the other side. But the difference is subtle. So I’ve selected the more vivid side as the right side, and I’ve been careful to mark the wrong sides of my pattern pieces during cutting.
In our next installment, we’ll be adjusting arm sleeves on the pattern, and maybe we’ll have a discussion on plaid matching.

Darn, no fusible interfacing. LOL. Hadn’t thought about that.
I am sewing a dress using a plaid seersucker fabric and used magickal Google to help me find the best interfacing to use for the bodice. Thanks for the suggestion! I think I will try a sewing interface. The fusible disintegrated in my dryer.
Glad I could help!
Do you know anything bout gingham? When I bought the gingham it was perfectly flat, but I pressed it with steam and it puckered up so that it looks like seersucker. I turned off the steam and have repressed it several times. It looks flat for while and they puckers up again. I can’t get it to flatten out. I’ve never used gingham before. Do you know if this is typical?
First time sewing with seersucker. I am making a dress with the stripe pattern going up and down. I am discovering that the puckering on the stripe is making this material larger than anything that I an trying to sew to it, like the zipper. I thought the solution might be bias tape, but no, same problem. So I have decided to seal the material by sewing it together to itself. One may notice that seersucker frays very easily on both sides and top and bottom, so rolling over and sewing all the material together at seams etc., might be the solution to the problem.