The Springtime Seersucker Shirt project continues.
If you recall, last time I made a muslin of McCall’s 6044 in the Medium version, and determined I needed to take some fabric out of the short sleeve because it was a bit too large.
Today I modified the pattern. The alteration doesn’t change the size of the armscye on either the bodice or the sleeve, which is good; it merely takes in the seam on the sleeve.
Before we get started, I just wanted to remind everyone that this blog is a notebook of my adventures learning various sewing techniques. You might have a better approach than the one I’m taking here; if so, I’d appreciate it if you let us know, either privately or in the comments.
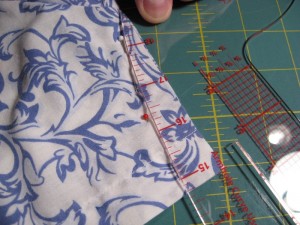
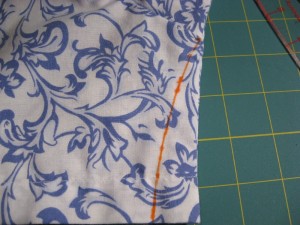
I started by using the Fashion Design Ruler to trace out a curve on the fabric. It matches the line established by the pins used to take out the offending fabric. (Click/tap on photos for larger versions).
Next, I used a seam ripper to pull the sleeve off the shirt. This was more work than necessary, since I sewed on the sleeve with the same stitch length I’d use for regular garment construction, and not a basting stitch.
After undoing the hems, I continued the new seam line. Since the hems fold up, the seam line is drawn to flare outwards a bit, so the hem matches the fabric line when folded up. I’ve seen commercial patterns do this and so thought I should too. I drew this flare by flipping the ruler and tracing the curve back out from the point it ended:
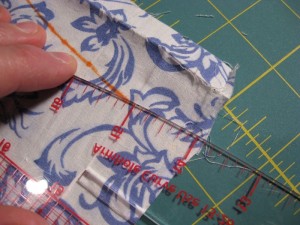
Since this new line is a seam line, and not a cutting line, I need to back up 5/8 inch and trace a new cutting line onto the fabric. Note that the new cutting line does not extend into the seam allowance at the armscye:

The sleeve pattern is actually not symmetrical front-to-back (which I learned when reading a pattern drafting book I will review here soon). So I folded over the sleeve and traced a new cutting line on the other side as well.
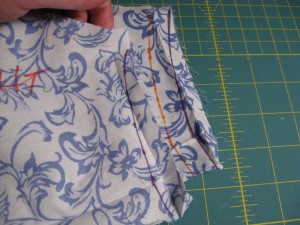
I pinned the pattern piece back onto the fabric and cut the pattern paper at the violet cutting lines.
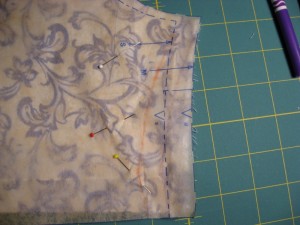
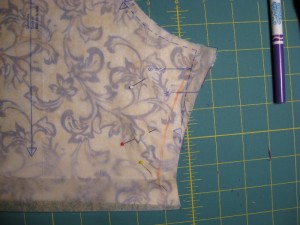
I note that the alteration basically tapers the sleeve from the “M” size at the armscye to the “S” size at the hem.
Since I also cut the fabric, I resewed the sleeve and tried it out.
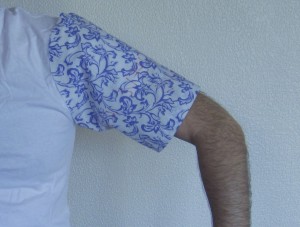
Much better!
The only glitch I encountered was that the new hem had a divot in it, right at the sleeve seam:
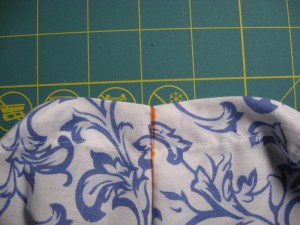
This was caused (I think) because I flared out the hem 1 inch from the bottom, rather than 1 1/4 inches (the actual hem height). Also, one side flared out the hem a bit too much.
I adjusted the flare on the hem, which required taping some paper back onto the pattern piece on one side.
Looking forward to seeing how this will look on the finished shirt.
Next time, as promised, we’ll match plaids with our seersucker fabric.
