Category Archives: Project Planning

Discussing planning for upcoming projects

The Blue Plaid Shacket, Part 1

Hello… (tap tap tap) is this mic on?

Good?  Good.

(Those of you who get this blog via email from WordPress.com: I’ve been in touch with their tech support, who assure me that everyone who was subscribed will continue to receive new articles.  I will be reaching out privately to some of you who wrote me, to make sure this article arrives in your mailbox).

Now that the blog has (mostly) settled in its new Internet home, we can get back down to the business of sewing.

Idea

I’ve been thinking about tailoring projects for a while.  I have a cut melton wool for a peacoat sitting in my stash, and there is also a tailored blazer project in view on my project queue.  But as a way to ease into tailored garments, I wanted to first make something with a lining.

I spotted a lined, buffalo-plaid shirtjacket in a store at the mall a few weeks ago, and it got me thinking.  Shirtjackets (aka, “shackets”) are a bit of a thing for many in the mens sewing blogosphere, and it looks like now I’m catching the bug too.  Shackets really are perfect for the type of chilly but not freezing cold weather we get here in San Francisco.

Inspiration

The overall idea for the shacket isn’t totally in shape yet, but I do want it to be a plaid flannel garment that vaguely recalls a lumberjack shirt.

Besides looking at the aforementioned blogs for inspiration, there’s a great chapter on shirt jackets, with associated online material in David Page Coffin’s book, The Shirtmaking Workbook.  He has a Pinterest board with lots of design inspiration, and I have also started my own Pinterest inspiration board for the project. Continue reading
Make My Hoodie, Part 2

In this conclusion to the Make My Hoodie series, we’ll look at fit, some samples I made, as well as pattern alterations to make this hoodie even more beginner-friendly than it already is.

Fit

The thing that made me most curious about MakeMyPattern was the fit.  How well would a computer-generated pattern fit me out of the box?

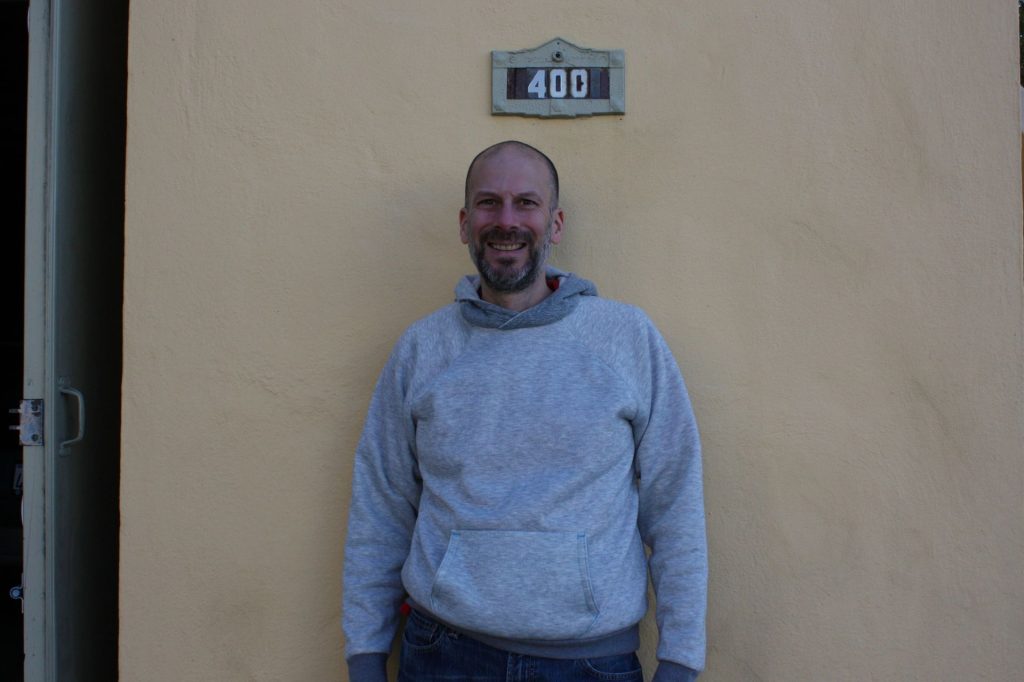
The answer: pretty well for the first attempt, well enough that I’m inclined to stick with it.  Here’s some self-timer fashion photos of my first sample.

img_2758_result Continue reading

Make My Hoodie, Part 1

Though I like the challenge of working on intricate shirt projects, I also love to make more casual wear, especially hoodies.

For the fall, I’ve started a hoodie making project with several goals in mind. The first, of course is to make hoodies. The second is to try out MakeMyPattern.com, a free online service that drafts patterns for you based on your measurements, and provides them as a print/cut/tape PDF download.

And the third is to develop a hoodie pattern I can use in a course to teach beginning sewists. The Sips N’ Sews studio offers a bootcamp course to complete newbies.  It teaches basic machine operation, measurements, fabric, and patterns. The students leave the class ready to work on their first project. I think a hoodie can be an ideal first project for a new sewist. And the MakeMyPattern.com hoodie is ideal in several respects:

  • It is free, so students don’t have to spend extra money on a commercial pattern.
  • It is drafted to the student’s measurements, so this makes an end-run around finding the proper size for a commercial pattern.
  • It is a pullover, rather than a zip-front, so there are no zippers for a newbie sewist to cope with.
  • It has raglan sleeves, so attaching sleeves means sewing six nearly straight-line seams.
  • Sweatshirt fleece is a relatively stable knit fabric, so it won’t pose too many difficulties to a beginning student.

The only difficult parts are attaching the hood to the neckline, and attaching cuffs and waistband which are made from rib knit. Constructing the hood does requires sewing around curves, but this is not as challenging as attaching a sleeve to an armscye and there is no easing involved. Continue reading

The Pink Shirt, Part 3: Collars

When I made the Blue Gingham Shirt, I intended mainly to test the fit of my pattern draft in a real garment.  So I wasn’t worrying so much about the collar.  I just used the collar I had traced off the original shirt, and didn’t think much of it.

Now that the shirt is done, I’m not happy with the collar.  It doesn’t roll properly, not like the shirt it was copied from. Perhaps I got something wrong when I traced the pattern, perhaps I used too much interfacing and the collar blades are too stiff.  I tried to tame this by making it a button-down, but so far, that hasn’t been successful.

But the main issue with the collar is that I don’t like the style; it’s too large and draws attention away from my face.  So I wanted to find a collar I would be happy with for the Pink Shirt. Continue reading

The Pink Shirt, Part 2

For this installment of the Pink Shirt project, I’m covering (almost) all of the style decisions that are going into the project.

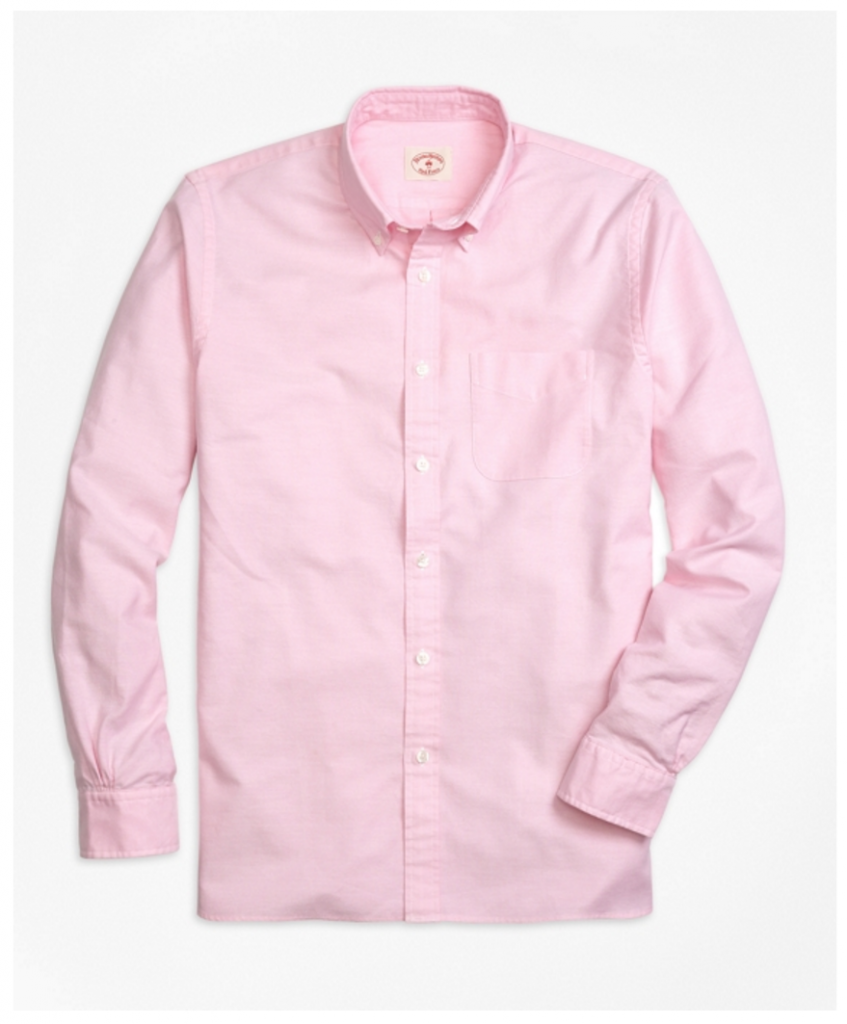
As was apparent from Part 1, if I want a nice pink shirt Brooks Brothers is happy to sell me one for $49.50 – probably less if I can find a discount coupon somewhere.  So, I’d like to come up with a unique item that distinguishes itself from something I can buy off the rack at the store.  That, along with a custom fit, is one of the advantages of being a home sewist.

(You can click or tap any picture for an enlargement).

Pattern and Fit

The Brooks Brothers shirt is a sport shirt.  In the online photo, it has some pretty straight sides.

capture20160723161528879

I’m planning to use my dress shirt pattern from the Blue Gingham Shirt project, with no major changes to the silhouette.  Coming from a dress shirt origin, mine has more tapered sides (see the screenshot below).

I’m thinking some of the styling will place this shirt somewhere between casual and dressy. Continue reading