I’m pleased to report some great progress on the shirt muslin for my wardrobe project! But first, some more pants-related stuff.
More Fabric Follies
I went back to Fabric Outlet to buy the mocha pants fabric I had picked out. Upon grabbing the bolt, I realized the fabric was too lightweight to make a proper pair of pants.
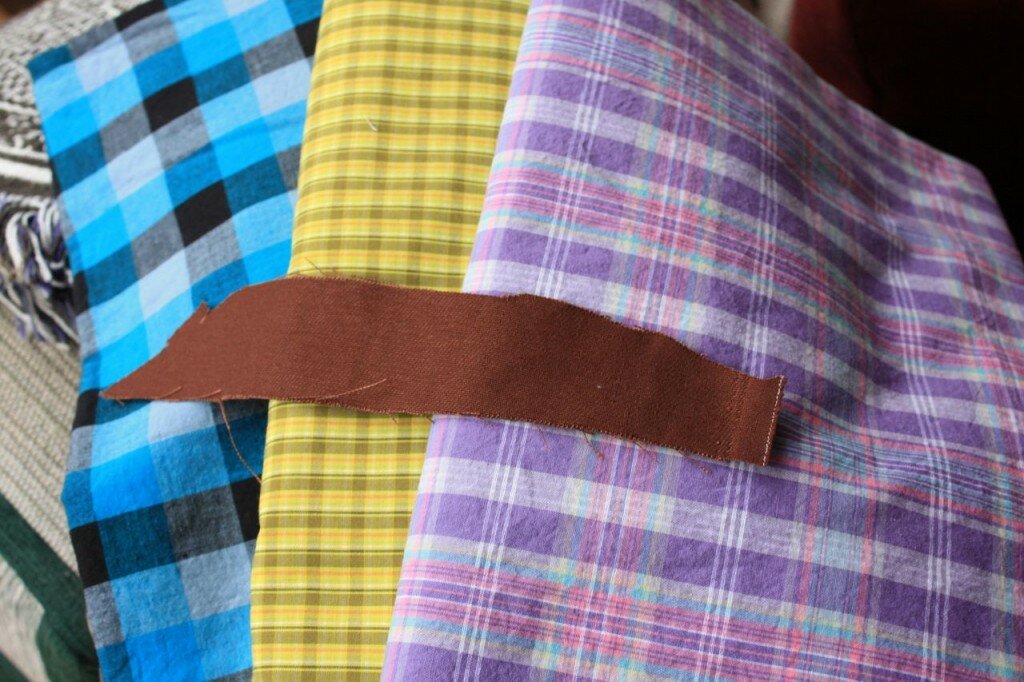
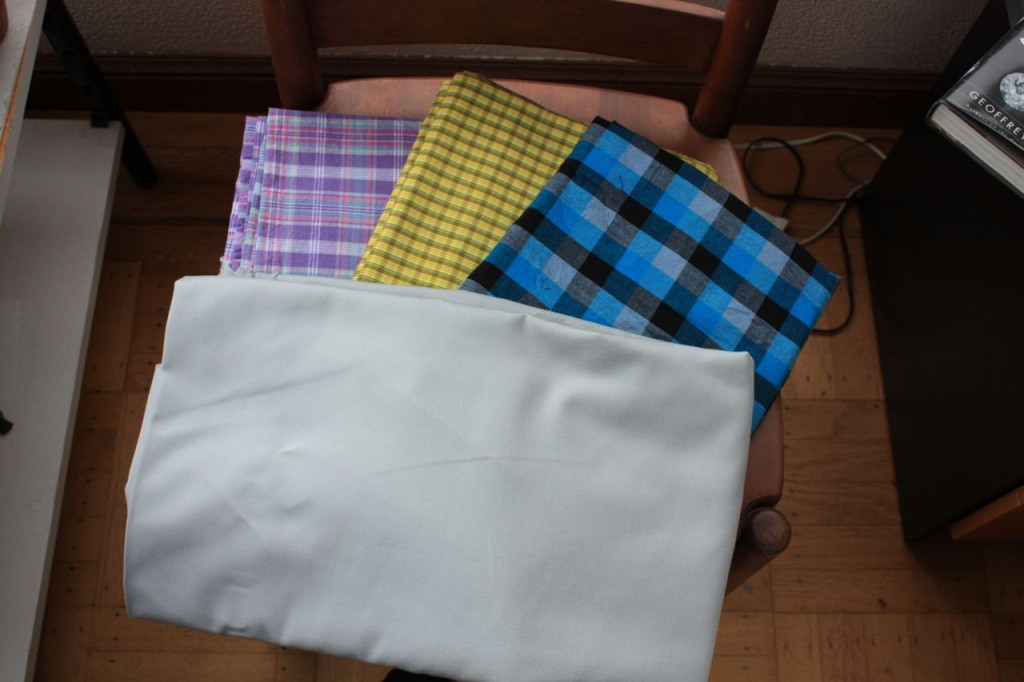
So I left the store with two more swatches, both of which turned out great. But in the end I had to pick just one.
- The loser: This cocoa dark brown twill, which was a great match for the shirtings, but didn’t seem very “summery” to me.
I really like the fabric though, and so I will wait for another 40% off sale and buy some then. (Burning Man is fast approaching, so it won’t be long – Fabric Outlet caters to the Burners with a wide variety of faux furs, sequins, glitter and other crazy fabrics).
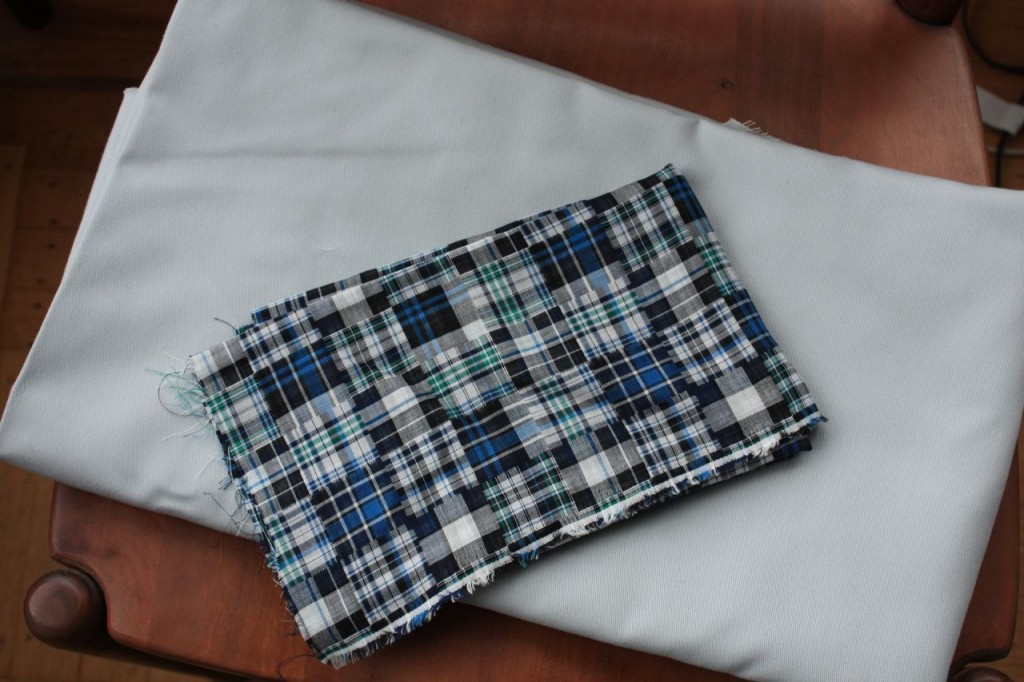
- The winner: This silver twill. It has a slightly bluish cast which matches up with the blue overtones or undertones in the shirtings. (I’ve discovered the yellow shirting has a slight greenish cast while choosing matching thread).
The silver twill pairs up perfectly with this crazy patchwork plaid for pocketing.
The Shirt Muslin
The shirt muslin stitched together quickly. I attached the collar to check its size, but it didn’t go on nicely. It didn’t ease properly and one edge of the collar stuck out a full half-inch past the front band. Still, it was good enough for fitting purposes.
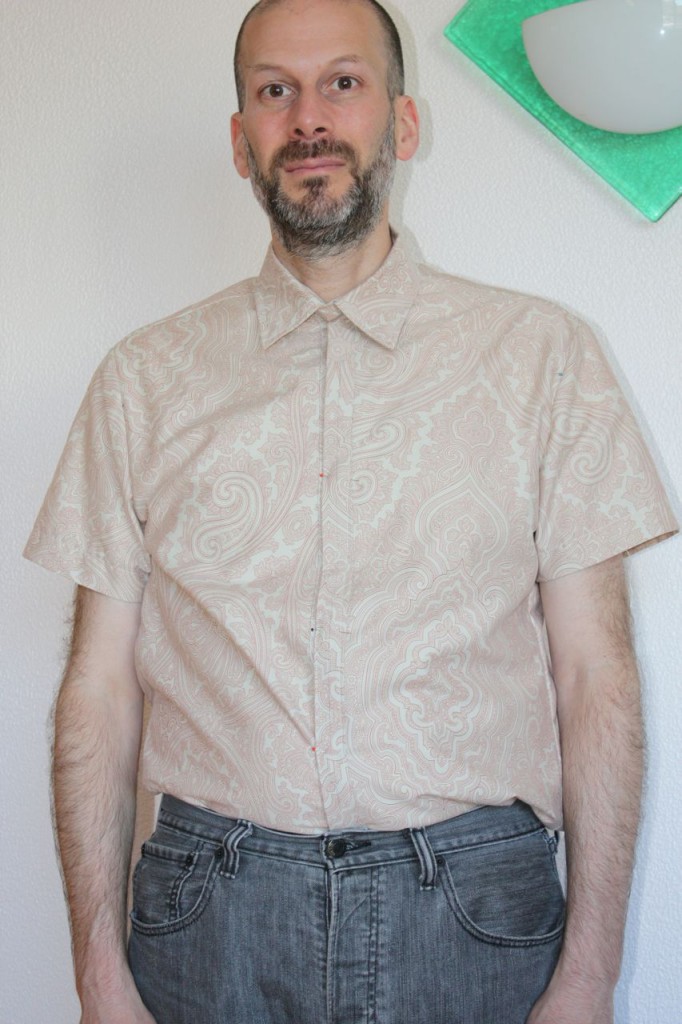
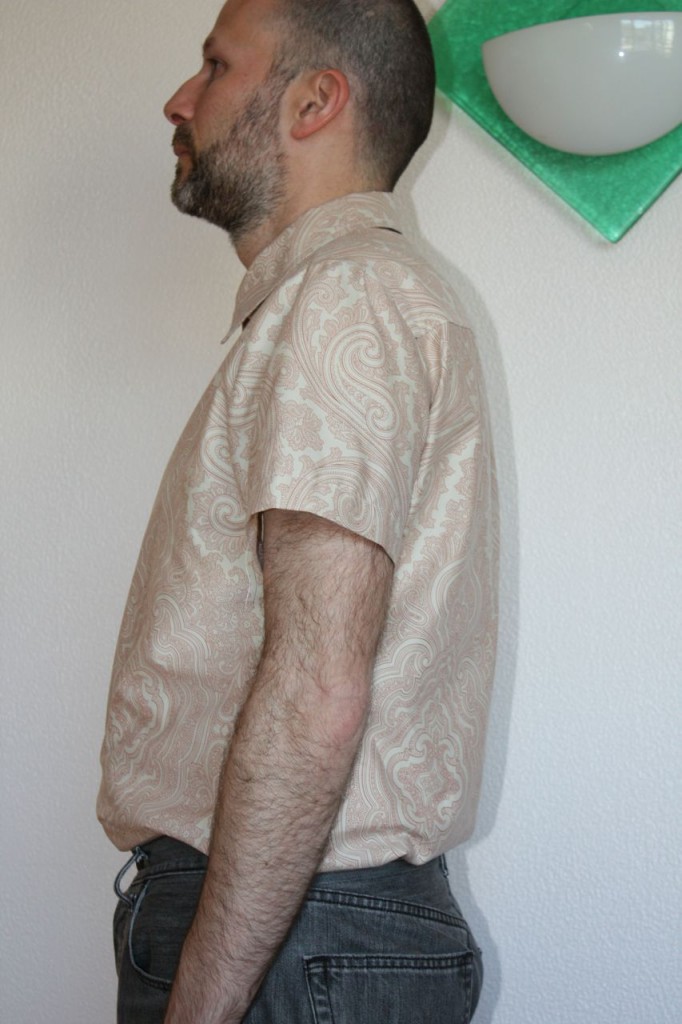
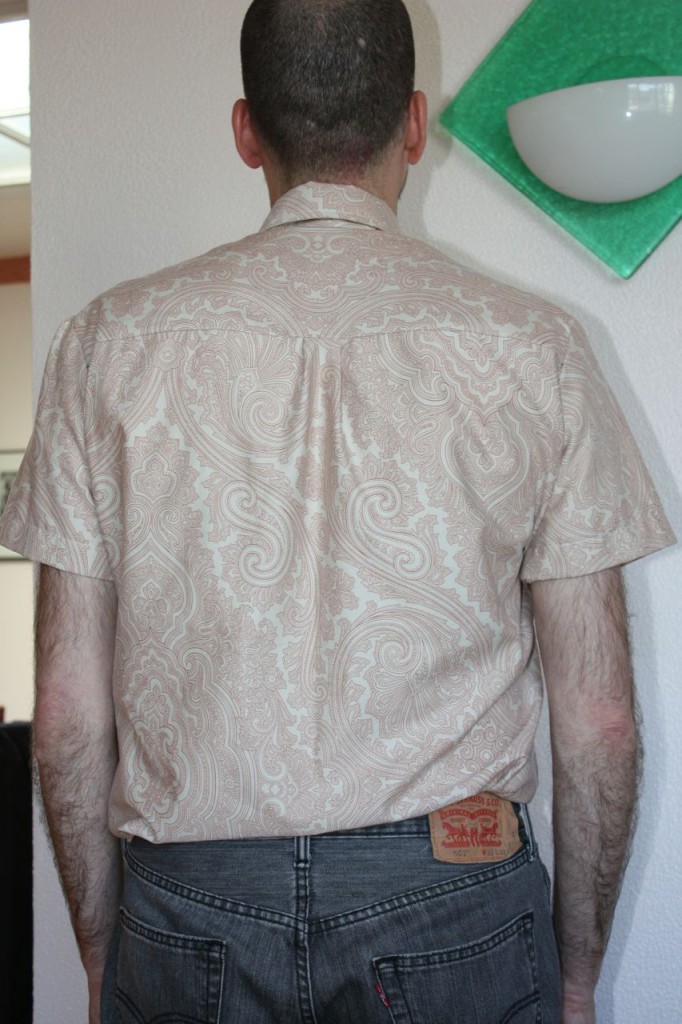
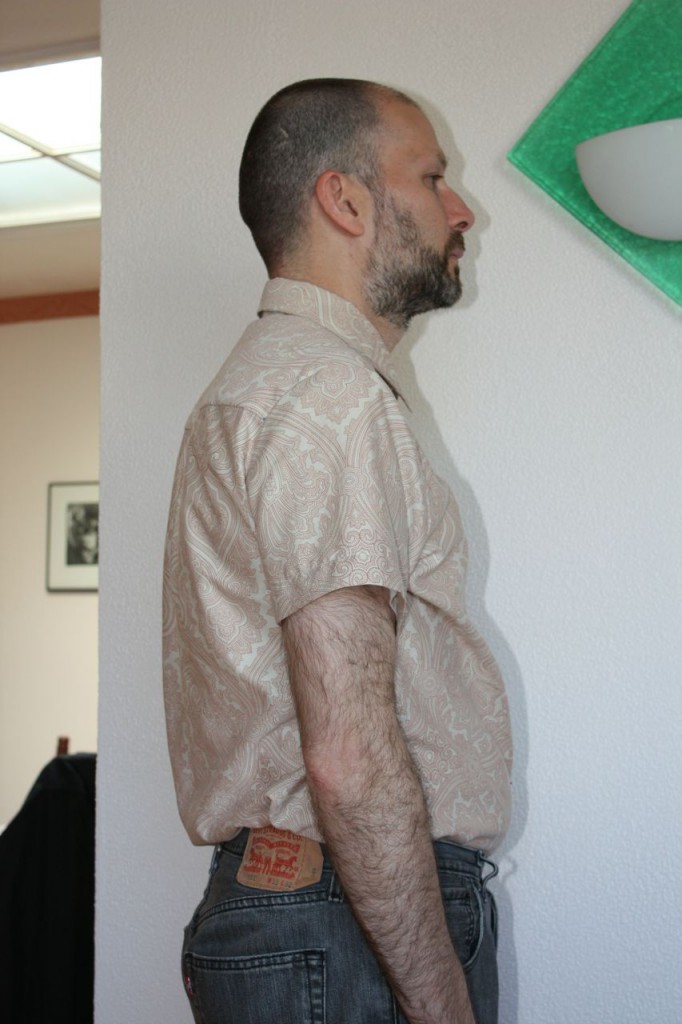
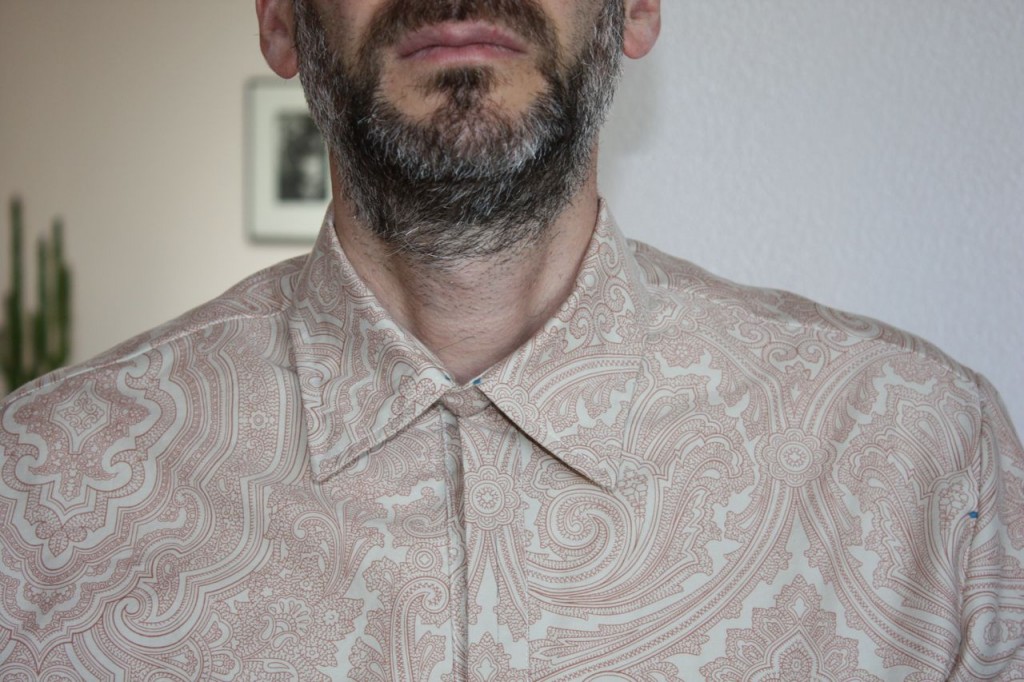
So here are some modeling pics of me in the muslin.
Some things I need to change:
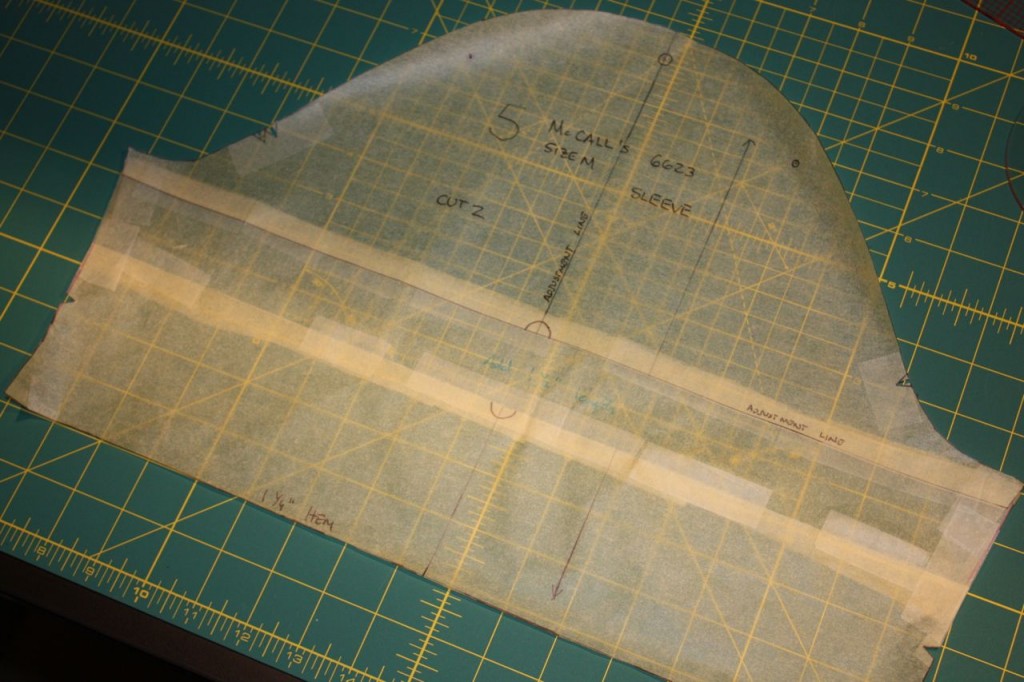
- Lengthen the sleeves by 1 1/2 inches, for style reasons. This was easy to fix just by cutting on the lengthen/shorten line and adding the extra length to the pattern.
- Move the shoulder seam towards the back by 7/8 inch, to align the seam with the actual top of my shoulder. Again, easy to fix: just tape the yoke and front pieces together, draw a new shoulder seam line 7/8 inch up, then cut.
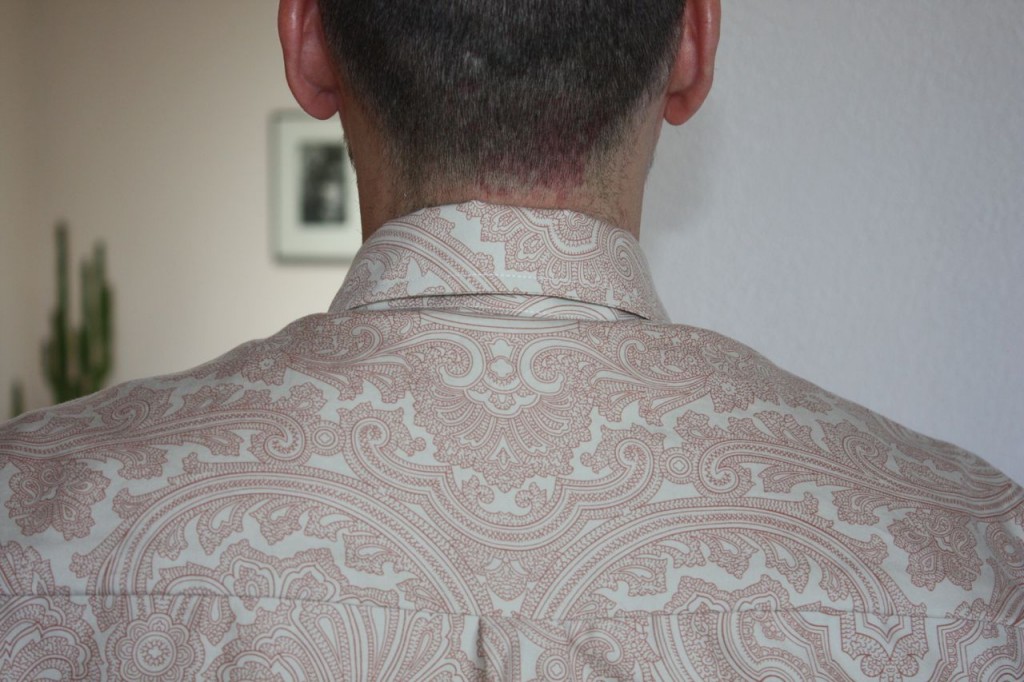
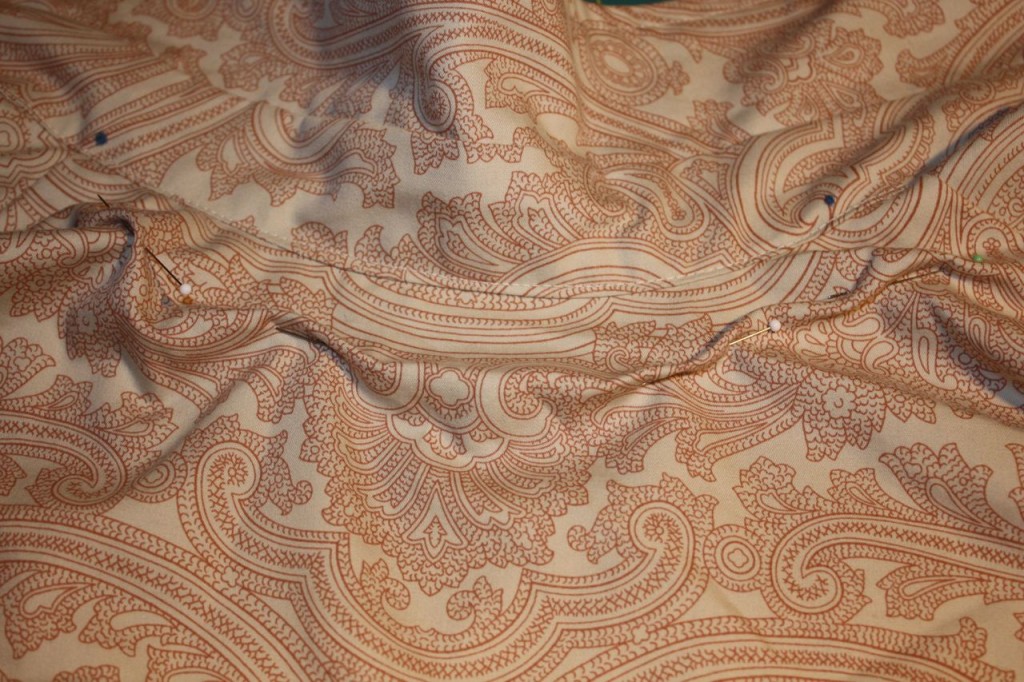
- Pooling of excess fabric behind the collar, on the yoke. Here’s a shot that captures the problem well:
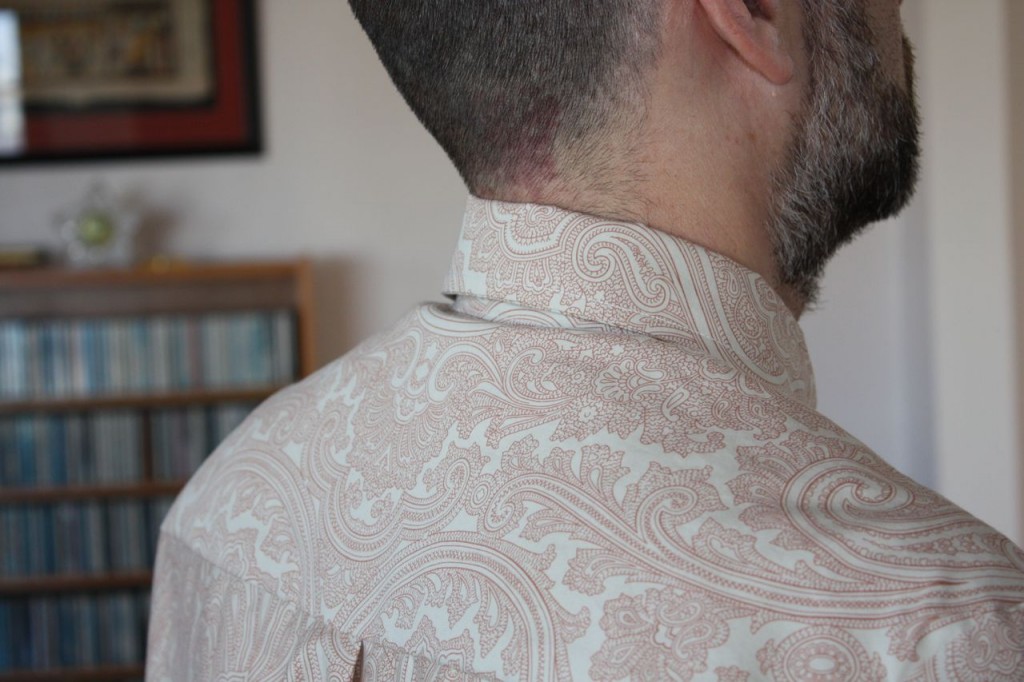
Removing this pooling fabric in the pattern turned out to be a challenge. As usual, the books and references on pattern fitting never seem to apply exactly to my particular situation, so I turned to intuition and guesswork.
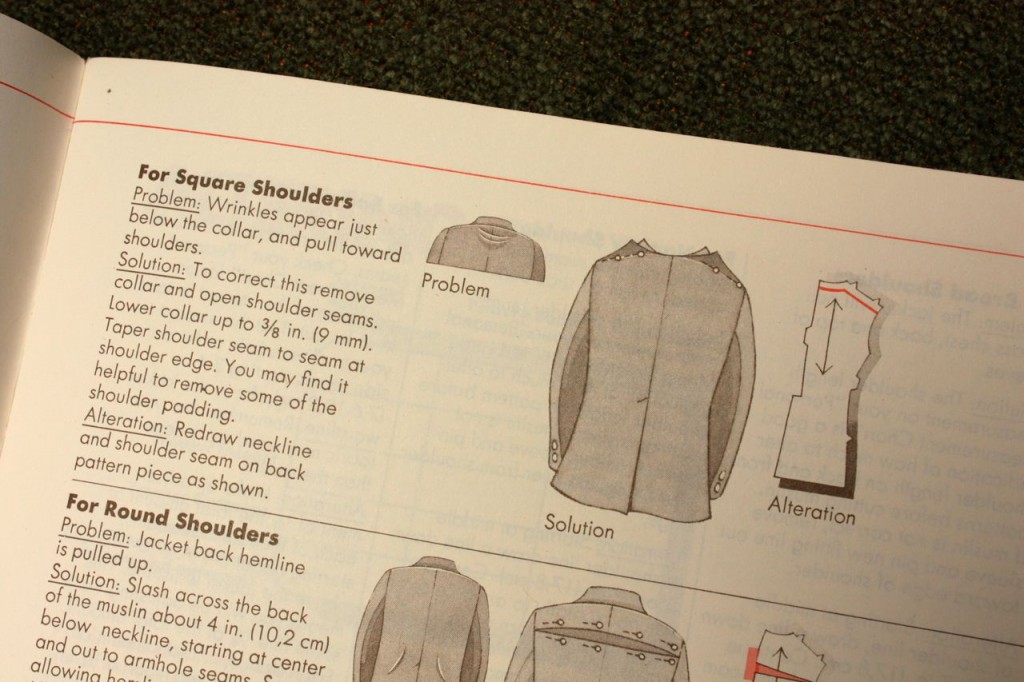
According to Sewing for Men and Boys, the issue seemed to be a square shoulder adjustment.
The fixes proposed by the book and the pattern instructions didn’t make much sense to me. So I went a combination of two different approaches, one from Kenneth King, the other from Nancy Zieman.
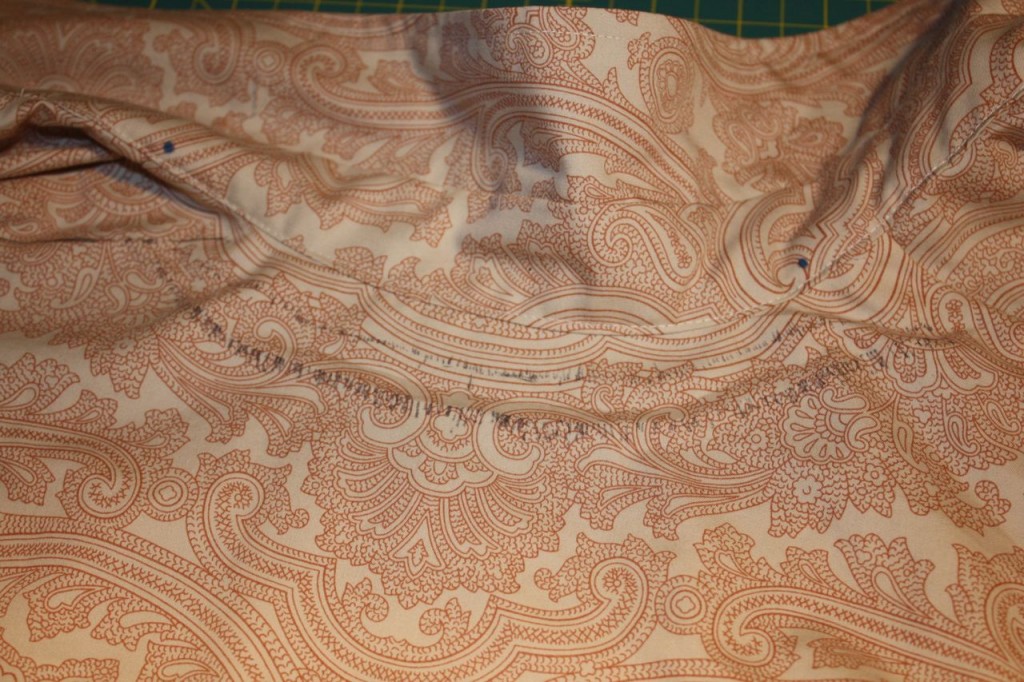
First, following King’s “Smart Fitting” methodology, I pinned out the excess fabric in the yoke. (I enlisted help for this task).
Then I marked with pen across the pinned section, and opened to reveal the fabric that had to go.
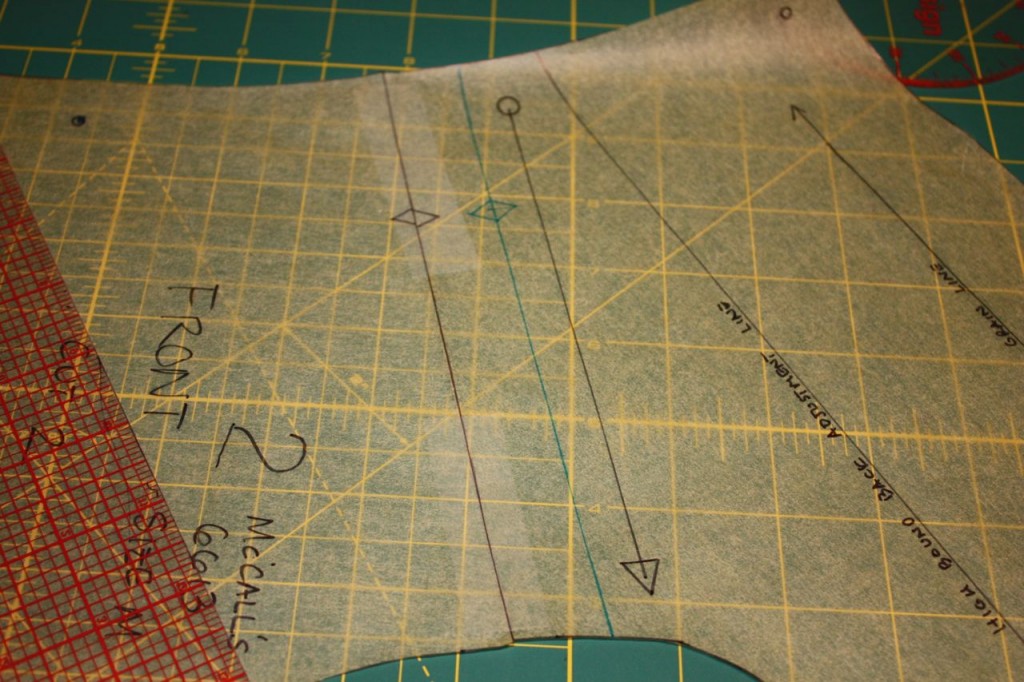
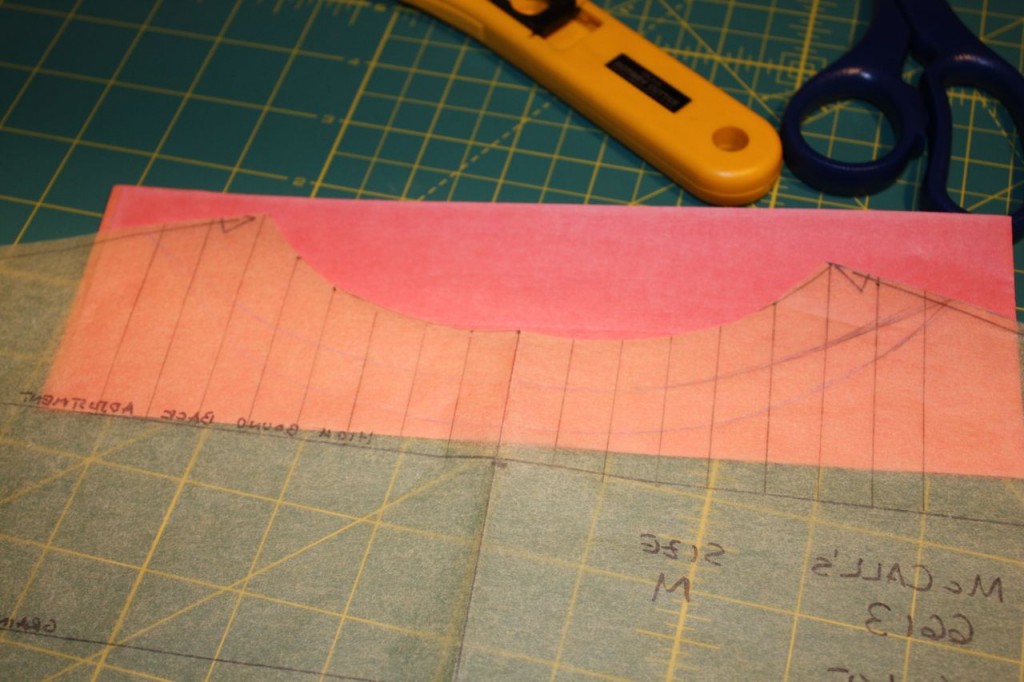
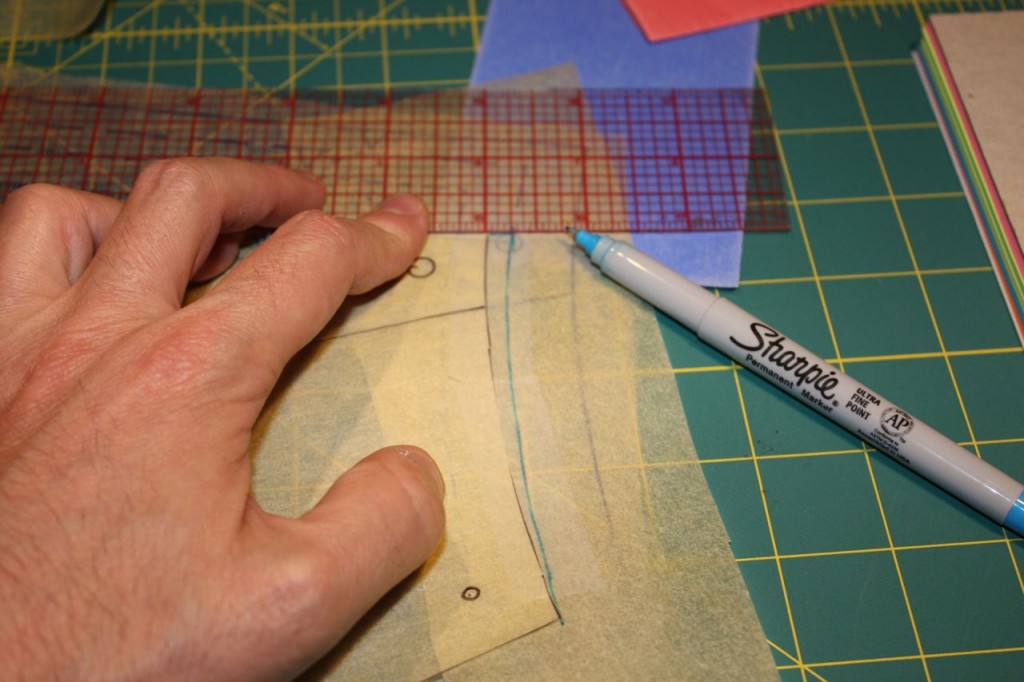
Next, I transferred markings to the pattern piece with tracing wheel and paper. Then I used a series of grid lines to “subtract” the excess from the edge of the pattern piece. This photo shows the process after I already transferred and cut the neckline edge:
The fabric to be subtracted covered the shoulder area beyond the neckline. At first I didn’t know what to do – the Threads magazine article (from their special issue on fitting) really didn’t discuss what to do in this situation. But I eventually reasoned that I had to subtract fabric from shoulder as well. I simply drew a new shoulder line, slightly less angled, that went through the new markings at the neckline and ended at the same spot on the armscye. (The photo above reflects this change).
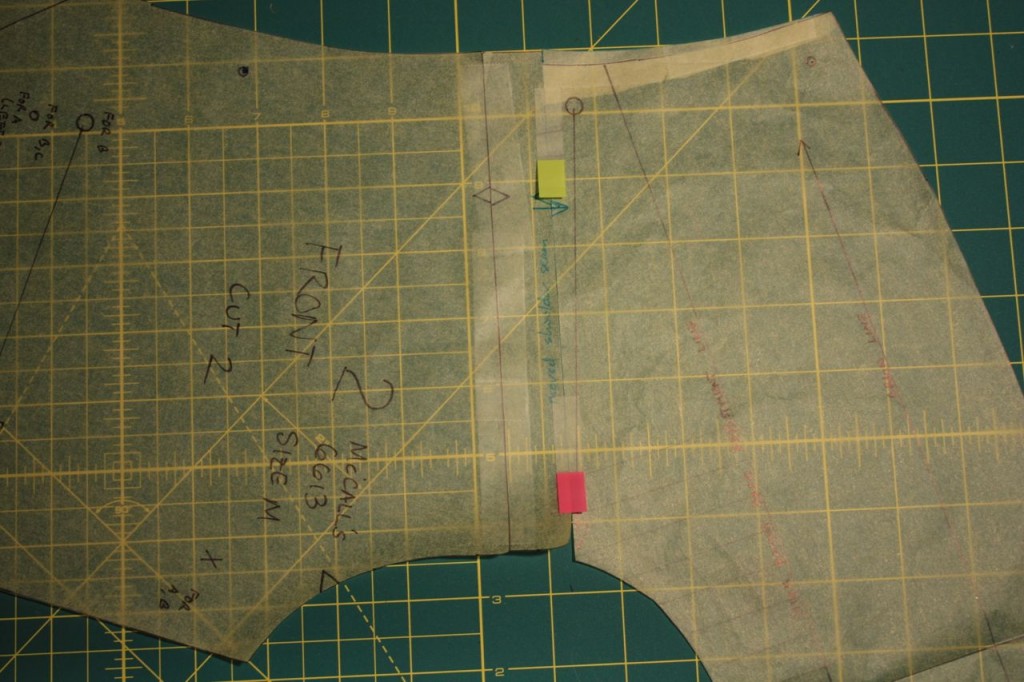
This adjustment caused the shoulder line to shorten from 7 1/2 inches to 7 1/4 inches. To restore the missing 1/4 inch, I moved out the armscye curve using Nancy Zieman’s pivot-and-slide technique. Pivot from the yoke bottom, to 1/4 inch out at the shoulder seam, then retrace the line from the original pattern piece.
Here’s what the revised yoke and front pieces look like, mated with each other. The armscye curve still matches nicely thanks to the Nancy Zieman pivot. The neckline is now about 1/2 inch longer, but I thought the pattern had too much ease with the collar stand anyway. If necessary I can lengthen the collar and collar stand, but they’re already slightly too large for me.
I’m not sure yet how this is going to turn out. I cut out new front pieces and yoke pieces from my bedsheet remnant. I have picked apart my muslin (originaly assembled using a basting stitch), and will recycle it into a new one with the altered fronts and yokes to see how it turns out. I’ll have the results for you next time.

(Glad you got your site straightened out; I’ve been trying to leave a reply for the last several days and kept getting a 500-error when clicking to do that.)
Just wanted to say, 1) that I find fitting shirt muslins much easier, at least during the first round, when they don’t have collars/stands already attached (same with trouser muslins and pockets), and 2) that I’ve seen that back-of-neck wrinkle on my own muslins and fixed it by moving the entire neckline shape backwards without changing anything else, shifting just the neckline seams equally on the fronts and on the yoke. If there’d been no collar on your muslin you might have been able to clip into the raw back-neck edge, allowing the yoke there to push forward around the neck and thus to smooth out. The amount of shift would probably be the amount you pinned away using Kenneth’s method at the center-back. I’ve always had the same problems with fitting books as you mention (never can find exactly my problem in them!), and have often gotten completely lost as one supposed fix creates other problems nearby. Anyway, I wonder if you’ve tried the draping method I outline in my book (I noticed your mention of it; thanks—very glad you’ve found it helpful!) for fine-tuing shirt fit. I’m kind of thin and bony and forward at the shoulders and it really helped me curve the front and back seams going into the yoke so everything smoothed out eventually without messing with the yoke shape at all. If you’ve ever got questions about anything I’ve written about, please feel free to contact me; I’m sure to have an opinion at least!
David,
Glad you stuck around during my technical difficulties! Really, it’s an honor that you’re reading this blog.
I understand the advice about not attaching the collar/collar stand for a muslin. My reason for doing so is to judge the fit of the collar band, though I guess it makes more sense to fit the bodice without the collar/band, then attach it. Or, maybe just judge the collar fit separately.
After reading Kenneth King’s fitting articles, and watching the television show “Fit 2 Stitch”, I think I’m starting to get my own intuitive sense around fitting. It’s just that every change I propose making is a leap of faith to actually try it in fabric!
I have not yet tried your drape-fit method, though I’ll go back and review it. Based on your description, it seems useful for addressing issues of fit in the shoulder area, especially for playing with the yoke seam.
Thank you so much for taking the time to offer your advice!